Showing posts with label kid friendly snacks. Show all posts

Tuesday, November 4, 2014

Rice Puffs--How to Make Rice Puff Snacks

Rice Puffs
Rice Puffs
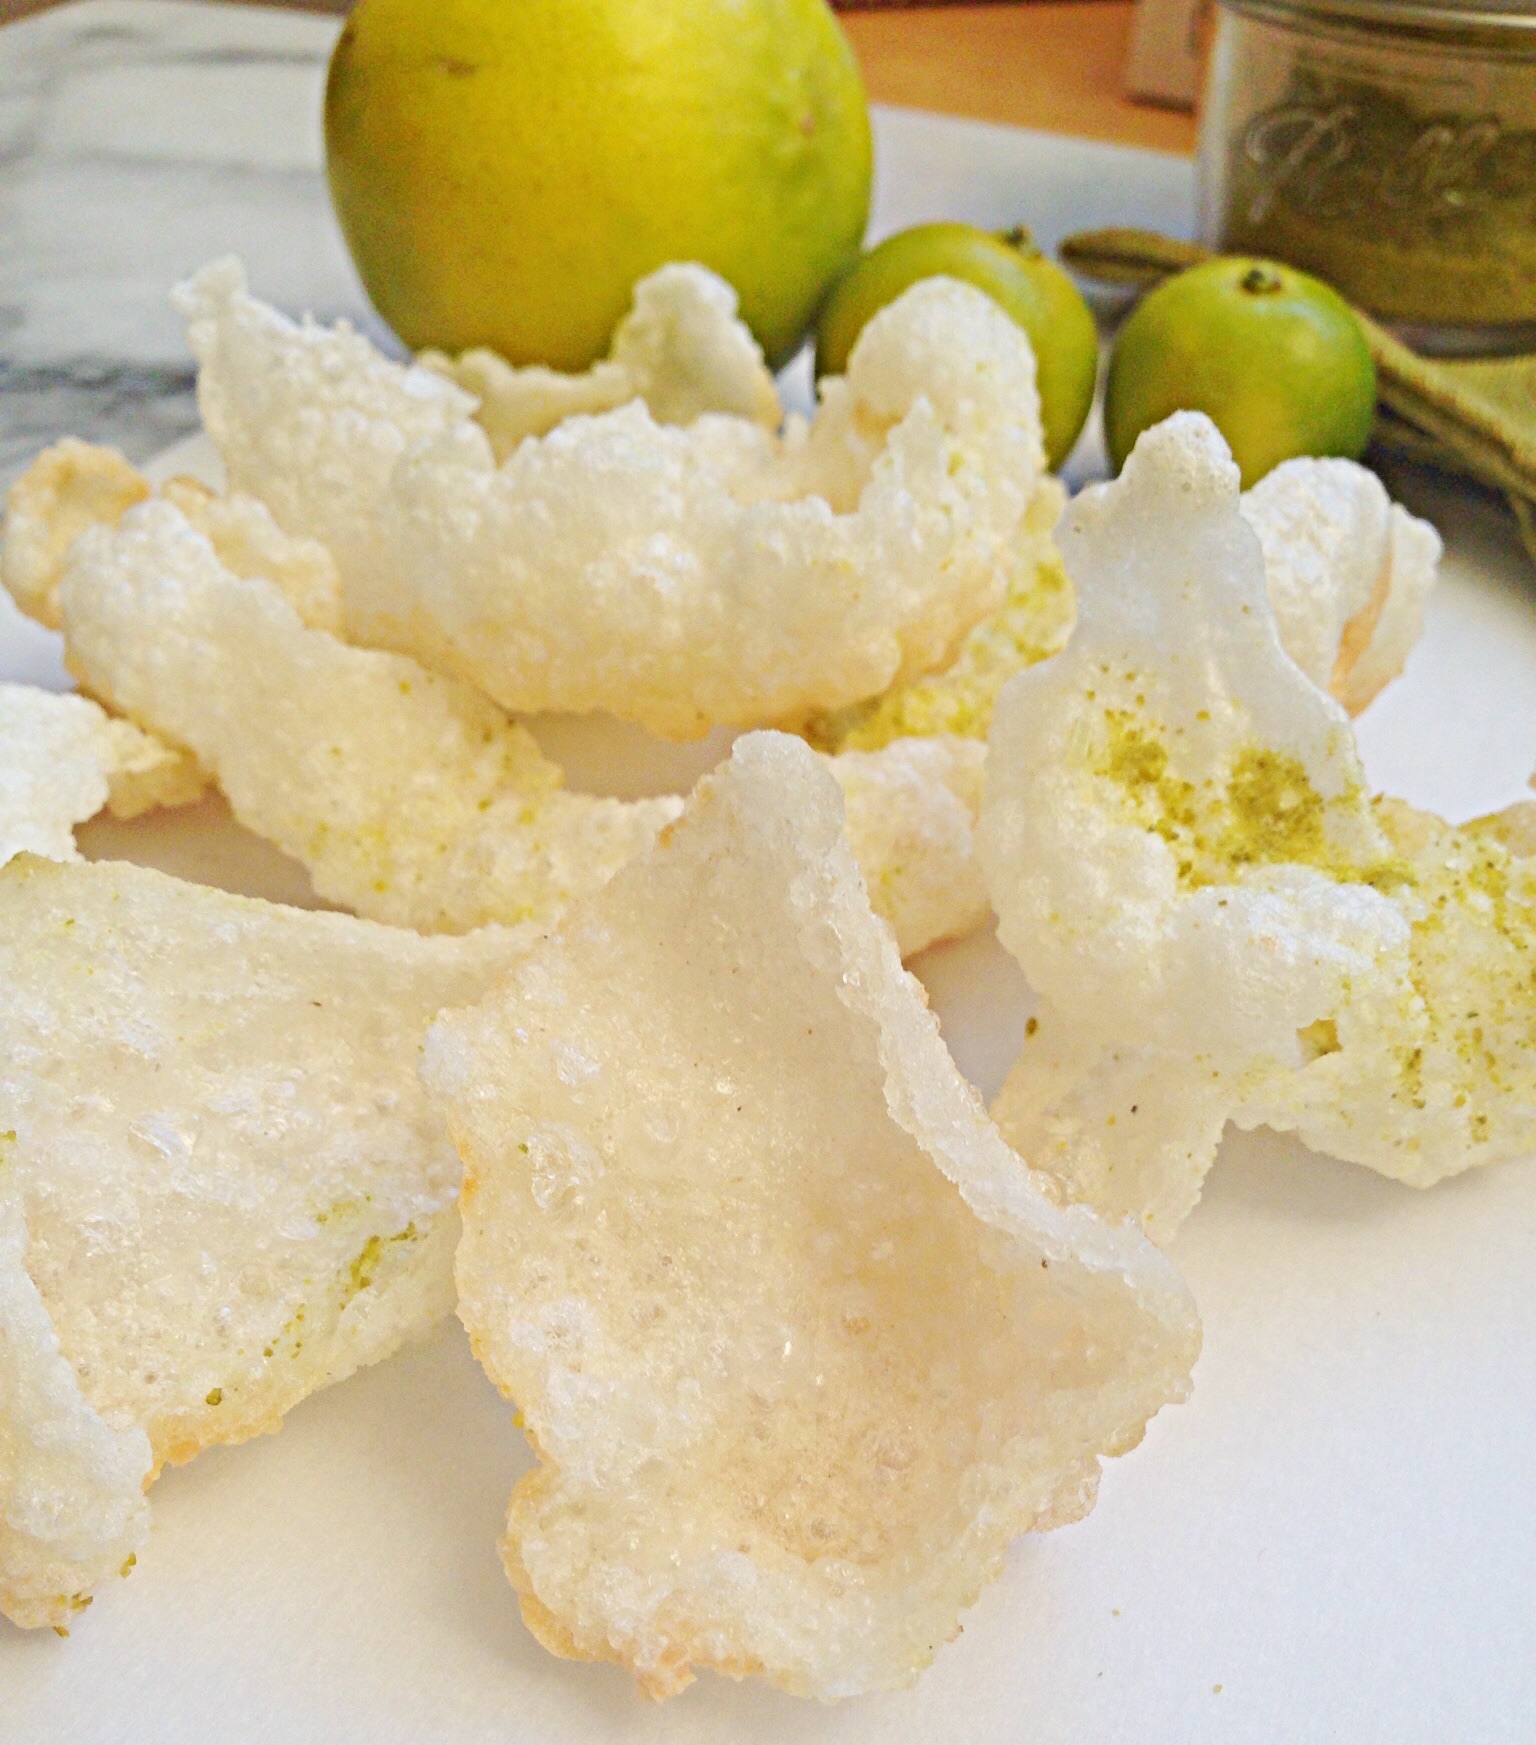
Today I'm giving you a recipe for ultra crispy, and delicious homemade rice puffs. I'm not a huge fan of rice, but my daughter and my husband are.  They are especially fond of Basmati rice. I love the way that Basmati rice smells.  It has it's own unique aroma, no other rice smells as good cooking as Basmati does.  I buy Basmati in  area close by called Little India.  I go there every so often to stock up on Indian spices as well.  The only problem with that is that I always leave with a 20 pound bag of GMO free Basmati rice!  It's enough rice to feed my family for a year---we don't eat rice that often.  I almost always end of giving most of it away, it's just too much, but they don't sell it in smaller quantities.  I have had this recipe for rice puffs in my que for a long while now, just haven't had the rice to make it. I got the idea from a recipe in Modernist Cuisine,  but found a simpler more home cook friendly version of it on Chef Steps.  I've added my own spin on it with the addition of the lime salt, but if you haven't gotten around to making my Lime powder, then  plain sea salt will do, and these will still be amazing! You don't have to use Basmati to make these, you can use any rice. Still don't have a dehydrator?  Buy one it will be the best $40 bucks you've spent in a long while.  The alternative is to put the rice puree in the oven set to the lowest setting 150F leave the oven door just a bit ajar, and check it before it reaches the 2 hour mark.  Check at 1.5 hour mark, you don't want this to crisp up and burn.
Pin It!
Pin It!
Prep time: 20 minutes
Cook time: 10 minutes
Drying time: 2 hrs
Ingredients:
3/4 cup of rice
3 and 1/4 cups of water
1/2 cup 0f safflower oil
3 teaspoons of lime powder
1 teaspoon of sea salt (powdered--just add sea salt to a spice mill and blend until powdered)
Directions: Add the lime powder sea salt to a bowl mix well and set aside.  Add rice and water to a pot, cook until rice is tender and falling apart--there will still be water in the pot.
image
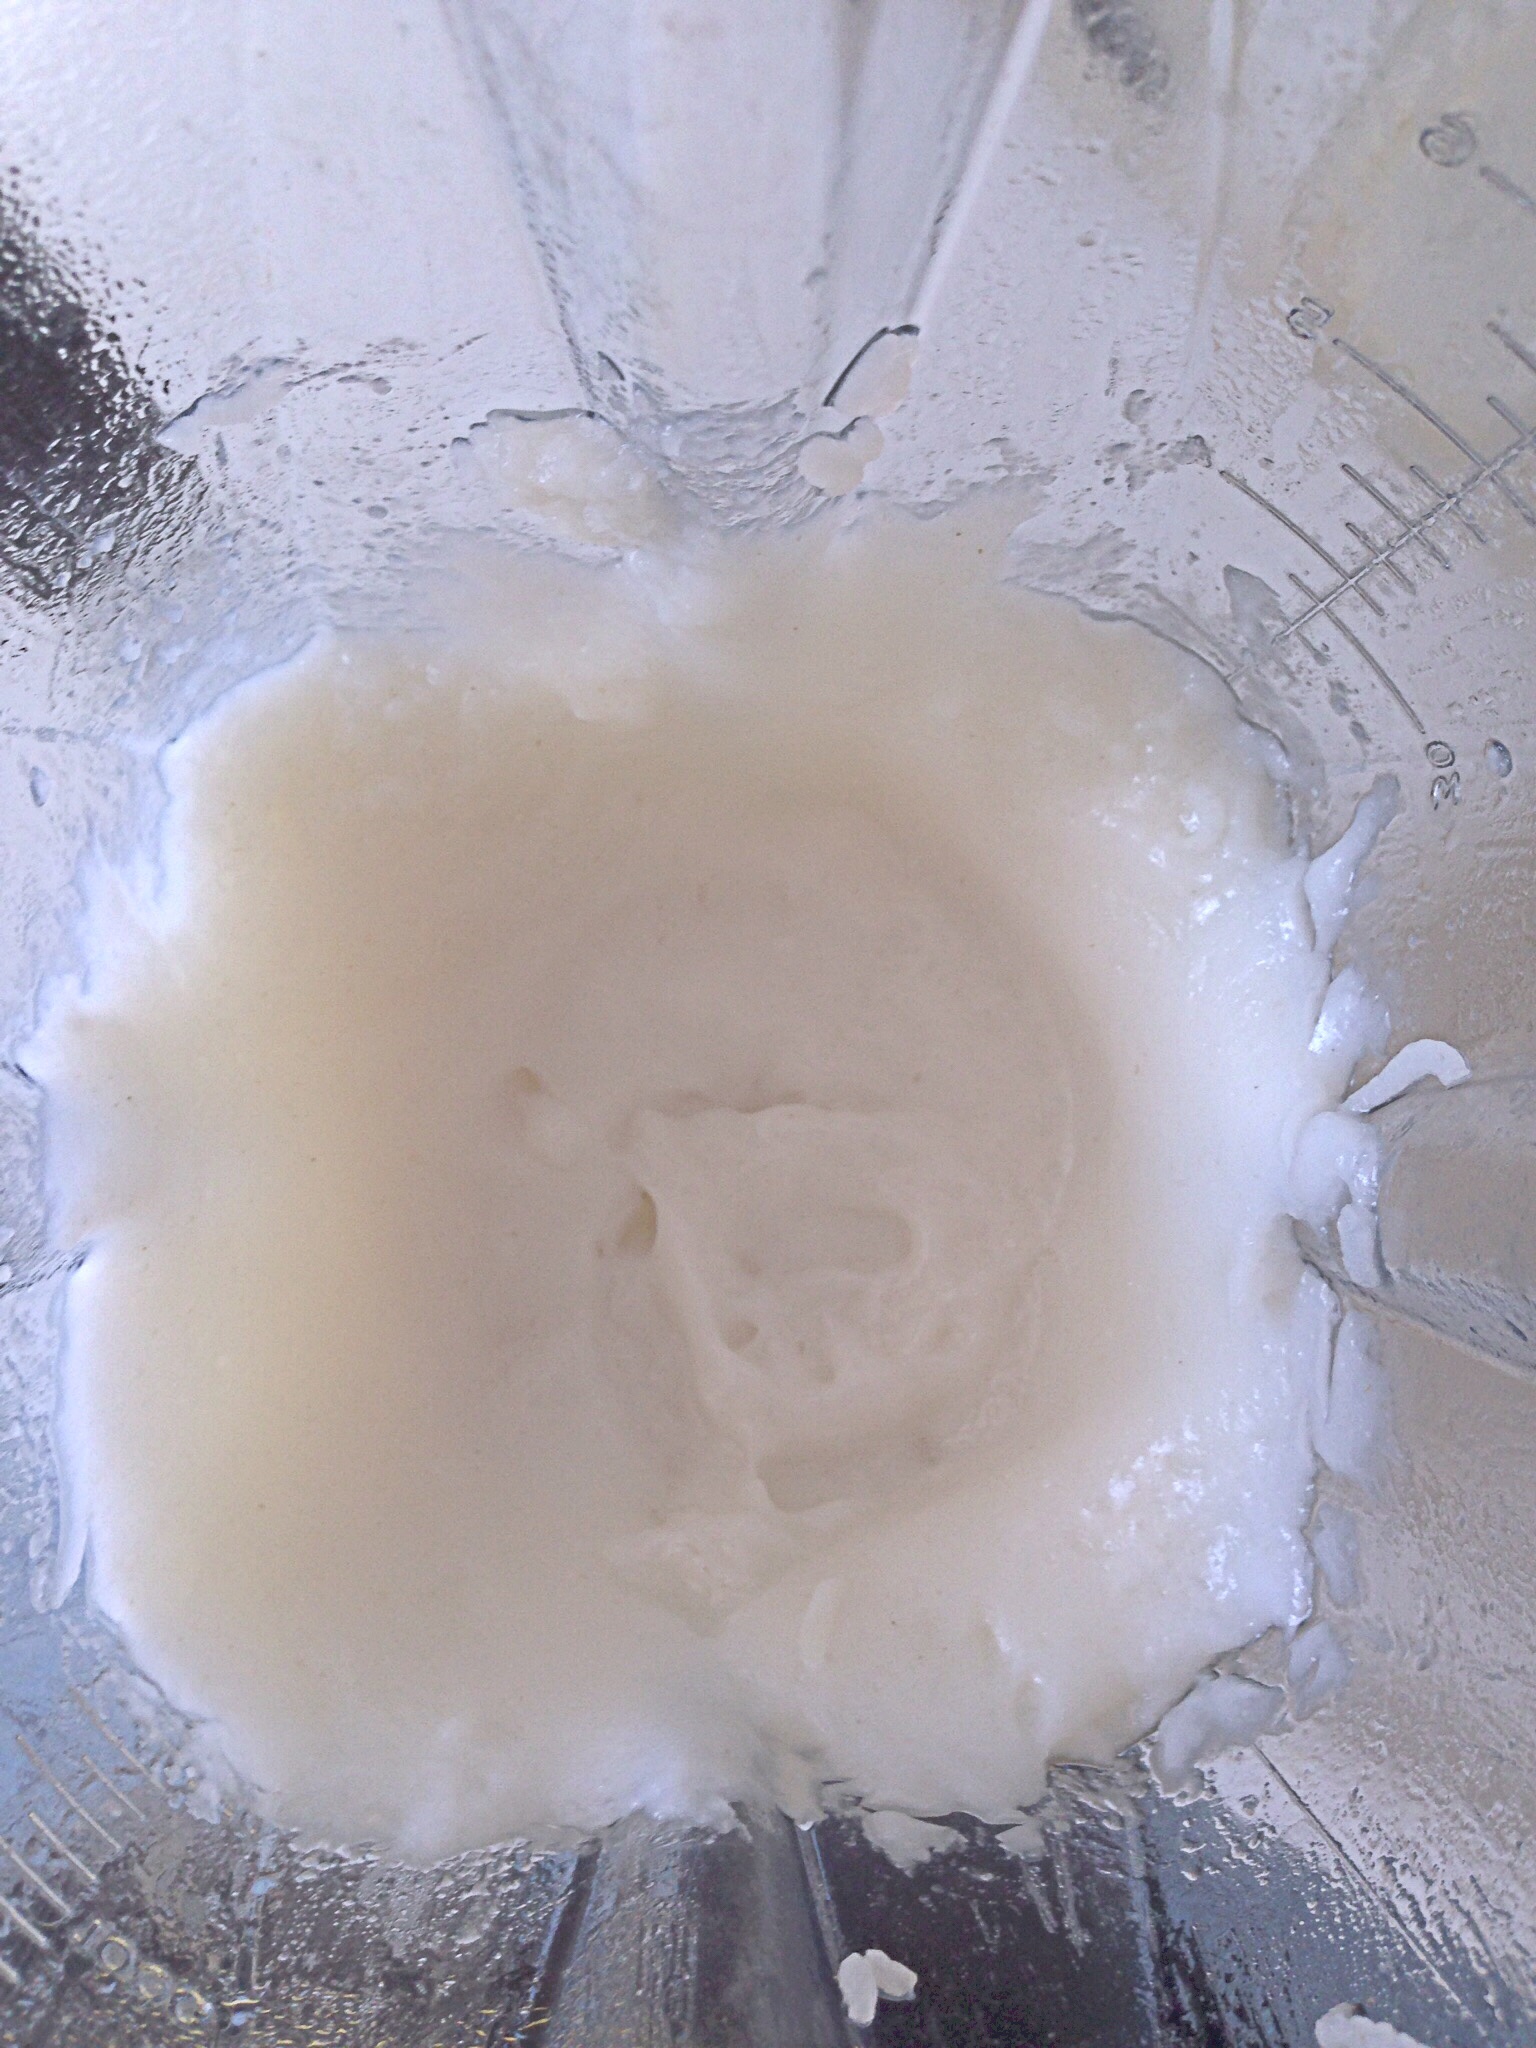
Transfer the cooked rice along with any left over water to a blender and blend until smooth.
image
Pour the rice puree out onto silpat's smooth out into thin layers.
image
Place in the dehydrator on 122F and allow to dehydrate for 2 hours.  The dehydrated rice puree should be pliable but also have a snap to it.
image
Note: If you dehydrate for too long, the rice puffs will not puff, if you dehydrate for too short a period, they will not puff either.  When you place your rice puffs in the hot oil they should sink  to the bottom of the pot and then immediately rise and puff.
Once your puree has been dehydrated, heat the oil to 374F, while the oil is heating break the rice sheet into bite size pieces.  When the oil reaches temperature, drop the rice sheet pieces into the oil, they should drop to the bottom and rise and puff up immediately, fry for 2-3 seconds then remove from oil and season with lime salt immediately,
image
let the rice puff's cool, then enjoy!
image

Tuesday, October 14, 2014

Pear Fruit Roll-Ups-How to make fruit roll-ups at home


Pear Fruit Roll-Ups

One of my favorite ways to use ripe fruit is by making fruit roll-ups.  In my opinion it's the best way to use fully ripe fruit, because the fruit is ripe, it's very sweet, and that means that you don't have to add sugar to make these fruit roll-ups great.  Additionally fruit roll-ups are so super easy to make and a great way to reinvent a fruit that you have an abundance of.  I have dehydrator, but these can be done in an oven.  Just set your oven to 150 or the lowest possible setting. If you don't own a dehydrator yet, I suggest that you get one, they are really inexpensive around $40-$50 on the lower end--these work fine, and $299 on the higher end.  But they are so useful! At the least you'll be able to make some of my favorite fruit roll-up recipes like: Tropical punch fruit roll-upspineapple fruit roll-upStrawberry-apple fruit roll-ups or strawberry fruit roll-ups.
Pin It!
Pin It!


Prep time: 5 minutes
Cook time: 4-6 hours
Ingredients:
5 ripe pears
Directions:  Quarter the pairs and remove the core.  Add cored pears to a blender,
image
Blend until smooth.
image
Pour the pear puree out onto a piece of parchment paper or a silpat, and smooth out into a thin layer.
image
Place in a dehydrator on 134F for 4-6 hours.
image
Alternatively you can place the parchment paper or silpat on a cookie sheet and place in the oven on the lowest setting for 4-6 hours.

Tuesday, July 22, 2014

Fudgesicles

Coconut Cream Fudgesicles

One of my favorite treats as a kid was a fudge pop. Back then they were sold as the low-fat, low-calorie version of ice cream.   Not that any of that mattered to me , I was 7!  I just really enjoyed the creamy chocolate treat!  Back then fudgesicles contained 3 or 4 key ingredients, Milk, chocolate, and cream.  That is a far cry from the ingredient list we see today on a fudgepop box.  When formulating this recipe, I wanted to stick to what made fudgesicles great when I was little, a few ingredients and not much else.  I switched out the milk for coconut milk, and added some coconut cream for richness, the result----Heaven--creamy fudge heaven!  I didn't add any extra sugar to this, for my palate it didn't need it.  My daughter and husband both loved these without any added sugar as well.  However, if you like fudgesicles on the sweeter side, add 2 tablespoons of maple syrup to the mix before freezing.  Although I used coconut milk and cream as a base for these, you can use milk and cream, or just use milk.   You can also use my recipe for Chocolate Tofu Pudding just freeze and enjoy!
Pin It!
Pin It!


Prep time: 10 minutes
Cook time: 5 minutes
Freeze time: 4-6 hours

Makes 4-6 pops

Ingredients:
2 ounces of semi-sweet chocolate chopped
1 tablespoons of unsweetened  cocoa powder
1 teaspoon of vanilla extract
1 cup of coconut milk
3/4 cup of coconut cream

Special equipment:
Popsicle molds

Directions: Add the milk, cream and cocoa powder to a sauce pan over medium heat, and whisk until well combined and mixture is just below a simmer--DO NOT BOIL!!! Remove from heat.  Add in chopped chocolate, and whisk until all the chocolate is melted, stir in the vanilla extract.  


Divide the mixture evenly among the popsicle molds,
 Freeze for 4-6 hours or until solidly frozen. Follow your popsicle molds instructions for removing pops from molds and enjoy!


Wednesday, June 11, 2014

Strawberry Apple Fruit Roll-Ups


Strawberry-Apple Fruit Roll-ups

Now that summer has arrived we are constantly on the go.  Which means that we spend much more time in the car.  My daughter does surprisingly well on car rides, however, she does better if I am armed with plenty of games to fill her time, and of course snacks don't hurt.  She is extremely fond of apple strings--apples that I run through my vegetable spiralizer on the spaghetti attachment, however they oxidize so quickly after making them, I like to save those for home snacks.  Enter fruit roll-ups, she loves them and they are extremely travel friendly.  If you follow this blog, then you know I have several recipes for fruit rolls ups my tropical punch fruit roll-ups are my absolute favorite, but the pineapple, or strawberry fruit roll ups are equally as delicious!

Ingredients:

10 ounces of strawberries stems removed
2 medium sized apples, cores removed

Directions: Place the strawberries and apples in a blender and blend until smooth.  


Pour the mixture out onto a parchment lined sheet and smooth into a thin layer.


Place in a dehydrator on 134 for 4-6 hours, or in a oven on the lowest setting for 4-6 hours.
Fruit roll-ups are done when you can peel them off of the parchment without them sticking.

Friday, November 15, 2013

Homemade Granola Bars with Cranberries & Walnuts

Homemade Granola Fruit and Nut Bars

I don't know about you, but around this time of the year, I start to scale back on my weekday cooking in order to prepare my refrigerator for all of the things I am making for Thanksgiving. This year my self imposed scale back has nothing to do with needing room for my thanksgiving dishes, instead I'm scaling back in preparation for not being home. We are joining millions of travelers this year, we are going to visit my in-laws in Nevada for Thanksgiving. Since we'll be in the car for more than 3 hours, I decided to prepare some healthy snacks for us to munch on during the drive. This granola bar fits the bill perfectly. It has nuts, 3 kinds of fruit, and no refined sugar!

Prep time: 10 minutes
Cook time: 10 minutes
Total time: 20 minutes

Ingredients:
3/4 cup of maple syrup
2 tablespoons coconut oil or butter plus more for oiling the baking dish
2 cups old-fashioned rolled oats
1 1/3 cups chopped nuts I used walnuts
1/4 teaspoon sea salt
1 cup of dried fruit, I used a mixture of sour cherries, cranberries, and raisins
1/3 cup creamy almond or peanut butter
1/4 cup honey

Directions:
Preheat oven to 375 degrees. In a small saucepan, heat 1/4 cup of the maple syrup and the 2 tablespoons of coconut oil over low. Cook, stirring, until the oil melts. In a large bowl, combine oats, nuts, and pinch of salt. Drizzle maple mixture over oat mixture and stir to combine. Spread mixture evenly on a large rimmed baking sheet. Bake until golden brown, about 10 minutes. Place the oats in large bowl, add dried fruit and mix well. 

Lightly butter an 8-inch square baking dish. 

In saucepan, combine remaining 1/2 cup of maple syrup, almond butter, and honey over medium heat. Cook, stirring occasionally, until mixture comes to a boil. Drizzle over oat mixture and stir until combined; transfer  mixture to buttered baking dish. With a spatula, firmly press granola into dish. Refrigerate until firm, about 1 hour, then cut into bars or squares.


What are your plans for Thanksgiving?

Since I'll be visiting family next week, I am not sure I will have time to post. My daughter is turning 2 on Thanksgiving day, so when we return I'll be focused on celebrating this major milestone with her. Happy cooking, and a very Happy Thanksgiving to you all!