Showing posts with label healthy desserts. Show all posts

Wednesday, August 27, 2014

Flourless Peanut Butter and Chocolate Meringue Cookies


Flourless Peanut Butter and Chocolate Meringue Cookies

If there was ever a food match that was made in heaven, it is peanut butter and chocolate! One of my favorite lazy treats is to dip a dark chocolate bar into peanut butter.  So the other day when I was craving a sweet, I thought what a great idea it would be to make a delicious peanut butter cookie that was both moist and light.  Sort of like my Starbucks Inspired Flourless Chocolate Cookie or (cue the light bulb over my head), how about exactly like my Flourless Chocolate Cookie! But instead of adding melted chocolate to the meringue, I'd add melted/warmed peanut butter---and so this cookie was born! It's light, moist, gooey, and crisp in all of the right places! A miracle really, considering the fact that we all know that I am not the most proficient baker. I was fully expecting that this would turn out to be another disastrous baking episode for me. I'm so glad that I was wrong, and that this turned out to be all that I wanted and more!

Pin It!
Pin It!


Prep time: 10 minutes
Cook time: 8-10 minutes
Total time: 20 minutes
Makes 8 cookies

Ingredients:
2 egg whites
6 Tablespoons of creamy peanut butter warmed
1/8 teaspoon of cream of tartar
3/4 of powdered sugar (I used maple sugar,see how to powder any type of sugar here)
1 teaspoon of vanilla extract
1/2 cup of chocolate chips (optional)

1/8 teaspoon of sea salt

Directions:  Pre-heat the oven to 375F. Over low heat warm the peanut butter, until it begins to thin a bit and takes on a glossy shine---about 5 minutes, set aside.


Add the two egg whites to a bowl and beat on low until bubbles form, add the cream of tartar and beat on high, add in the sugar one tablespoon at a time and beat until peaks are stiff and fluffy---you can turn the bowl upside down with out the mixture running. 


Pour in the melted peanut butter and fold it into the egg white fluff--be gentle-- fold until the white streaks disappear. 

Fold in the chocolate chips, 

Spoon the cookie mixture onto a parchment/silpat lined cookie sheet. 

Let them cool for 10 minutes, then move them to a cookie rack to continue cooling 5-7 minutes.


 Serve and enjoy!


Monday, August 18, 2014

Coconut Cream Banana Pudding


I love dessert, but I'm one of those rare people who can consume just a few bites and be completely satisfied with a dessert.  I don't like to make whole cakes, pies, or a complete pan of any type of dessert unless I'm taking it to a party.  At home it will just get thrown in the trash.  I'm a single serving dessert kind of gal.  One serving desserts make me happy, their super delicious, quick and easy to make, and always satisfying without the guilt and temptation to eat more. This Banana Coconut Cream dessert is exactly that.  It's light, takes minutes to make, and is gone just as quickly.  The key to this dessert is refrigeration. Unlike whole milk cream, you don't need to whip coconut cream for it to set into pillow like mountains, just put it into the refrigerator and  The coconut cream will set up nicely. If you want to make this for an after dinner snack, put the cream into the refrigerator at least an hour before you want to make this.  The best part of this dessert--besides the fact that it's out of this world delicious--is that it only requires four ingredients, and you don't have to cook any of them!
Pin It!
Pin It!


Prep time: 5 minutes
Cook time: none
Makes 2 servings

Ingredients:
1 cup of coconut cream
1 teaspoon of vanilla extract
2 tablespoons of maple syrup--can sub agave
2 bananas( one smashed with a fork, the other sliced)
5  ginger snaps roughly crumbled (can sub with graham crackers, or granola, or vanilla wafers, or nuts)
Directions: Smash banana, with a fork and set aside.  To a small bowl add the coconut cream, vanilla extract, and maple syrup, mix well, cover and refrigerate  until coconut cream has set--meaning it's firm like a custard.  Once set, remove from the refrigerator, and fold in the mashed banana. If you're short on time, you can fold the mashed banana into the cream when you add the vanilla and the sweetener.  Check out the video below  to see exactly how I put it together.  If you like this dessert then you'll love my Banana Marshmallow Split, it's also a single serving dessert, super easy and delicious!

Click on the link to see how I put this dessert together: https://www.youtube.com/edit?video_id=6LHcyfEoQg8
While you're at it  click here to subscribe to my channel.

Tuesday, July 1, 2014

Cherry Hand Pies


Cherry Hand Pies

I am not a fan of baking, but every now and then I get a craving and I drag myself into the kitchen and have a go at it. Baking involves a lot of science, and only after one has mastered the science, can one move onto the artistry of baking. In cooking you can add a little here and  there and the final result will not be drastically altered, with baking, well let's just say, baking is much less forgiving, and that my friends is why I avoid it if I can. There is a reason why chefs on top chef avoid doing desserts--sooo many things can go wrong. This recipe took me several tries before I was happy with the final product. I tried this with puff pastry and I was less than impressed. I moved on to a gluten free do it yourself pie crust and was highly disappointed. It was my fault really, the dough was good, but I used way too much butter, and the dough spread and wouldn't stop spreading.  Finally, I gave in and bought ready made pie crusts, the kind you roll out--not the kind already in a pie tin--and I was very pleased with the result.  These little hand pies make a great addition to a picnic, they're small, mess free, and you don't have to worry about having a knife to cut the pie because these are single serving.

Prep time:10 minutes
Cook time: 30 minutes

Ingredients:
2 cups of fresh cherries, halved and  puts removed
1/2 cup of maple sugar (can use maple syrup, cane sugar, or sweetener of your choice)
1 tablespoon of lemon juice
1  teaspoon of vanilla extract
1 tablespoon of arrowroot powder (can sub with xantham gum, cornstarch or flour)
1/8 teaspoon of sea salt
1/8 teaspoon of cinnamon
1 package of ready made pie crusts--the kind you roll--not the kind that are already in pie tins

Directions:
Add the cherries, lemon juice, sea salt and sugar to a sauce pan over medium heat. 

Cook until cherries begin to release juices, about 5-7 minutes.

In a small bowl mix together arrowroot and 1 teaspoon of water,

 Add it to the cherry mixture, stir and cook until mixture thickens. 

Remove from heat and allow to cool to room temperature. Once mixture has cooled. Pre-heat oven to the recommended temperature on the box for the pie crust you are using. Roll out your pie crusts, then cut out your desired pie shape. I used a tarlet tin to cut out tarlet pie shapes--two circles for each pie. Fill one of the shapes for each pie with 2-3 tablespoons of the cherry filling, top it with the other pie shape, seal it by pressing the borders with a fork. Place the pies on a silicone/parchment lined baking sheet and bake until golden brown-- about 20-30 minutes. Remove from oven, allow to cool, then enjoy!


Tuesday, June 17, 2014

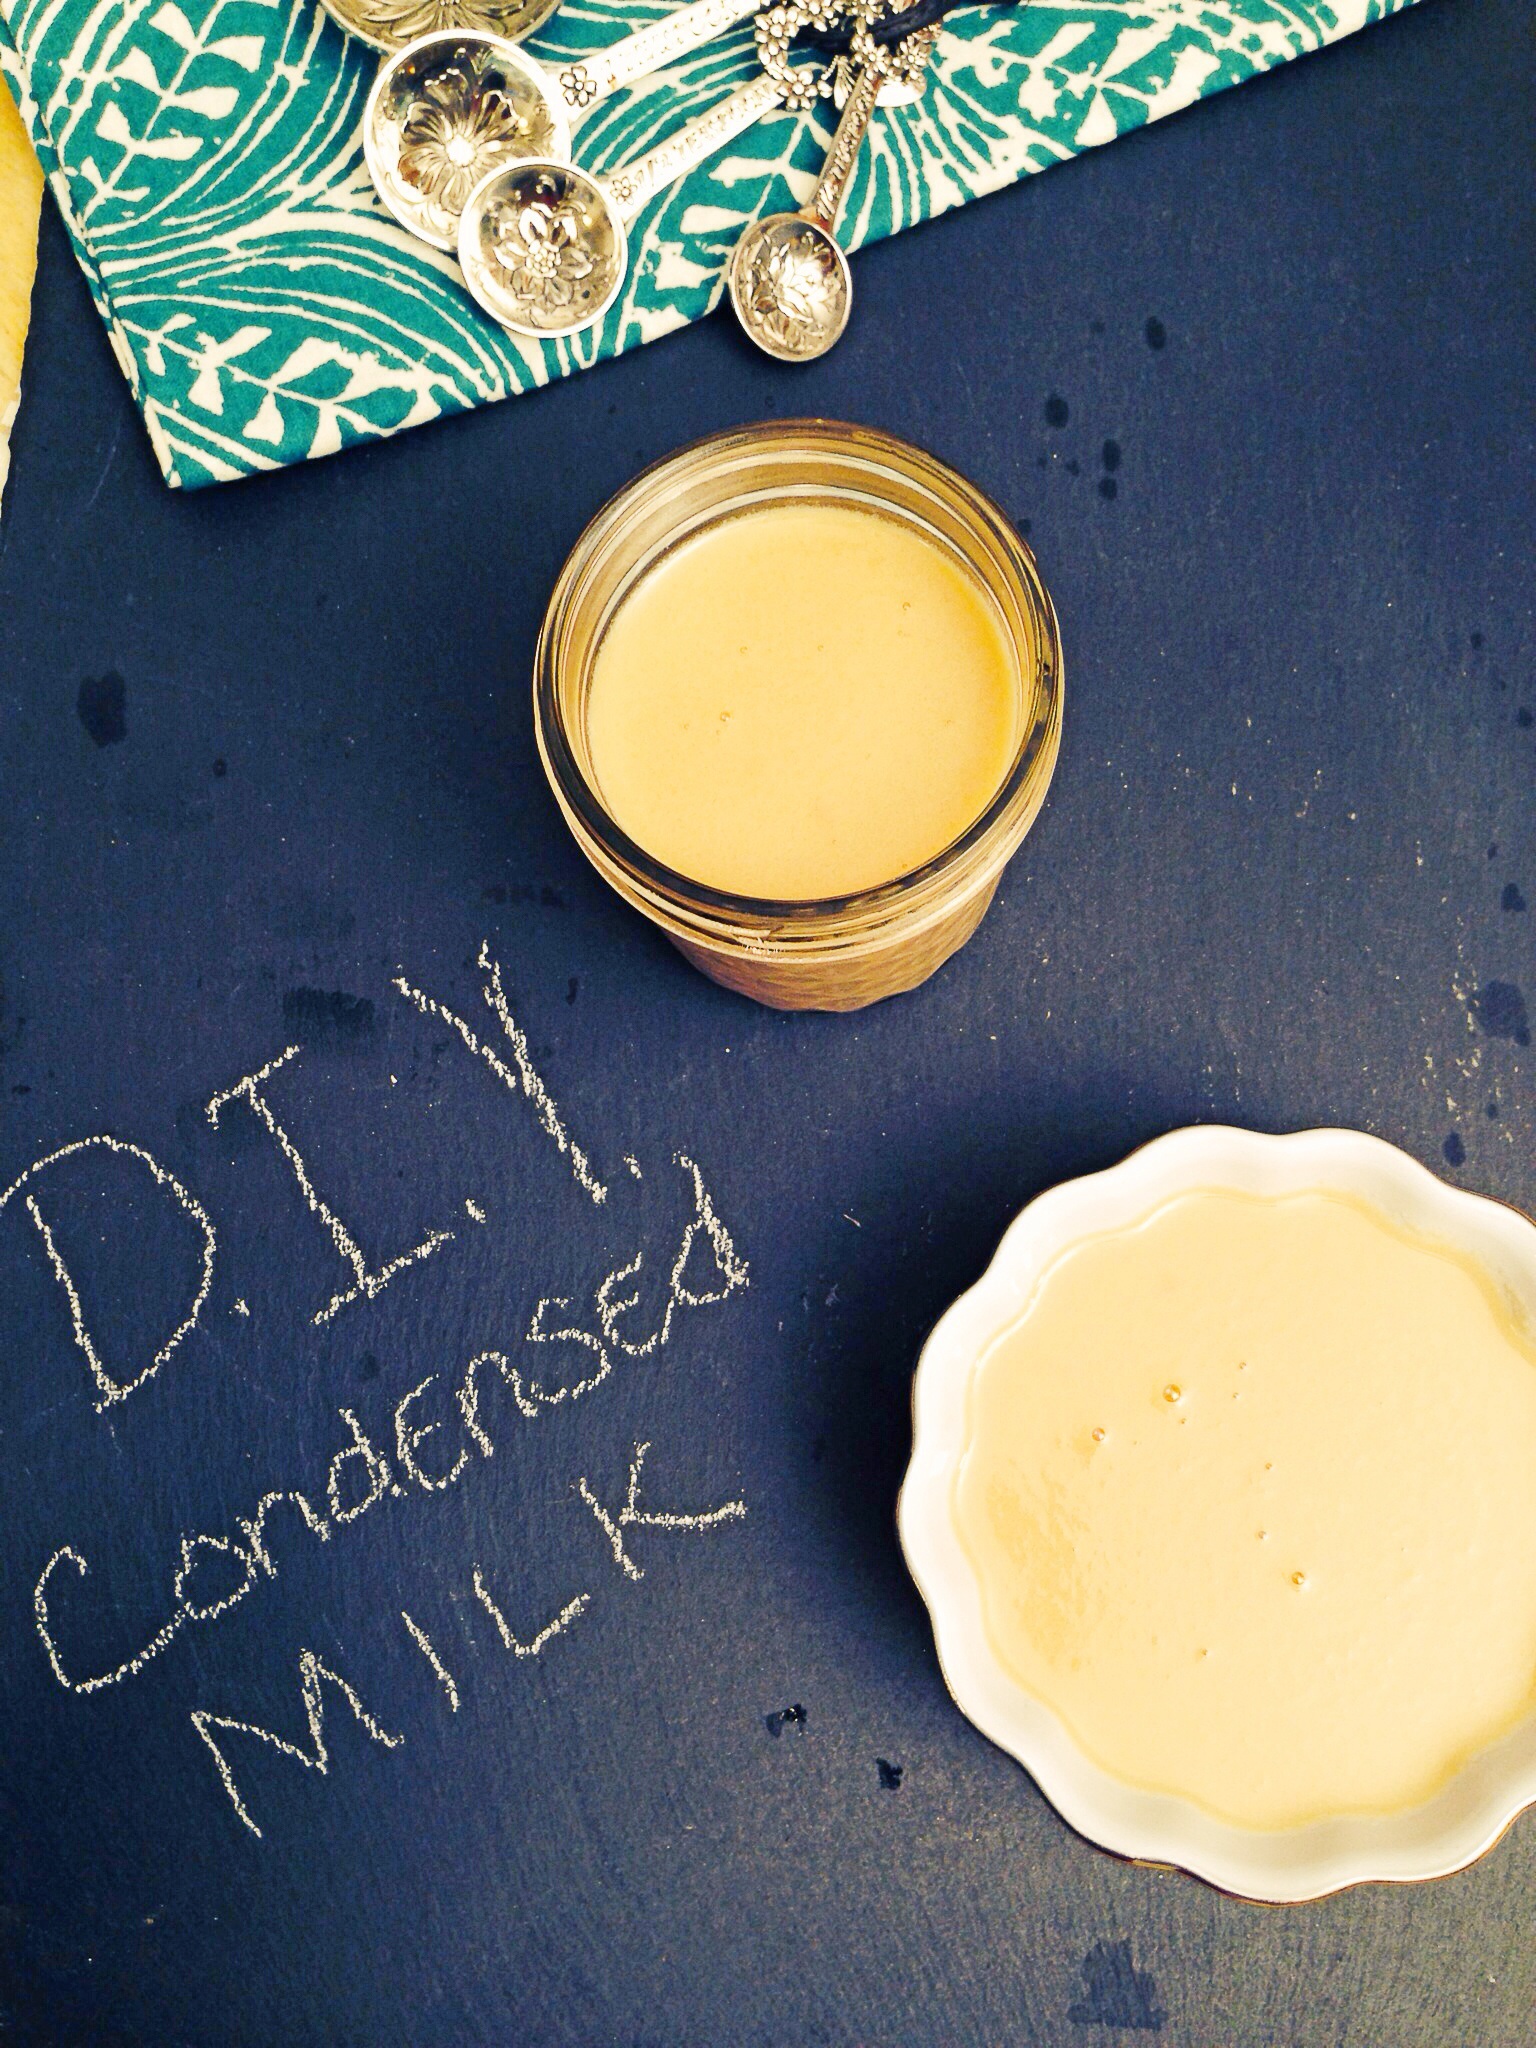
How to make Condensed Milk--Condensed Coconut Milk

How to make Condensed Coconut Milk

It's not often that a recipe that I concoct requires the use of condensed milk.  Condensed milk is definitely one of those products that has a very specific use.  When I was a little girl I remember looking in my grandmother's refrigerator and always seeing a can of the Eagle brand condensed milk.  Given that the same can was always in her refrigerator, I don't think she had many recipes that required it's use either.  I'm not exactly sure what is in the super sweet concoction sold in the can now, but when  I was making up the recipe for my Coconut chocolate bars, I decided that I needed to prepare my own. I've done this with almost every kind of milk, cows, coconut, and almond.  All come out perfectly.  If you are going to do this, then I suggest doing so when you have a few hours to spend at home.  Doing this over low heat, allows you more freedom to do other things while it cooks.  If you want to speed up the process, you can use higher heat, but that will require much more from you in terms of stirring and keeping a watchful eye.
Prep time: none
Cook time: 2 hours
Total time: 2 hours
Ingredients :
2.5 cups of coconut milk (or milk)
3/4 cup of maple sugar (can use whatever sugar you'd like)
1 teaspoon of vanilla extract
2 tablespoons of butter (optional)
Directions: Add milk, and sugar to a sauce pan and simmer over low heat for 1.5-2 hours, or until the milk is reduced by half.
image
Once the milk has reduced(condensed) whisk in butter and vanilla extract. Pour into a container and let cool.
image
It will thicken on it's own as it cools. Allow the milk to cool completely before adding it to a recipe.
image
image