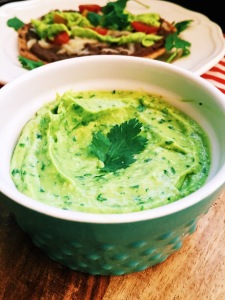
- Avocado and Cilantro Crema

We have a black bean tostada night once every 2 weeks. It's simple, and definitely a lazy girl dinner, because I open a can of black refined beans heat them then add them to a piping hot and crisp tortilla. I top the tortilla with cheese, sliced tomatoes, cilantro, and either a fresh guacamole or this Avocado Crema. The result is a delicious and lazy dinner! Simple ingredients, but oh so good. My husband raves about this dinner every time we have it. The best thing about this is that you throw everything into a blender and a minute later the sauce is done. If you want to make this vegan, paleo or Whole 30 approved just omit the yogurt and replace with 1/4 cup of water.

- Pin It!
Here's what you need:
Ingredients
1 large ripe avocado
3 tablespoons of yogurt--can sub sour cream
1/4 cup of cilantro
juice of 1/2 lime==more if you like
1/2 teaspoon of garlic powder
1/2 teaspoon of onion powder
Directions: Add all the ingredients to a blender.

Blend on high until smooth and lump free.

Serve and enjoy!


