Showing posts with label gluten free desserts. Show all posts

Wednesday, August 27, 2014

Flourless Peanut Butter and Chocolate Meringue Cookies


Flourless Peanut Butter and Chocolate Meringue Cookies

If there was ever a food match that was made in heaven, it is peanut butter and chocolate! One of my favorite lazy treats is to dip a dark chocolate bar into peanut butter.  So the other day when I was craving a sweet, I thought what a great idea it would be to make a delicious peanut butter cookie that was both moist and light.  Sort of like my Starbucks Inspired Flourless Chocolate Cookie or (cue the light bulb over my head), how about exactly like my Flourless Chocolate Cookie! But instead of adding melted chocolate to the meringue, I'd add melted/warmed peanut butter---and so this cookie was born! It's light, moist, gooey, and crisp in all of the right places! A miracle really, considering the fact that we all know that I am not the most proficient baker. I was fully expecting that this would turn out to be another disastrous baking episode for me. I'm so glad that I was wrong, and that this turned out to be all that I wanted and more!
Pin It!
Pin It!


Prep time: 10 minutes
Cook time: 8-10 minutes
Total time: 20 minutes
Makes 8 cookies

Ingredients:
2 egg whites
6 Tablespoons of creamy peanut butter warmed
1/8 teaspoon of cream of tartar
3/4 of powdered sugar (I used maple sugar,see how to powder any type of sugar here)
1 teaspoon of vanilla extract
1/2 cup of chocolate chips (optional)

1/8 teaspoon of sea salt

Directions:  Pre-heat the oven to 375F. Over low heat warm the peanut butter, until it begins to thin a bit and takes on a glossy shine---about 5 minutes, set aside.


Add the two egg whites to a bowl and beat on low until bubbles form, add the cream of tartar and beat on high, add in the sugar one tablespoon at a time and beat until peaks are stiff and fluffy---you can turn the bowl upside down with out the mixture running. 


Pour in the melted peanut butter and fold it into the egg white fluff--be gentle-- fold until the white streaks disappear. 

Fold in the chocolate chips, 

Spoon the cookie mixture onto a parchment/silpat lined cookie sheet. 

Let them cool for 10 minutes, then move them to a cookie rack to continue cooling 5-7 minutes.


 Serve and enjoy!


Wednesday, August 13, 2014

Pineapple and Coconut Cream Creamsicles

Pineapple and Coconut Cream Creamsicles

So it's official, the Zoku Quick Pop Maker is my new favorite kitchen gadget! It has become my daughters favorite too.  Although I'm pretty sure that she is more a fan of what comes out of the quick pop maker than the actual quick pop maker.  We have been making all sorts of popsicles since we got it.  Page is a big fan of the creamsicle--she is her mother's daughter after all, but she is also a fan of simple juice pop's.  Pineapple is a favorite of hers, she just loves it.  I decided to pair it with coconut cream, and let me tell you---THEY ARE AMAZING!!!!!!!!!!!!
Pin It!
Pin It!


Prep time: 10 minutes
Cook time: none
Ingredients:
1 cup of Pureed pineapple
1/2 cup of coconut cream
1/2 teaspoon of vanilla extract
2 tablespoons of maple syrup or your favorite sugar

Directions: Add the cream, vanilla extract and maple syrup to a cup, mix well and set aside.  If using classic pop molds, place all ingredients in a blender and blend until well combined.  Divide mixture evenly among molds and freeze for 6-8 hours or until frozen solid. If you are using the Zoku Quick pop maker, Pour  the pineapple puree into the molds and allow to set for 2-3 minutes.  At the 2 minute mark siphon out the remaining unfrozen puree with a straw or a unused infant aspirator--I purchased one just for this.  Zoku sells a tool kit for $20 which includes a siphon tool, but the aspirator is $3 and does the job equally as well.  After you have removed all of the juice, pour cream into the molds, and allow to set for another 4-5 minutes, then follow the directions for removing the pops.  If you aren't going to eat the pops right away, you can store them in sandwhich size zip lock bags and place them in the freezer until you're ready to eat them.  These never last longer than a few hours in our house, so I can't say how long you could store them that way.  If you like these, you'll probably love my Orange creamsicle, and Strawberry Creamsicle recipes too.


Tuesday, July 29, 2014

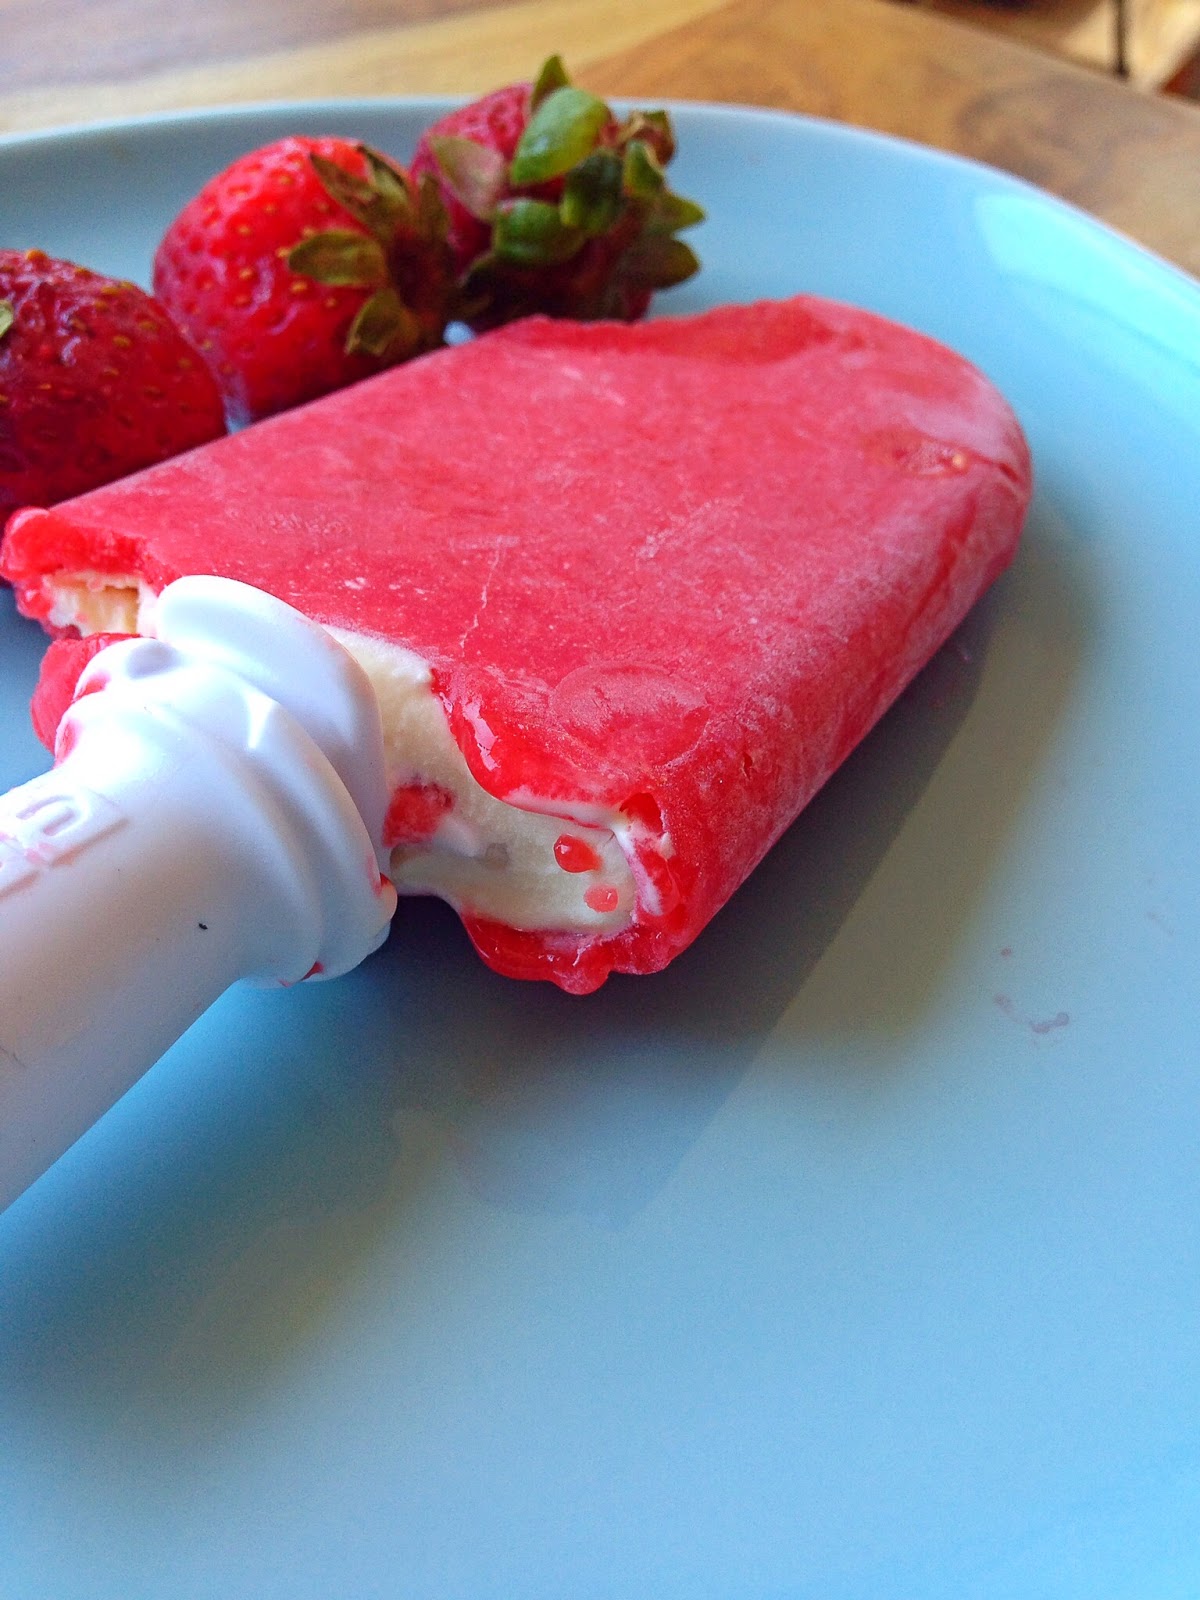
Strawberry Creamsicles


Strawberries and cream, what's not to love about this combination?  When I was making Orange Creamsicles the other day I decided I'd make a few strawberry cream bars as well.  My daughter loves strawberries, and she loves ice cream, so I thought since it's so hot out lately I'd give her the best of both worlds.  The verdict? She loved this creamsicle of course--who wouldn't?  If you are doing this, my suggestion is to use very ripe, and very sweet berries, otherwise you'll have to add sugar in some form to make these sweet.
Pin It!
Pin It!


Prep time: 5 minutes
Makes 2-3 strawberry creamsicles

Ingredients:
1 cup of pureed organic strawberries
1 cup of heavy cream or coconut cream
1/2 teaspoon of vanilla extract
2 tablespoons of maple syrup

Directions: Add the cream, vanilla extract and maple syrup to a cup, mix well and set aside.  If using classic pop molds, place all ingredients in a blender and blend until well combined.  Divide mixture evenly among molds and freeze for 6-8 hours or until frozen solid.
If you are using the Zoku Quick pop maker, Pour the strawberry juice into the molds and allow to set for 2-3 minutes.  At the 2 minute mark siphon out the remaining unfrozen juice with a straw or a unused infant aspirator--I purchased one just for this.  Zoku sells a tool kit for $20 which includes a siphon tool, but the aspirator is $3 and does the job equally as well.  After you have removed all of the juice, pour cream into the molds, and allow to set for another 4-5 minutes, then follow the directions for removing the pops.  If you aren't going to eat the pops right away, you can store them in sandwhich size zip lock bags and place them in the freezer until you're ready to eat them.  These never last longer than a few hours in our house, so I can't say how long you could store them that way.  If you like these, you'll probably love my Orange creamsicle recipe too.


Tuesday, July 1, 2014

Cherry Hand Pies


Cherry Hand Pies

I am not a fan of baking, but every now and then I get a craving and I drag myself into the kitchen and have a go at it. Baking involves a lot of science, and only after one has mastered the science, can one move onto the artistry of baking. In cooking you can add a little here and  there and the final result will not be drastically altered, with baking, well let's just say, baking is much less forgiving, and that my friends is why I avoid it if I can. There is a reason why chefs on top chef avoid doing desserts--sooo many things can go wrong. This recipe took me several tries before I was happy with the final product. I tried this with puff pastry and I was less than impressed. I moved on to a gluten free do it yourself pie crust and was highly disappointed. It was my fault really, the dough was good, but I used way too much butter, and the dough spread and wouldn't stop spreading.  Finally, I gave in and bought ready made pie crusts, the kind you roll out--not the kind already in a pie tin--and I was very pleased with the result.  These little hand pies make a great addition to a picnic, they're small, mess free, and you don't have to worry about having a knife to cut the pie because these are single serving.

Prep time:10 minutes
Cook time: 30 minutes

Ingredients:
2 cups of fresh cherries, halved and  puts removed
1/2 cup of maple sugar (can use maple syrup, cane sugar, or sweetener of your choice)
1 tablespoon of lemon juice
1  teaspoon of vanilla extract
1 tablespoon of arrowroot powder (can sub with xantham gum, cornstarch or flour)
1/8 teaspoon of sea salt
1/8 teaspoon of cinnamon
1 package of ready made pie crusts--the kind you roll--not the kind that are already in pie tins

Directions:
Add the cherries, lemon juice, sea salt and sugar to a sauce pan over medium heat. 

Cook until cherries begin to release juices, about 5-7 minutes.

In a small bowl mix together arrowroot and 1 teaspoon of water,

 Add it to the cherry mixture, stir and cook until mixture thickens. 

Remove from heat and allow to cool to room temperature. Once mixture has cooled. Pre-heat oven to the recommended temperature on the box for the pie crust you are using. Roll out your pie crusts, then cut out your desired pie shape. I used a tarlet tin to cut out tarlet pie shapes--two circles for each pie. Fill one of the shapes for each pie with 2-3 tablespoons of the cherry filling, top it with the other pie shape, seal it by pressing the borders with a fork. Place the pies on a silicone/parchment lined baking sheet and bake until golden brown-- about 20-30 minutes. Remove from oven, allow to cool, then enjoy!


Wednesday, May 21, 2014

Flourless Chocolate Meringue Cookies


Starbucks Inspired Flourless Chocolate Meringue Cookies

This heat has definitely made me a Starbucks fan. Everyday I find myself going there to buy a shaken green iced tea, and since I'm there, I pick up  a treat--their flourless, gluten free, chocolate cookie. It's probably the healthiest treat option in their refrigerated showcase, and my daughter and I love it. However, this afternoon tea and cookie thing is getting expensive, at $5 a day--$7 when we indulge at Disney--it's getting a bit out of control. I love treating myself, but I hate mindless spending too. I'd much rather spend that $200/month on a new kitchen gadget--like a Searzall, or a chamber vacuum sealer to go along with the new immersion circulator that my husband got me for Mother's Day.  So what's a girl to do? Buy a box of organic green mint tea, and make the meringue cookies myself, of course!  The best thing about these cookies is that besides the cream of tartar, I already had all of the ingredients.  These cookies are chewy, gooey and light all at the same time--just like the Starbucks cookies, but unlike the Starbucks version, these contain no added oil, so they are super low-fat, low-calorie and gluten free! Score!!!

Prep time: 10 minutes
Cook time : 10-15 minutes
Total time: 25 minutes

Ingredients:
2 egg whites
5 ounces of bitter sweet dark chocolate (60%)
1/8 teaspoon of cream of tartar
3/4 of powdered sugar (I used maple sugar)
1 teaspoon of vanilla extract
1/2 cup of chocolate chips

Directions:  Pre-heat the oven to 375. Melt the 5 ounces of chocolate in a double boiler and set aside. 


Add the two egg whites to a bowl and beat on low until bubbles form, add the cream of tartar and beat on high, add in the sugar and beat until peaks are stiff and fluffy---you can turn the bowl upside down with out the mixture running. 

Pour in the melted chocolate and fold it into the egg white fluff--be gentle-- fold until the white streaks disappear.

Fold in the chocolate chips, then spoon onto a parchment lined cookie sheet.  

Bake for 10-12 minutes, the cookies should be soft and pliable. 

Let them cool for 10 minutes, then move them to a cookie rack to continue cooling 5-7 minutes. Serve and enjoy.