Showing posts with label low carb recipes. Show all posts

Tuesday, May 12, 2015

Herbaceous Grilled Lamp Chops

Herbaceous Grilled Lamb Chops
Last weekend I visited a Persian market.  The market filled me with all sorts of food inspiration, but it mostly left me with a strong desire to eat lamb.  I guessing that desire came from the cooked foods section, which had fresh lamb kabobs and sharma. The market also housed a rather large meat department, it had lamb in every form, hooves, hearts, livers, basically every part of the lamb that a better cook than I am could possibly want to cook. A far cry from the selection at my local Whole Foods! I feel like I hit the lottery if they have stewed lamb meat once every 4 months.  Wouldn't it be fabulous to be able to walk into your local market and find, um..choices?  Like ramps in the spring time, in California--but I digress.  Let's just say, I left the Persian market with market envy.   I shop at Whole Foods so often that when I go into a conventional grocery store, I'm always amazed at how inexpensive things are.  Haha..call it reverse sticker shock! Thank you Whole Foods!  Surprisingly, I did not leave the Persian market with lamb.  I did find some great spices, some pomegranate molasses, and a few other great items.  I left with my new finds and a mission to cook these lamb chops.

Pin It!
Pin It!
Ingredients:
1 lb lamb chops
2 tablespoons of fresh rosemary, finely chopped
4-5 cloves of garlic minced
1 teaspoon lemon powder, can sub with lemon zest
1/2 teaspoon of olive oil
Directions: To a small bowl add garlic, rosemary, lemon zest and oil, mix well.
image
Dry lamb chops, season generously with sea salt. Rub the lamb chops with the herbaceous garlic paste.
image
Place lamb chops on a hot grill, and cook for 5-7 minutes on each side, or until lamb chops are cooked to your liking.  Remove from grill, serve with a fresh squeeze of lemon and enjoy!
image

Wednesday, March 4, 2015

Cauliflower Pizza Crust--How to make Cauliflower Pizza Crust

image
Cauliflower Pizza Crust
 
I'm trying to find different ways to serve vegetables to Page.  She has a new found love for pizza--before she wasn't at all impressed.  Recently, I've started to get her involved in helping me to make the meals we're eating.  I saw a food documentary about food, and kids.  In it the narrator said that the best way to get kids to eat vegetables is to have them take part in cooking. Page is at that age where she's very eager to help, so I thought why not take advantage of that.   I've also really wanted to try out a cauliflower pizza crust on our new baking steel.  I have to say that I was more than impressed with the results--so was Page.   Now for those of you wondering if this will taste anything like that delicious yeasty bread that you're used to with pizza--the short answer is no.  Bread is bread--this is an alternative to bread.  Although it's not bread--it mimics bread in form, and it is so delicious that it stands on it's own.  The reason cauliflower is most often used by people as a substitution for grains is because it has such a mild flavor.  It also has great texture. This recipe requires that you add cheese.  I used parmesan, but you could use mozzarella, or pecorino, or a combination of your favorite Italian cheeses.  I also used fresh basil, but you can use rosemary, or another herb of your choosing, dried or fresh--totally up to you.
Pin It!
 
Prep time: 10 minutes
Cook time: 15 minutes
Ingredients:
1 small head of cauliflower
1/4 teaspoon of garlic powder
1/4 teaspoon of truffle salt
1 tablespoon of finely chopped fresh basil
1 cup of freshly grated parmesan--or cheese of your choice
1 egg
Directions: Pre-heat your oven and pizza stone or baking steel  to 450F for 45 minutes. Steam the cauliflower for 5-7 minutes--or until fork tender.
image
Transfer cauliflower to a processor and process until cauliflower looks like grains of rice.
image
Transfer processed cauliflower to a clean kitchen towel, or a nut milk bag, and squeeze until the cauliflower becomes dry.  You want to squeeze out as much water as you can.
image
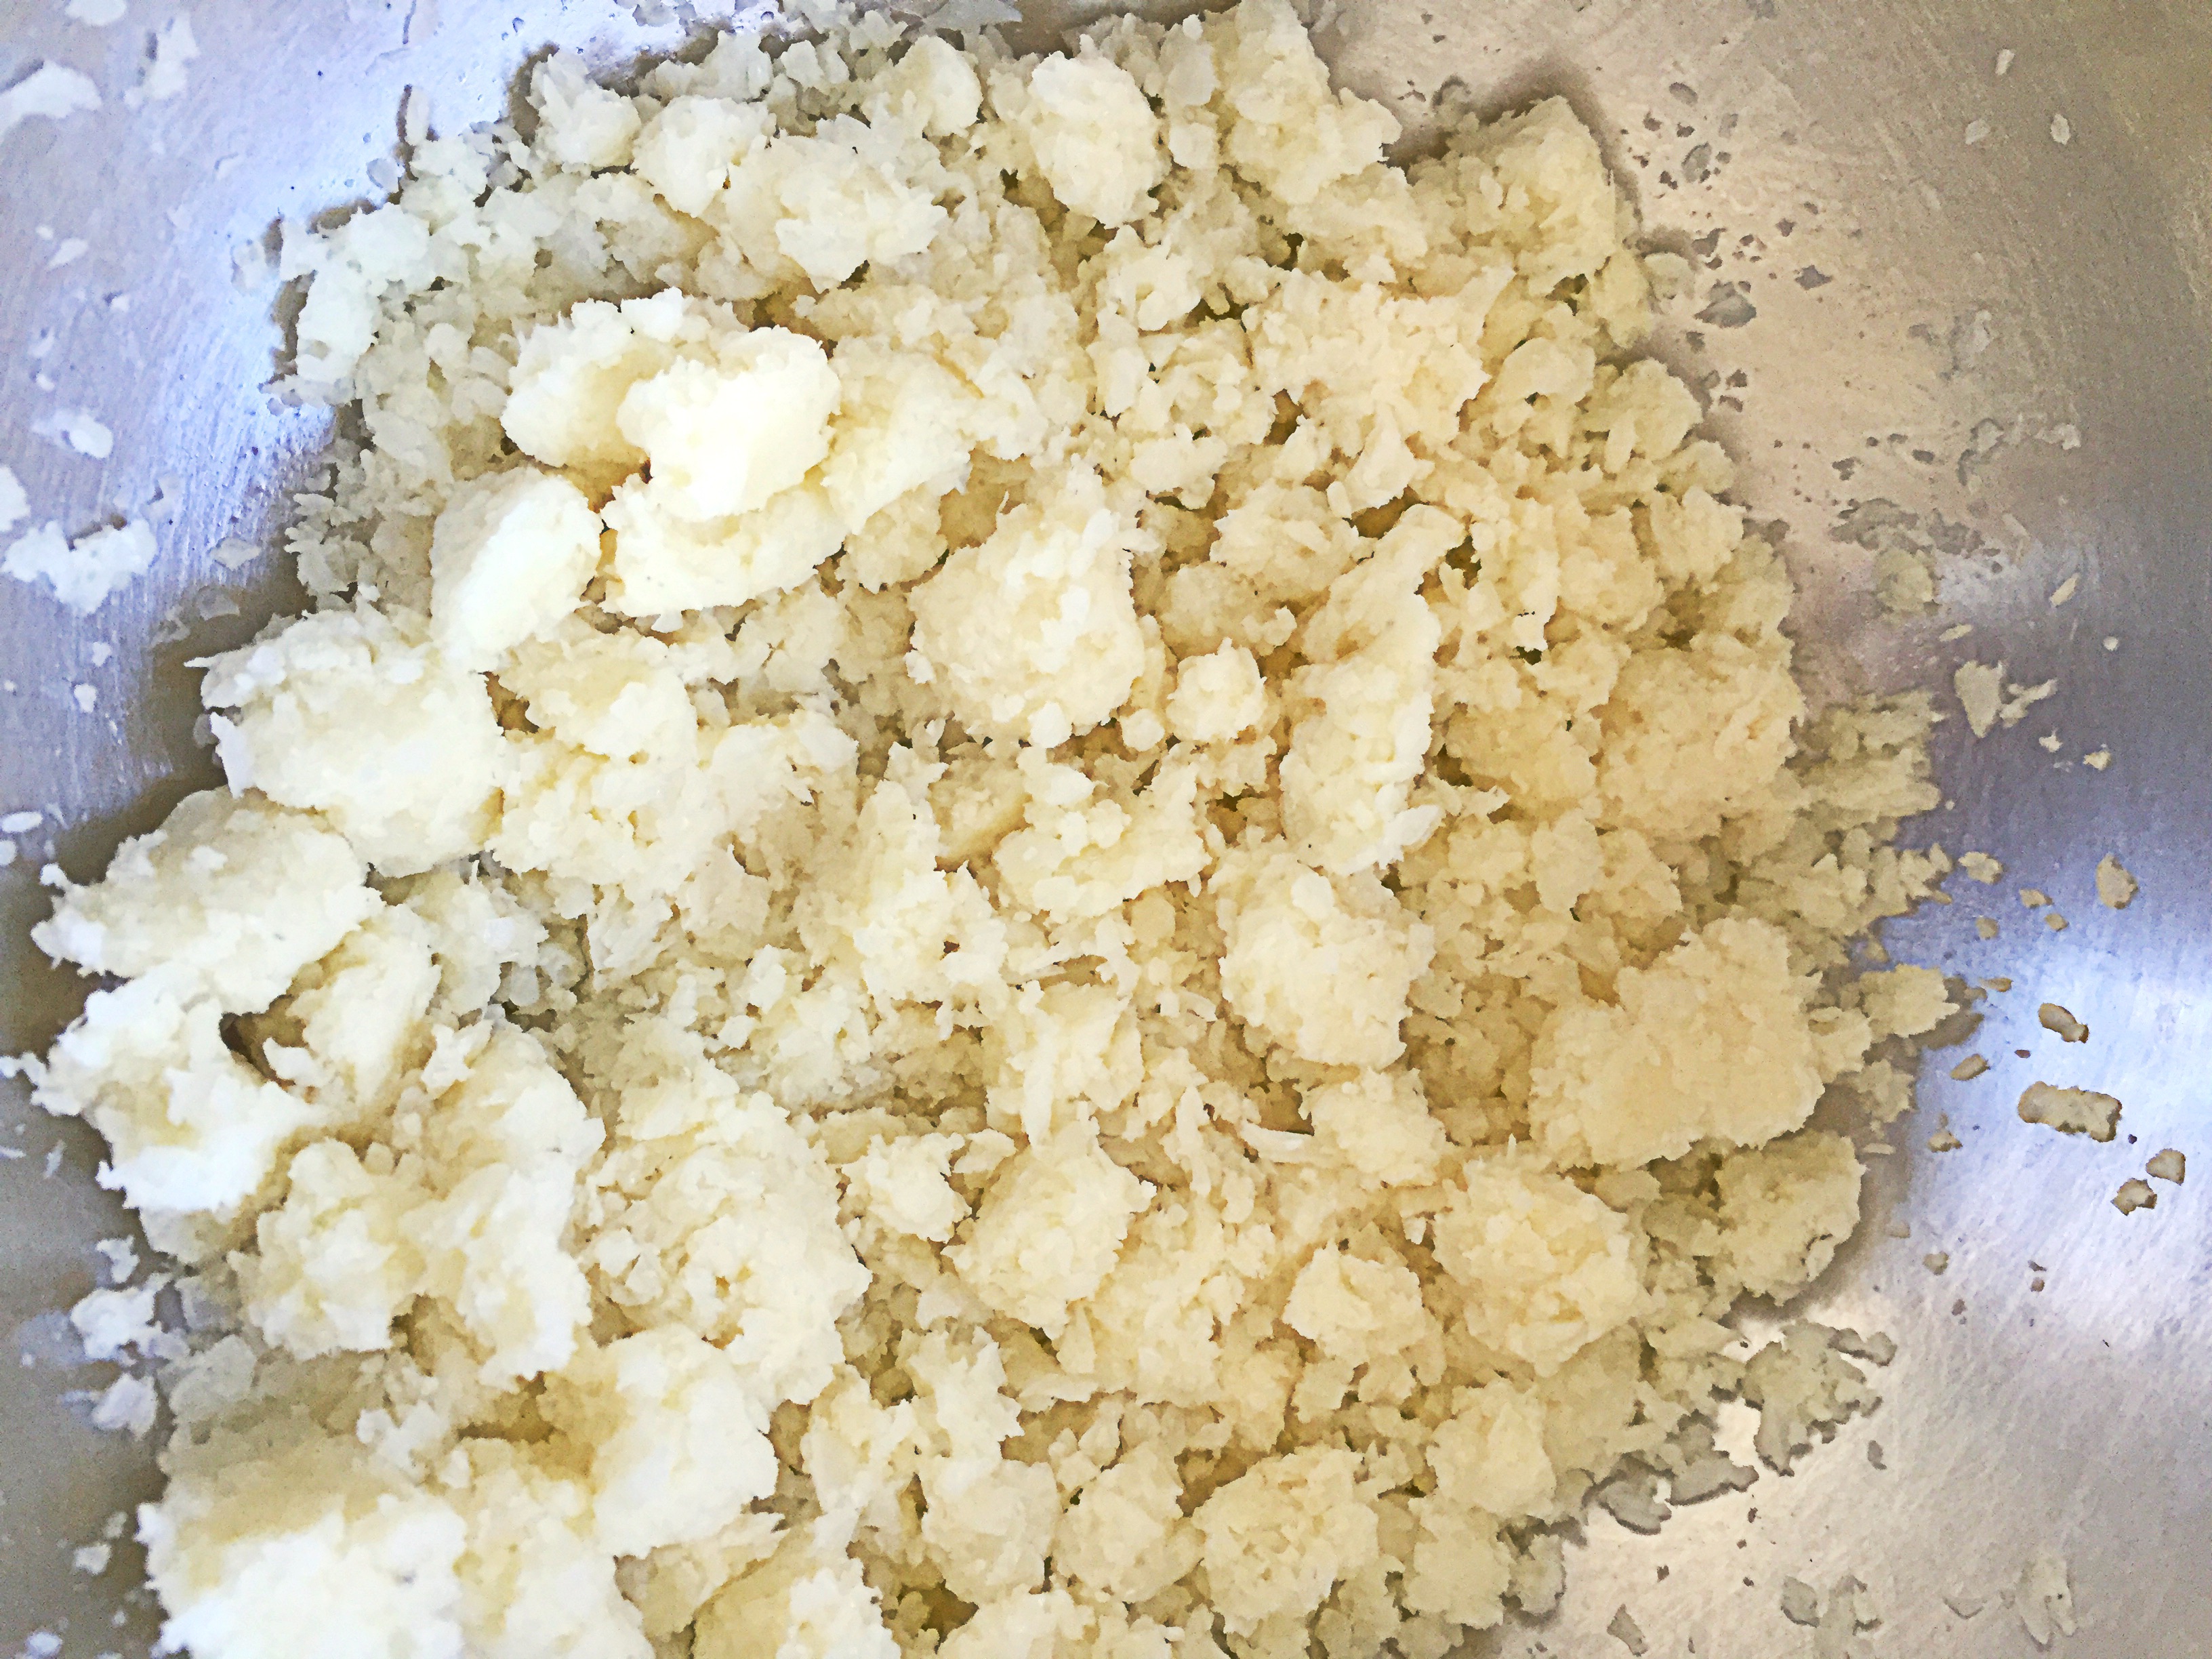
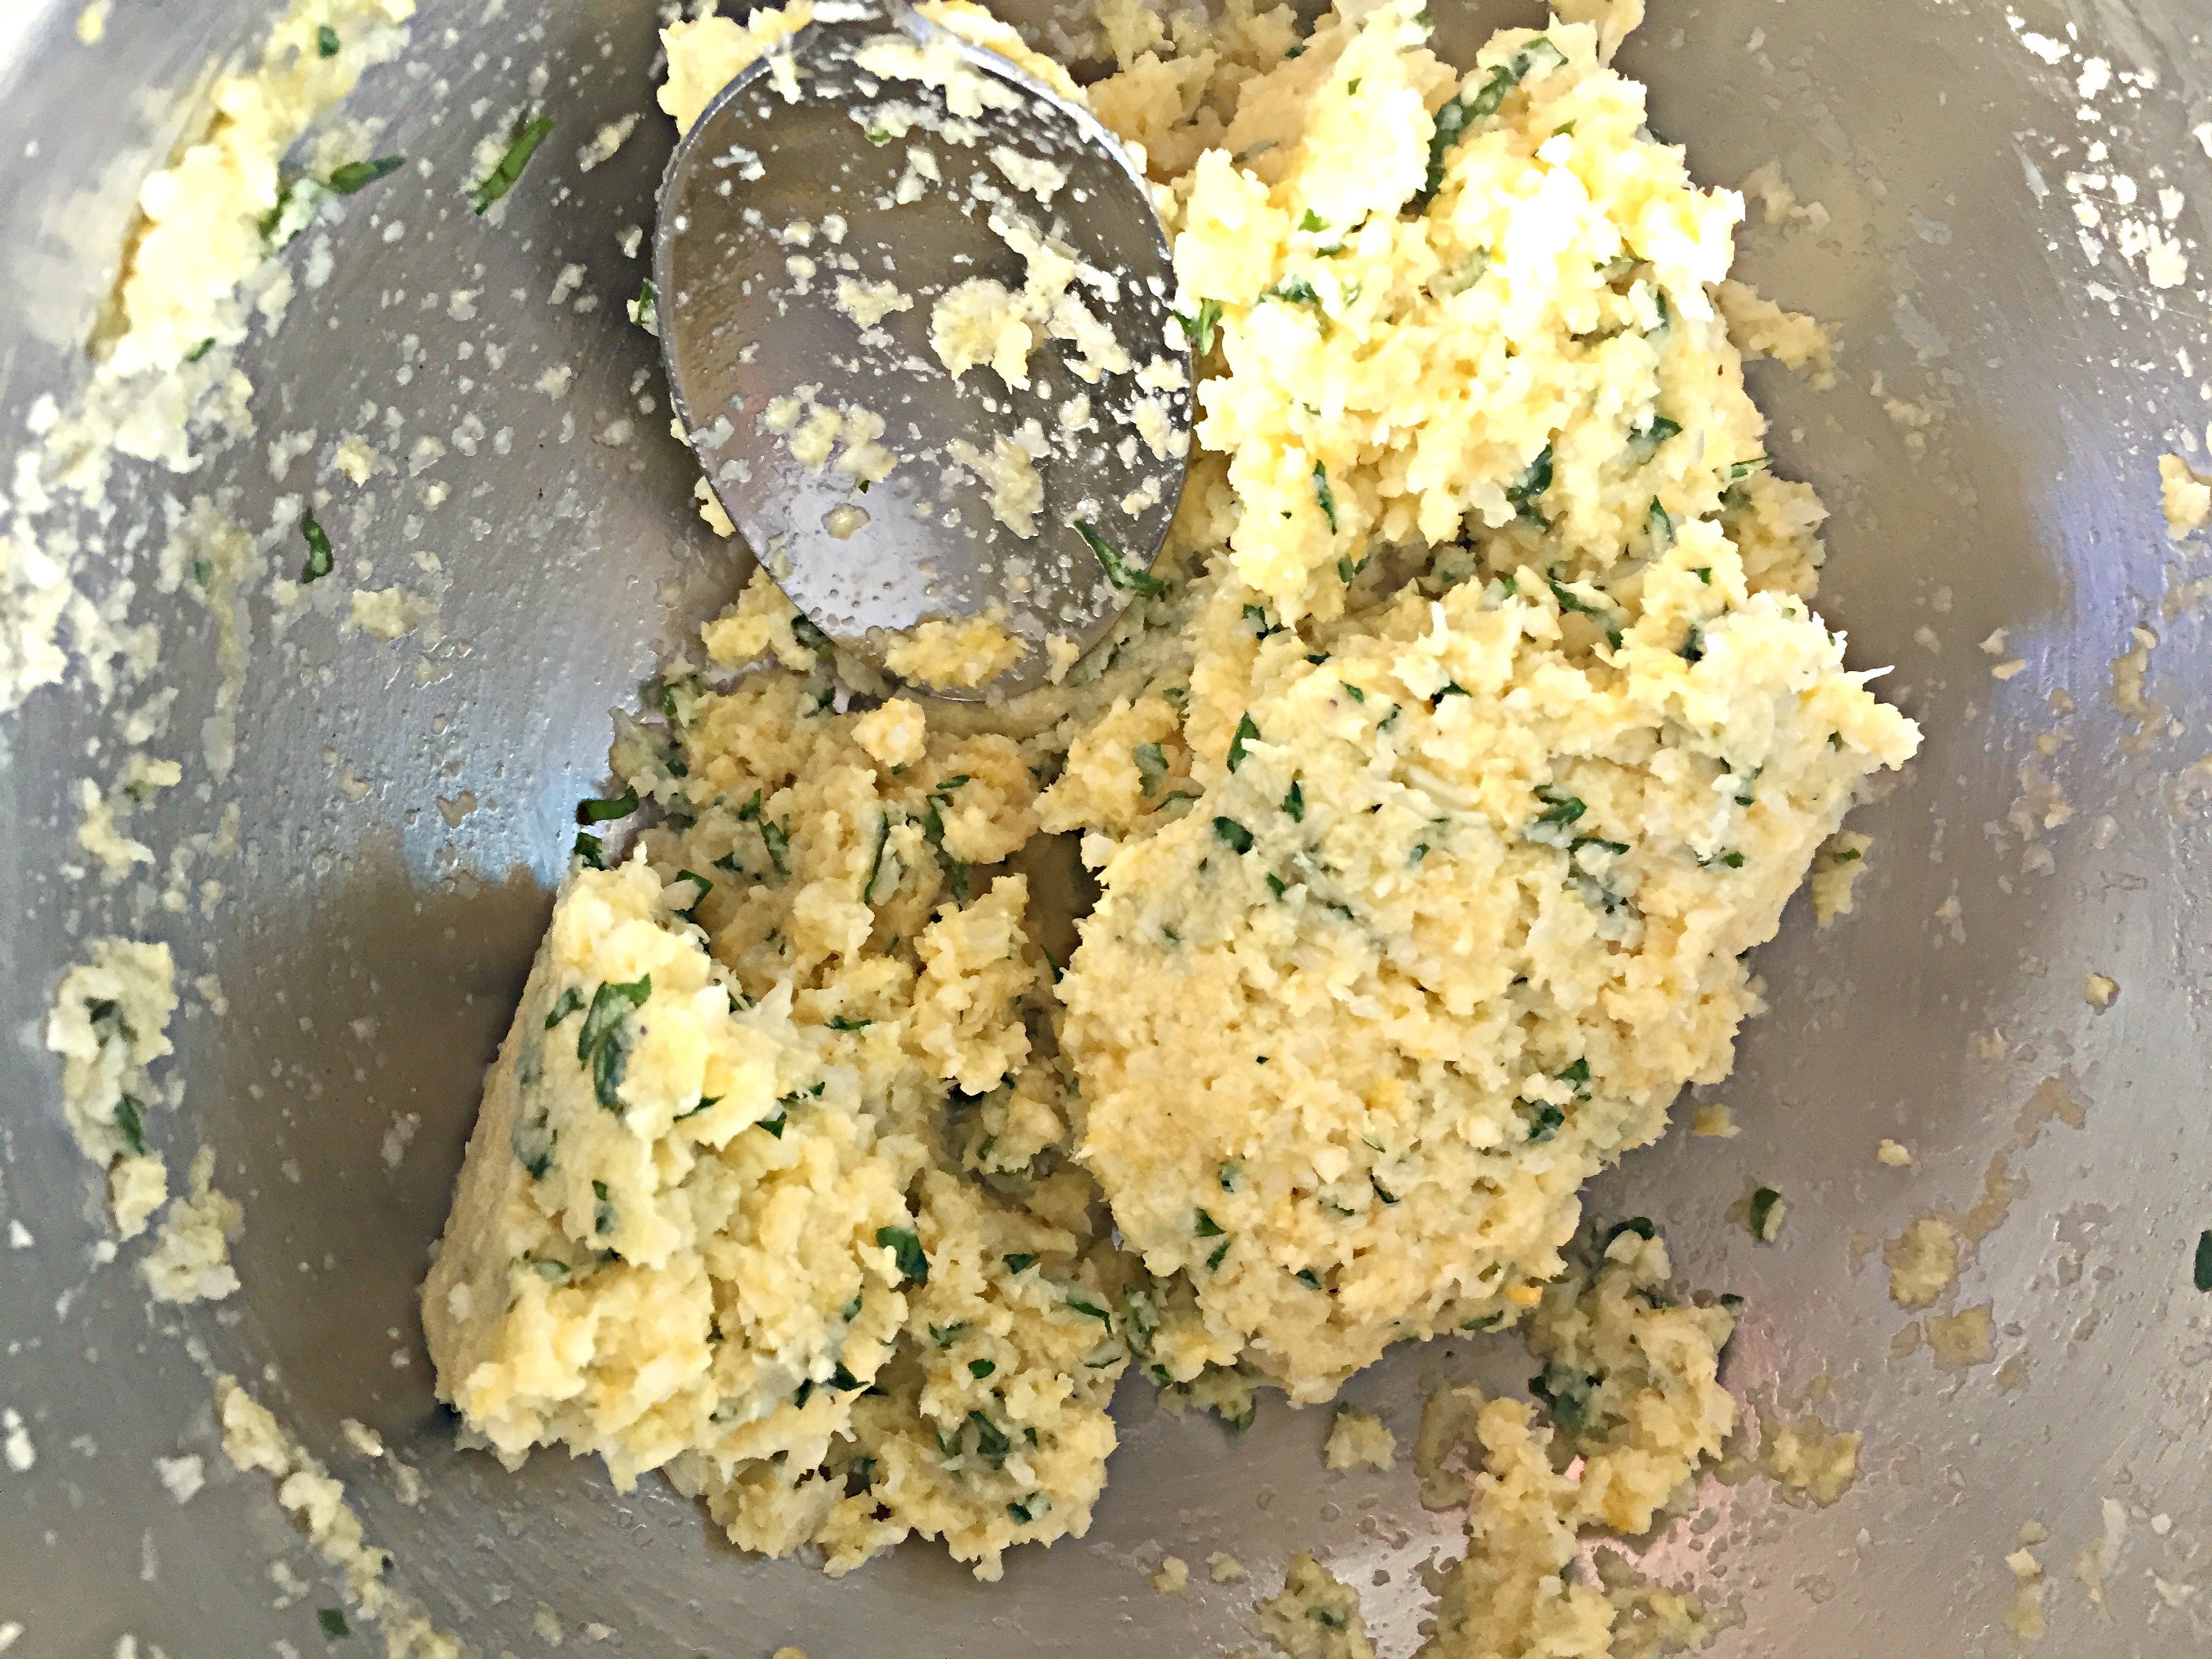
Transfer the cauliflower to a medium size bowl, and add garlic powder, salt, basil, and cheese--mix together into a ball.
image
image
image
Spray a sheet of parchment paper with oil.  Add the cauliflower mixture to the center of the parchment paper, and with your hands begin to flatten and form it into the shape of a pizza.
image
image
Once you have the shape you want, place it in the oven for 10-12 minutes.
image
Once it's golden brown and bubbly like this:  remove it from the oven.
image
image
Now you can top it with your favorite tomato sauce, cheese and toppings.
image
Once you have it topped, place it in the oven to cook until the cheese and topping melt.  Remove from oven, cut serve and enjoy!
image
This made a 10-12 inch pizza, not a crumb was left over.  Everyone enjoyed it--my husband didn't even know that the crust was made from cauliflower until Page told him! If you like this try my recipe for Tortilla Pizza!

Wednesday, February 4, 2015

Roasted Cabbage Wedges with Cider Herb Vinaigrette

Roasted Cabbage Wedges with Cider Herb Vinaigrette
One of my favorite winter vegetables is cabbage.  I love it in a hearty soup, braised in a crock on the stove, or roasted in the oven. Cabbage seems to be one of those vegetables for me that not matter how I cook it, it's comforting in every way! This recipe is a favorite of mine, the roasted cabbage alone is awesome, but the vinaigrette really takes it to another level!
Pin It!
 
 
Prep time: 5 minutes
Cook time: 15 minutes
 
Ingredients:
1 small head of cabbage quartered with core intact, so it doesn't fall apart
3-4 tablespoons of oil
4 cloves of garlic sliced thinly
sea salt and black pepper to taste
Vinaigrette
2 tablespoons of Apple cider vinegar
1 tablespoon of mustard oil
1 tablespoon of finely chopped cilantro
sea salt to taste
 
Directions: Add the ingredients for the vinaigrette to a bowl, mix well and set aside.
image
Pre-heat the oven to 425F.
image
Add the cabbage to a foil lined bake sheet, then drizzle with oil  and season with sea salt and black pepper on both sides. Lastly top with sliced garlic, and place in the oven.
image
Cook  for 10-15 and cabbage takes on some color.  Remove from oven, drizzle each wedge with some of the vinaigrette, serve and enjoy!
 
image

image
If you like this recipe check out my recipes for Indian Spiced Cabbage and Ground Chicken and Cabbage Curry!
Follow and Like me on Facebook: www.facebook.com/lazygirldinners

Tuesday, February 3, 2015

DIY BBQ Rub--Lazy Girl All Purpose Barbecue Seasoning

Lazy Girl BBQ Spice Rub
By now you know that I love to make my own dry rubs and seasonings. I am a particular fan of the Trader Joe's brand BBQ rub, but it's not organic, and it contains sugar.  So of course I had to make my own version--without the sugar. I find that most things that call for sugar, either need less than the recipe calls for, or  don't need it at all.  If you want to add sugar to this, then by all means add it, 1 teaspoon of maple sugar won't kill you, but it really isn't necessary for this recipe, this seasoning is fantastic all own its own. Also a bit of spice is nice in the recipe but I have made it optional.  My daughter isn't a fan of spicy foods, so I often leave the spice as a later addition for the grown ups.  This truly is an all purpose seasoning, it taste great on chicken, pork, tofu, or steak.
Pin It!


Prep time: 5 minutes
Cook time: none
Ingredients:
2 teaspoons of smoked paprika
1 teaspoon of onion flakes (can sub onion powder)
1 teaspoon of satsuma powder (can sub 2 teaspoons of orange zest)
1 teaspoon of cumin
1 teaspoon of ground coffee
1 teaspoon of himilayan sea salt
1/2 teaspoon of red pepper flakes (optional)
 
Directions: Add all ingredients to a small bowl,
image
Mix well:
imageTransfer to an air tight container until ready to use:
image
 
This is such a great seasoning, and it's not just something to use on grilled meats.  I used it to make oven roasted barbecue chicken the other night, and it was a huge hit!
 
image
 
Follow and like me on Facebook:  www.facebook.com/lazygirldinners

Tuesday, January 27, 2015

Oven-Roasted Broccolini with Lemon-Garlic Parmesan


Oven Roasted Broccolini with Lemon-garlic Parmesan
 
Going to the Farmer's market on Sunday has become routine for my family.  My daughter gets excited about going and so do I.  I never know what my weekly meal plan will include until after I've forged my way through the market.  This week the pickings were slim.  I don't know if was just extremely busy before we got to the farmer's market, or if the farmer's just didn't have much to share.  Either way, I left with only two produce items--broccolini and strawberries.  Not my usual bountiful assortment.  I had no idea how I was going to prepare the broccolini, and decided just before cooking it, to roast it and top it with the lemon-garlic parmesan mixture.  The flavors sounded like they would pair well to me, so I took an chance, and I'm so glad I did.  Beside's my Roasted Broccoli with Garlic--this is new favorite way to prepare broccoli. For my Paleo, Vegan, and Whole 30 friends leave out the cheese, this is still great without it--the lemon really makes this broccolini sing!
Pin It!


Prep time: 5 minutes
Cook time: 10-15 minutes

Ingredients:
1lb of organic broccolini (can sub broccoli)
1/2 cup of freshly grated parmesan cheese
1/2 teaspoon of lemon powder (can sub 1 teaspoon of lemon zest)
3 cloves of garlic, minced
2 Tablespoons of oil plus an additional 2 teaspoons
sea salt to taste
Directions: Pre-heat the oven to 450F.  To a small bowl add parmesan, garlic, and 2 teaspoons of oil,
image
mix well and set aside.
image
Line a bake sheet with foil, add the broccolini, 2 tablespoons of oil, and sea salt and toss well.
image
Place in the oven for 10 minutes.  At the 10 minute mark, remove the sheet pan from the oven, and top with the lemon-garlic parmesan mixture.
image
Return the pan to the oven and cook for an additional 3-5 minutes or until the parmesan browns, remove from oven, serve and enjoy!
image
 
If you like this recipe you might like my recipe for Roasted Brussel Sprouts with Parmesan, Lemon and red pepper flakes, or my recipe Parmesan Chicken with Roasted Romaine.
Follow and Like me on Facebook:  www.facebook.com/lazygirldinners


Tuesday, December 9, 2014

Sous Vide chicken Thighs with Thyme and Garlic

Sous Vide Chicken Thighs With Thyme and Garlic
OMG! When I tell you, that this preparation of chicken is the best that I've eaten in years, believe me! My husband ordered me the new Anova immersion circulator through a Kickstarter campaign back in May. I waited patiently, and it arrived last week. My first thought when it finally arrived was to make these chicken thighs. I had watched this you-tube video , (there are 3 parts watch them all part2, part 3), of Michael Voltaggio making these chicken thighs sometime ago.  I was just in the early stages of learning about sous vide cooking, which means under vacuum cooking.  All of the things that I had read about sous vide had seemed so complex--holding temperatures, the right temperatures for different meats, cooking times--but Michael made it seem so simple, and it was! Sous vide cooking is the ultimate in lazy girl cooking.  It involves less effort than most slow cooker recipes, and the results are amazing!  This particular recipe literally involved 8 minutes of active cooking time.  If you add in the 5 minutes it took for me to salt, and bag the chicken for cooking, then it's 13 whole minutes of your time.  So super easy! Sous vide cooking is the future of  the slow cooking movement.  After using my immersion circulator, it's not hard for me to see why.  Unlike in conventional stove top and slow cooker cooking, in which flavor and nutrients cook out into the air, with sous vide cooking all of the flavor and nutrients stay in the food.  Every single bite that I took of this chicken was infused with the flavor of thyme, the nuttiness of the butter and garlic, and the umami flavor of the truffle salt that I used.  It was like eating  the juiciest and most flavorful  piece of fried chicken that I've ever eaten, only this chicken wasn't fried. It was cooked slowly in a water bath at a low temperature.  The best thing about immersion circulators is that they can free you from weekday cooking.  You can cook these on Sunday with your immersion circulator, put them in an ice bath, and then refrigerate and "cook" or crisp the skin  3 or 4 days later.  As a side note, if you're wary about cooking foods in plastic, like I was, there are plenty of safe BPA and Phathalate free options for out there to assist you.  Most food grade vacuum bags are both BPA and Phathalate free.  Foodsaver is one brand, even ziplock bags are-yes you can even sous vide in a Ziploc , see how here--but it has to be Ziploc not an off brand.  I use Vacmaster. Here is an article all about plastics and sous vide cooking.  If you are still wary, here is a silicone option, or you can use mason jars to sous vide in--just note that cooking in a mason jar will require additional cook time.
Pin It!


Prep time: 5 minutes
Cook time: 1.5 hours
Ingredients:
3 chicken thighs skin on
6 sprigs of fresh thyme
1 teaspoon of grassfed butter cut 3 ways
sea salt to taste -- I used a truffle salt
3 cloves of garlic smashed
3- tablespoons of a high heat oil
Directions:  Season the chicken with sea salt
image
Place chicken- flat- into a food saver type bag--must be food grade-and hopefully bpa free--Food Savers are.  Top each piece of chicken with one clove of garlic, and a tab of butter. Lastly add the thyme, then vacuum and seal, using a edge sealer like a food saver, or if you have a vacuum chamber sealer as I do, vacuum it for 25-30 seconds with a 1.6 second seal.
image
To a stock pot add enough water to fill half of your pot, or above the minimum water level of your immersion circulator.  Turn on the circulator, and adjust the temperature to 149F.
image
Once your circulator has reached temperature, add the sealed bag and cook for 1.5 hours.
image
 
 
Make sure that your chicken is fully immersed.image
At the 1 hr and 20 minute mark, prepare an ice bath DO NOT SKIP THIS STEP, it's a matter of food safety when cooking foods at low temps in an air free environment!--fill a bowl with ice and a little bit of water about 4 cups of ice to 1 cup of water--I added some frozen lime cubes as a weight. When the chicken has cooked for 1.5 hours turn off your circulator, and remove the bagged chicken from the water--be careful the water is hot--immediately immerse the bagged chicken into the ice bath and let sit for 1 hour undisturbed.  After the 1 hour ice bath, place it in the refrigerator, until you're ready to cook..
image
 
Once you're ready to brown the skin, cut open the bag, and remove the chicken. It won't look like it has been cooked, but it is fully cooked at this point--except for the skin.  Discard the garlic and thyme.
image
Add the oil to a skillet/frying pan, and bring to temperature.  Once the oil is hot, add the chicken, skin side down, lower the heat to medium, and cook until skin is nice and crispy--about 6 minutes, flip the chicken over and cook on the other side for 1- 2 minutes.  Remove from the pan and enjoy!!!!! This looks as amazing as it tastes!
image
Follow and like me on Facebook: www.facebook.com/lazygirldinners