Showing posts with label dessert. Show all posts

Wednesday, October 28, 2015

Popcorn Balls with Peanut butter and Marshmallows

Popcorn Balls with Peanut butter and Marshmallows
Now that Page is in school--two schools if we're being technical--there are always opportunities for me to cook, or prepare treats for her classes.  This week has been particularly hectic because both schools are doing fundraising drives, and if you're a parent then you know the schools require a lot of participation from parents in the form of raising money and volunteering to bring food and elbow grease.  Luckily for me none of the kids in Page's class have food allergies, so I decided to make these popcorn balls.  Popcorn balls have always been one of my favorite Halloween treats.  They contain popcorn and marshmallows, really what's not to love? These popcorn balls also have a yummy touch of peanut butter, you can omit it, or sub with sun butter or almond butter if you have a little one with allergies. If not--live a little--tis the season! You can make your own marshmallows here's how, or you can buy a store brand.  I got a gluten free version from Whole Foods.

Pin It!
Pin It!


Makes 12 medium popcorn balls
Here's what you need:
Ingredients
6 cups of organic Non-GMO popcorn (equal to 1/4 cup of unpopped popcorn)
3 cups of marshmallows
2 tablespoons of butter
1/2 teaspoon of sea salt
1 tablespoon of organic peanut butter
Directions: Pop 1/4 cup of popcorn kernels then set aside in a large bowl.
To a sauce pan add the butter,
Processed with VSCOcam with c3 preset
let it melt then add the peanut butter, marshmallows,
Stir until melted,
Processed with VSCOcam with c3 preset
Working quickly pour the marshmallow mixture over the popcorn.
With a spatula work quickly to coat the popcorn in the marshmallow mixture.  Once all the popcorn has been coated, work quickly to form the popcorn into balls.
The mixture will still be quite warm so be careful and try not to burn your hands.  Once all the balls have been formed serve and enjoy!
Processed with VSCOcam with c3 preset
If you like this you'll probably love my Caramel popcorn with Almonds and coconut recipe, it's crunchy and oh so delicious!

Tuesday, June 2, 2015

Mango Creamcicles

Mango Creamsicles--Mango Half and Half Bars
Yesterday marked the official kick off of the summer season, and nothing screams summer more than a creamsicle! They're the perfect blend between a popsicle and ice cream--half popsicle and half ice cream--doesn't get much better then that!  If you don't have a Zoku Quick Pop Maker--order one! It will more than pay for itself.  If you just refuse to spend the extra $10-12 to upgrade from your popsicle molds, then go ahead and use your popsicle molds, but you will not get the creamy center  you get from a typical half and half bar.
Pin It!
Pin It!
Ingredients:
1/2 cup of mango puree
1/4 cup of water
1 cup of organic coconut cream can sub with heavy cream or half and half
1 teaspoon a vanilla extract
2 tablespoons  of maple syrup or sweetener of your choice
Directions: To a cup add the cream vanilla extract, maple sugar, mix well and set aside.  To another cup add the mango puree and water, and mix until mango puree is thinned out.
image
If using classic pop molds, place all ingredients in a blender and blend until well combined.  Divide mixture evenly among molds and freeze for 6-8 hours or until frozen solid.
If you are using the Quick pop maker, Pour the mango juice into the molds and allow to set for 2-3 minutes.
image
At the 3 minute mark siphon out the remaining unfrozen juice with a straw or a unused infant aspirator–I purchased one just for this.  Zoku sells a tool kit for $20 which includes a siphon tool, but the aspirator is $3 and does the job equally as well.
image
 
 After you have removed all of the juice, pour cream into the molds, and allow to set for another 4-5 minutes, then follow the directions for removing the pops.
 
image
 
image
 
image
 

Monday, August 18, 2014

Coconut Cream Banana Pudding


I love dessert, but I'm one of those rare people who can consume just a few bites and be completely satisfied with a dessert.  I don't like to make whole cakes, pies, or a complete pan of any type of dessert unless I'm taking it to a party.  At home it will just get thrown in the trash.  I'm a single serving dessert kind of gal.  One serving desserts make me happy, their super delicious, quick and easy to make, and always satisfying without the guilt and temptation to eat more. This Banana Coconut Cream dessert is exactly that.  It's light, takes minutes to make, and is gone just as quickly.  The key to this dessert is refrigeration. Unlike whole milk cream, you don't need to whip coconut cream for it to set into pillow like mountains, just put it into the refrigerator and  The coconut cream will set up nicely. If you want to make this for an after dinner snack, put the cream into the refrigerator at least an hour before you want to make this.  The best part of this dessert--besides the fact that it's out of this world delicious--is that it only requires four ingredients, and you don't have to cook any of them!
Pin It!
Pin It!


Prep time: 5 minutes
Cook time: none
Makes 2 servings

Ingredients:
1 cup of coconut cream
1 teaspoon of vanilla extract
2 tablespoons of maple syrup--can sub agave
2 bananas( one smashed with a fork, the other sliced)
5  ginger snaps roughly crumbled (can sub with graham crackers, or granola, or vanilla wafers, or nuts)
Directions: Smash banana, with a fork and set aside.  To a small bowl add the coconut cream, vanilla extract, and maple syrup, mix well, cover and refrigerate  until coconut cream has set--meaning it's firm like a custard.  Once set, remove from the refrigerator, and fold in the mashed banana. If you're short on time, you can fold the mashed banana into the cream when you add the vanilla and the sweetener.  Check out the video below  to see exactly how I put it together.  If you like this dessert then you'll love my Banana Marshmallow Split, it's also a single serving dessert, super easy and delicious!

Click on the link to see how I put this dessert together: https://www.youtube.com/edit?video_id=6LHcyfEoQg8
While you're at it  click here to subscribe to my channel.

Wednesday, July 23, 2014

Orange Creamsicles


How to make Homemade Orange Creamsicles--How to make Half and Half bars
Pin It!
Pin It!


Another favorite frozen treat of mine when I was a little girl was orange creamsicles. We used to call them half and half bars, because that's exactly what they were, half juice pop and half cream center.  Whatever you call them, I think we can all agree that they are super delicious. Unfortunately creamsicles are not made the way they used to be made, they have a ton of ingredients in the boxed versions in the store, none of which contain real juice or cream. This recipe takes care of that.  I used freshly squeezed orange juice for these, but if you can find some fresh juice in the store that does not have added sugar and preservatives, then go for it.  If you decide to squeeze the juice yourself, just make sure that the oranges that you're using are very sweet, that way you don't have to add sugar to sweeten the juice.  If heavy cream isn't your thing (my vegan friends) don't fret, I've done these with coconut cream, and they are just as yummy if not more.   Lastly I used the Zoku Quick Pop Maker to make these, it's the only way to get a true half and half bar, with that creamy center filling, but if you don't want to spend the $25 (for a single), $38( for the duo), or $50 (for the triple) pop maker, you can still make these, but you'll have to blend the mixture, or just pour half juice and half cream into regular molds, ( I used Zoku Classic pop molds), you'll get a verticle half and half bar--still delicious.

Prep time: 10 minutes
Ingredients:
1 cup of freshly squeezed organic orange juice
1 cup of heavy cream or coconut cream
1/2 teaspoon of vanilla extract
2 tablespoons of maple syrup
Directions: Add the cream, vanilla extract and maple syrup to a cup, mix well and set aside.  If using classic pop molds, place all ingredients in a blender and blend until well combined.  Divide mixture evenly among molds and freeze for 6-8 hours or until frozen solid.
If you are using the Quick pop maker, Pour the orange juice into the molds and allow to set for 2-3 minutes.  At the 3 minute mark siphon out the remaining unfrozen juice with a straw or a unused infant aspirator--I purchased one just for this.  Zoku sells a tool kit for $20 which includes a siphon tool, but the aspirator is $3 and does the job equally as well.  After you have removed all of the juice, pour cream into the molds, and allow to set for another 4-5 minutes, then follow the directions for removing the pops. 


If you aren't going to eat the pops right away, you can store them in sandwhich size zip lock bags and place them in the freezer until you're ready to eat them.  These never last longer than a few hours in our house, so I can't say how long you could store them that way. 

 These are the Orange and Coconut Creamsicles that I made using the classic Zoku popsicle molds


Tuesday, July 22, 2014

Fudgesicles

Coconut Cream Fudgesicles

One of my favorite treats as a kid was a fudge pop. Back then they were sold as the low-fat, low-calorie version of ice cream.   Not that any of that mattered to me , I was 7!  I just really enjoyed the creamy chocolate treat!  Back then fudgesicles contained 3 or 4 key ingredients, Milk, chocolate, and cream.  That is a far cry from the ingredient list we see today on a fudgepop box.  When formulating this recipe, I wanted to stick to what made fudgesicles great when I was little, a few ingredients and not much else.  I switched out the milk for coconut milk, and added some coconut cream for richness, the result----Heaven--creamy fudge heaven!  I didn't add any extra sugar to this, for my palate it didn't need it.  My daughter and husband both loved these without any added sugar as well.  However, if you like fudgesicles on the sweeter side, add 2 tablespoons of maple syrup to the mix before freezing.  Although I used coconut milk and cream as a base for these, you can use milk and cream, or just use milk.   You can also use my recipe for Chocolate Tofu Pudding just freeze and enjoy!
Pin It!
Pin It!


Prep time: 10 minutes
Cook time: 5 minutes
Freeze time: 4-6 hours

Makes 4-6 pops

Ingredients:
2 ounces of semi-sweet chocolate chopped
1 tablespoons of unsweetened  cocoa powder
1 teaspoon of vanilla extract
1 cup of coconut milk
3/4 cup of coconut cream

Special equipment:
Popsicle molds

Directions: Add the milk, cream and cocoa powder to a sauce pan over medium heat, and whisk until well combined and mixture is just below a simmer--DO NOT BOIL!!! Remove from heat.  Add in chopped chocolate, and whisk until all the chocolate is melted, stir in the vanilla extract.  


Divide the mixture evenly among the popsicle molds,
 Freeze for 4-6 hours or until solidly frozen. Follow your popsicle molds instructions for removing pops from molds and enjoy!


Tuesday, July 1, 2014

Cherry Hand Pies


Cherry Hand Pies

I am not a fan of baking, but every now and then I get a craving and I drag myself into the kitchen and have a go at it. Baking involves a lot of science, and only after one has mastered the science, can one move onto the artistry of baking. In cooking you can add a little here and  there and the final result will not be drastically altered, with baking, well let's just say, baking is much less forgiving, and that my friends is why I avoid it if I can. There is a reason why chefs on top chef avoid doing desserts--sooo many things can go wrong. This recipe took me several tries before I was happy with the final product. I tried this with puff pastry and I was less than impressed. I moved on to a gluten free do it yourself pie crust and was highly disappointed. It was my fault really, the dough was good, but I used way too much butter, and the dough spread and wouldn't stop spreading.  Finally, I gave in and bought ready made pie crusts, the kind you roll out--not the kind already in a pie tin--and I was very pleased with the result.  These little hand pies make a great addition to a picnic, they're small, mess free, and you don't have to worry about having a knife to cut the pie because these are single serving.

Prep time:10 minutes
Cook time: 30 minutes

Ingredients:
2 cups of fresh cherries, halved and  puts removed
1/2 cup of maple sugar (can use maple syrup, cane sugar, or sweetener of your choice)
1 tablespoon of lemon juice
1  teaspoon of vanilla extract
1 tablespoon of arrowroot powder (can sub with xantham gum, cornstarch or flour)
1/8 teaspoon of sea salt
1/8 teaspoon of cinnamon
1 package of ready made pie crusts--the kind you roll--not the kind that are already in pie tins

Directions:
Add the cherries, lemon juice, sea salt and sugar to a sauce pan over medium heat. 

Cook until cherries begin to release juices, about 5-7 minutes.

In a small bowl mix together arrowroot and 1 teaspoon of water,

 Add it to the cherry mixture, stir and cook until mixture thickens. 

Remove from heat and allow to cool to room temperature. Once mixture has cooled. Pre-heat oven to the recommended temperature on the box for the pie crust you are using. Roll out your pie crusts, then cut out your desired pie shape. I used a tarlet tin to cut out tarlet pie shapes--two circles for each pie. Fill one of the shapes for each pie with 2-3 tablespoons of the cherry filling, top it with the other pie shape, seal it by pressing the borders with a fork. Place the pies on a silicone/parchment lined baking sheet and bake until golden brown-- about 20-30 minutes. Remove from oven, allow to cool, then enjoy!


Tuesday, June 17, 2014

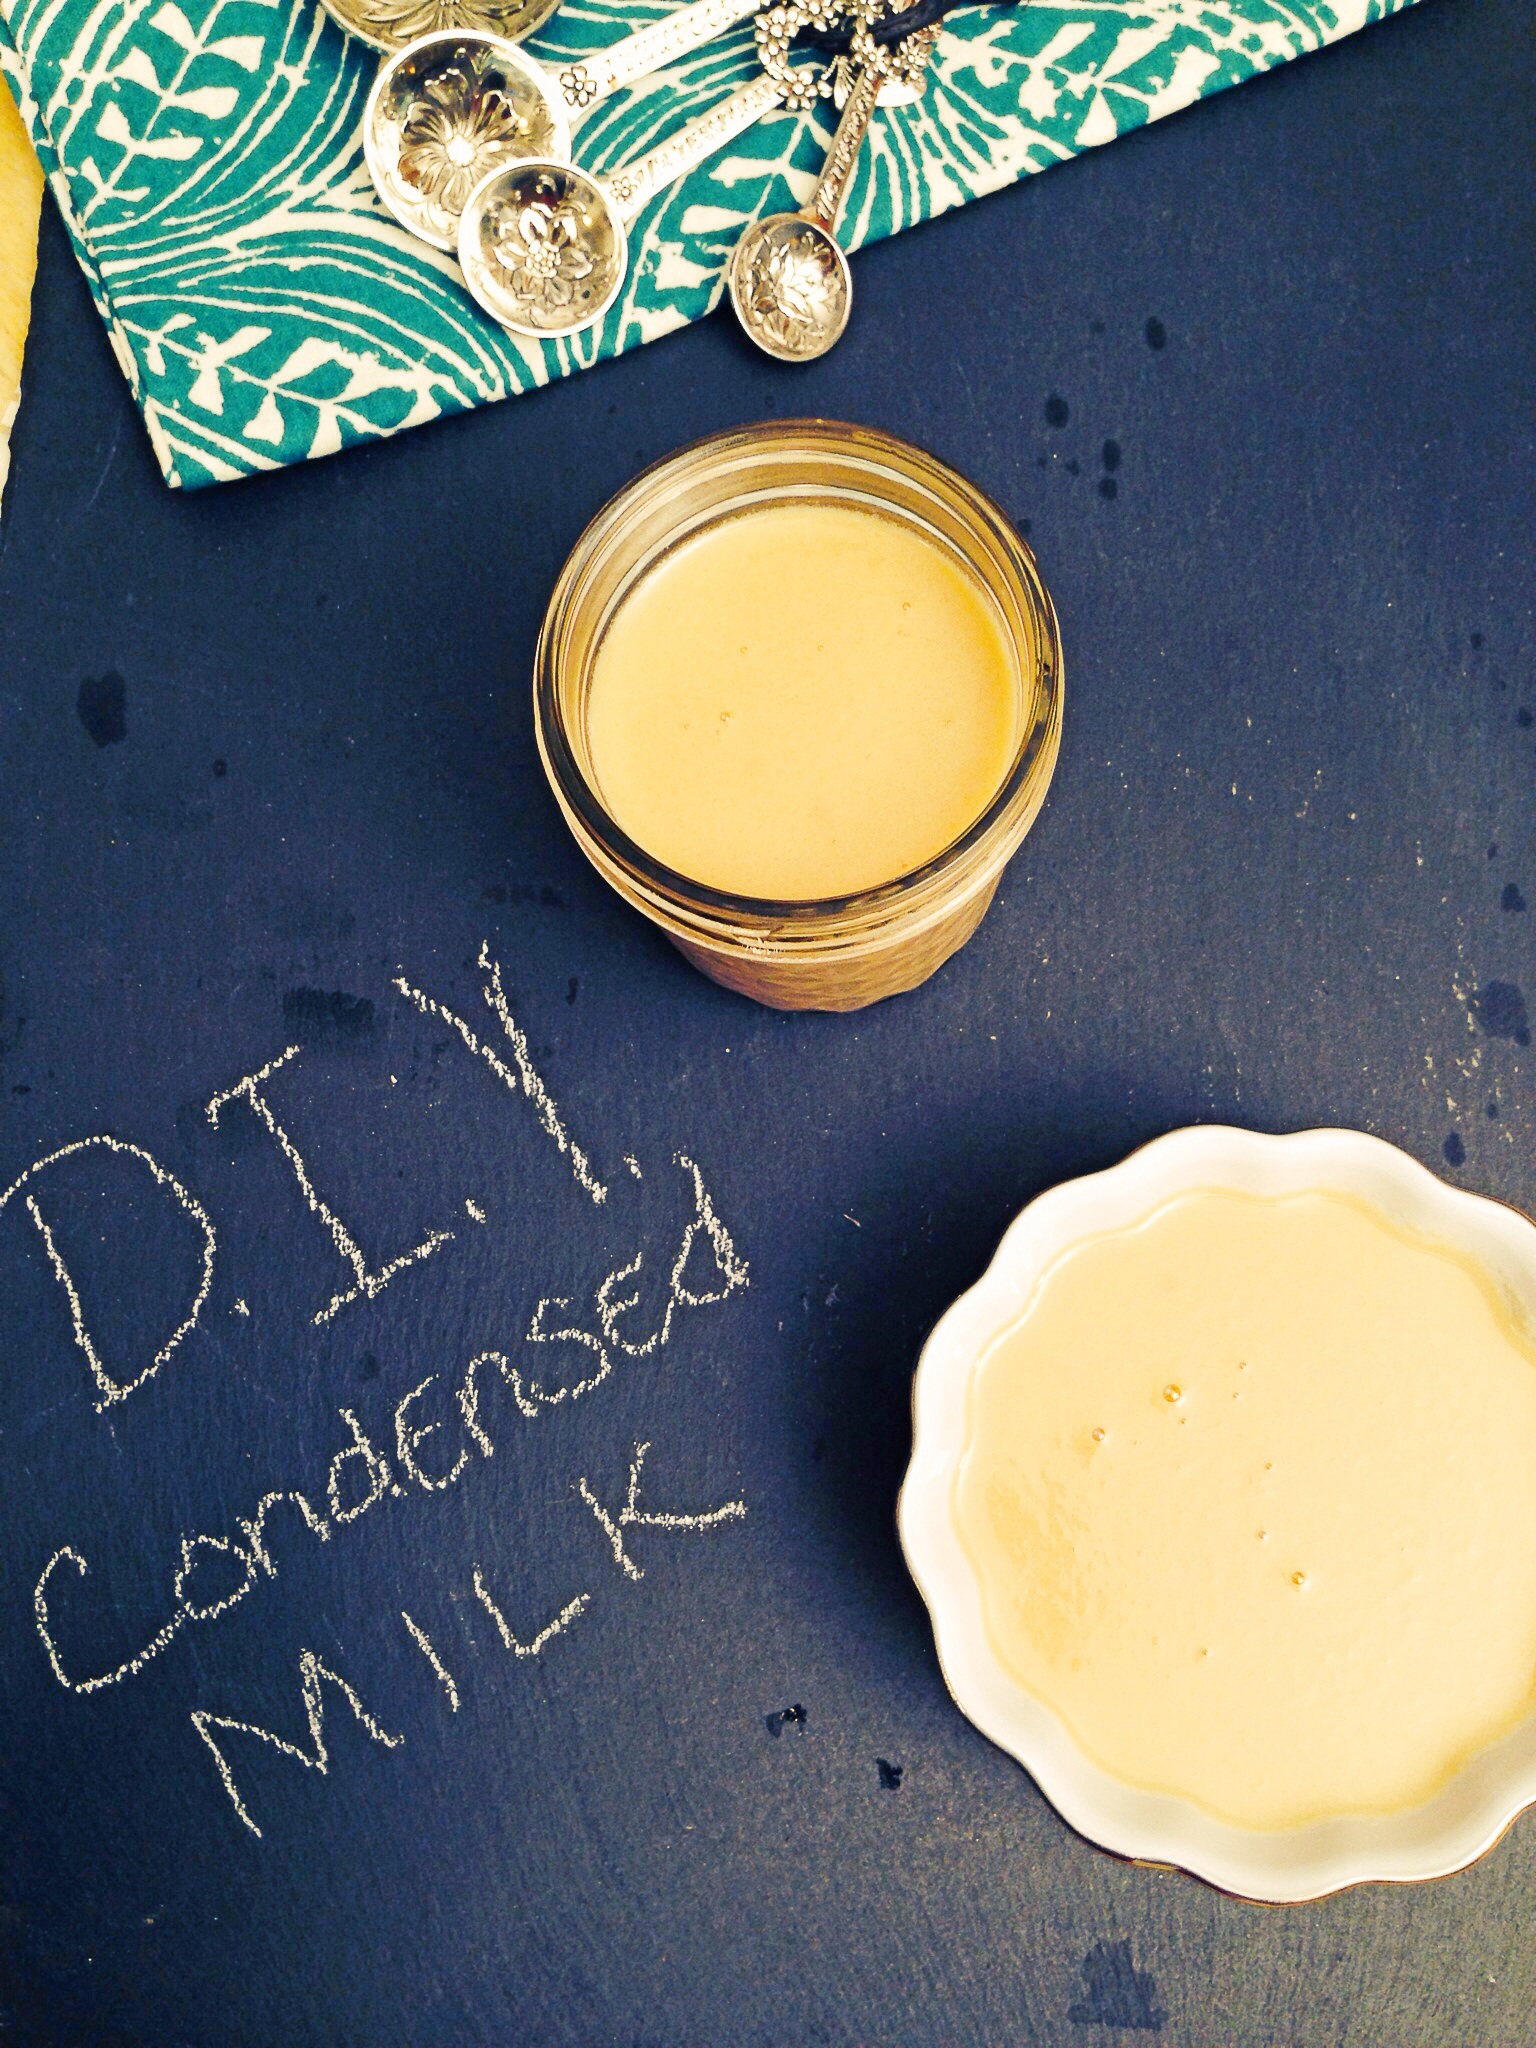
How to make Condensed Milk--Condensed Coconut Milk

How to make Condensed Coconut Milk

It's not often that a recipe that I concoct requires the use of condensed milk.  Condensed milk is definitely one of those products that has a very specific use.  When I was a little girl I remember looking in my grandmother's refrigerator and always seeing a can of the Eagle brand condensed milk.  Given that the same can was always in her refrigerator, I don't think she had many recipes that required it's use either.  I'm not exactly sure what is in the super sweet concoction sold in the can now, but when  I was making up the recipe for my Coconut chocolate bars, I decided that I needed to prepare my own. I've done this with almost every kind of milk, cows, coconut, and almond.  All come out perfectly.  If you are going to do this, then I suggest doing so when you have a few hours to spend at home.  Doing this over low heat, allows you more freedom to do other things while it cooks.  If you want to speed up the process, you can use higher heat, but that will require much more from you in terms of stirring and keeping a watchful eye.
Prep time: none
Cook time: 2 hours
Total time: 2 hours
Ingredients :
2.5 cups of coconut milk (or milk)
3/4 cup of maple sugar (can use whatever sugar you'd like)
1 teaspoon of vanilla extract
2 tablespoons of butter (optional)
Directions: Add milk, and sugar to a sauce pan and simmer over low heat for 1.5-2 hours, or until the milk is reduced by half.
image
Once the milk has reduced(condensed) whisk in butter and vanilla extract. Pour into a container and let cool.
image
It will thicken on it's own as it cools. Allow the milk to cool completely before adding it to a recipe.
image
image