Showing posts with label low fat. Show all posts

Wednesday, May 13, 2015

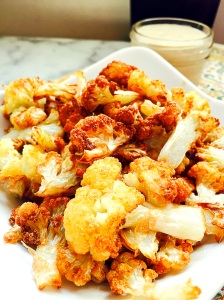
Fried Cauliflower Florets with Creamy Garlic Tahini Sauce


Fried Cauliflower Florets with Creamy Garlic Tahini  Sauce
Fried Cauliflower Florets with Creamy Garlic Tahini Sauce
Whenever I eat out at a Mediterranean restaurant, I find it hard to not just compose a meal from the appetizer menu.  With things like lentil soup, lemon and garlic potatoeshummus and pita bread, fattoush salad, grape leaves, and fried cauliflower on the appetizer menu, who needs a full entree!  I often find myself struggling not to order one of every thing on the appetizer menu.  I usually settle upon the potatoes or the fried cauliflower.  The fried cauliflower is amazingly simple.  Unlike most fried things that come dusted in flour or some other type of breaded base, this doesn't.  This recipe calls for only one ingredient, cauliflower!  The tahini sauce is great with this, but the cauliflower is pretty amazing on its own.  Your kids will love these cauliflower florets, mine did!

Pin It!
Pin It!


Prep time: 5 minutes
Cook time: 5-7 minutes
Ingredients:
1 small head of cauliflower
2 cups of grape seed oil or another high temp oil
Sea salt to taste
Ingredients Creamy Garlic Tahini Sauce
4 tablespoons of tahini paste
8 tablespoons of water
1 tablespoon of lemon juice, more if you like
2 cloves of garlic grated
Directions: Pre-heat the oil to 320F in a deep fryer.  Add ingredients for the tahini sauce to a small bowl and mix until well combined and creamy, then set aside. If you want this to be extra creamy, place all ingredients into a food processor or blender and blend until creamy, then transfer to a bowl.
image
Cut the cauliflower into florets.
image
Add the cauliflower florets to the deep fryer.
image
 
Fry until golden brown.
image
 
image
Transfer to a paper towel lined plate, season with sea salt, serve and enjoy!
 
 
image
 
image

Wednesday, May 6, 2015

D.I.Y. Chicken Breakfast Sausage-How to Make Breakfast Sausage

Chicken Breakfast Sausage
 
One of the most difficult parts of the day for me is deciding what to feed Page for breakfast.  Like any child, she's opinionated about what she'll eat, but she seems to be more obstinate in her choices during breakfast.  She doesn't eat what I imagine most kids do in the morning, no breakfast cereals, or breakfast bars.  She is more into things that take more time, like eggs, bacon, quesadillas! She loves a hot meal to start her day off, so this week when I went shopping, I thought I'd switch things up a bit and make some homemade breakfast sausage for her.  I'm using ground chicken for this recipe, but feel free to use pork, if you're so inclined.  The fresh herbs in this recipe are what make these sausages amazing! What's more amazing is that you don't need to grind the meat yourself.  Order a pound or two of ground chicken from your  meat guy/gal add some fresh herbs and BAM--Jimmy Dean style sausages for you and your loved ones.  These would be perfect for Sunday Brunch, or for your Mother's day breakfast--point your husbands right to this site.  One pound of ground chicken made about 12 sausage patties.  I put 5 in the refrigerator, and froze the rest for later use.  If you don't plan on cooking these within 5 days of making them, then I suggest you freeze them right away.
Pin It!
Pin It!


Prep time: 10 minutes
Cook time: 8 minutes
 
Ingredients:
1 lb of Organic air chilled ground chicken (dark meat)
2 tablespoon of fresh sage (finely chopped)
2 tablespoons of fresh thyme (finely chopped)
1 teaspoon of fresh rosemary (finely chopped)
1 tablespoon of maple sugar (can substitute with maple syrup or brown sugar) Omit if your on Whole 30
1 teaspoon of sea salt
1 teaspoon of red pepper flakes (more if you want)
 
Directions:  Add the ground chicken and spices to a medium sized bowl,
image mix until combined.
image
Form patties, and either refrigerate for up to 1 week, or freeze in an air tight container for up to 3 months.
 
When ready to cook, spray a cast iron skillet with coconut oil, bring pan to temperature, then add patties, cook for 3-4 minutes on each side,
image
or until golden brown, and meat is cooked through in the center.
image
Remove from pan, serve and enjoy!!!
image

Wednesday, April 22, 2015

Persian Spiced Salmon Kabobs

Persian Spiced Salmon Kabob's
 
I love a good kabob and lately I've been craving them.  Salmon is such a hearty fish, and there are many great ways to prepare salmon, but when you want to switch things up a bit--grilled salmon is the way to go.  I made a paste to adorn this salmon, and it's rich in Mediterranean flavors.  I used sumac, which can be found in any middle eastern store, or in your local Trader Joe's--it's where I got mine.  Sumac is tart,  sour and is often used in place of lemon in middle eastern recipes.   If you can't find sumac, then by all means feel free to substitute with the zest of a lemon.  The flavor is this dish is fantastic.  The fresh thyme was amazing! I felt like I was eating at one of my favorite Persian restaurants.  Page really loved it, and my husband could not stop with the compliments.
Pin It!
Pin It!


Prep time: 5 minutes
cook time: 7 minutes
Total time: 12 minutes
 
Ingredients:
1lb of salmon-- dried with paper towels, de-skinned, and cubed into 1 inch pieces
1 teaspoon of sumac powder-- can substitute with lemon zest
1/2 teaspoon of garlic powder
1/2 teaspoon of cumin
1 teaspoon of fresh thyme-stems removed
1 teaspoon of olive oil--or oil of your choice
sea salt to taste
Directions: To a small bowl add the garlic powder, cumin powder, fresh thyme and oil, mix well and set aside.
image
Rub the spice mixture on the salmon,
image
 
then add the salmon to skewers,
image
 
Grill the salmon for 3-4 minutes on each side, remove from grill, serve and enjoy!
image
 

Wednesday, December 3, 2014

Preserved Lemon Salt--How to make Sour Salts

Preserved Lemon Sour Salt
This blog has been a year in the making. Sour salts and the use of sour salts first caught my attention after reading an article in Bon Appetite Magazine about  how the chef at State Bird Provisions was using sour salts to brighten up dishes, and make use of an ingredients that would otherwise not get used.  His approach was simple, dehydrate something as simple as a preserved lemon, grind it into a powder, and boom you’ve created a flavorful salt without even trying.  After reading that article, I knew that I wanted to try making a preserved lemon salt.  I put it on my list of things to blog about, but never got around to it–it has been almost a year since I read that article! Of all the sour salts I have on my list to make, the preserved lemon sour salt has always intrigued me the most--that and a lime pickle salt--I love a good lime pickle! My first thought was to make my own preserved lemons and lime pickle.  But rather than make you all--and myself wait for me to make a preserved lemon, which would further prolong me making this sour salt, I thought  I'd just skip ahead a few steps and buy some preserved lemon's from my local Whole Foods. Christmas is just a few weeks away, and since I'm giving these salts away as gifts I cant wait to make preserved lemons from scratch.
Pin It!
Makes about 4 ounces of sour salt.
Prep time: 5 minutes
Drying time: 2hrs
Ingredients:
4 preserved lemons (sliced thinly)
Directions: Pre-heat oven to 150F if using an oven.  If using a dehydrator set it to 135F. Place preserved lemon slices evenly onto your dehydrator sheets, if using a stove,  spread over a wire rack set inside of a bake sheet.
image
Bake or dehydrate  until hard and brittle, it took about 1.5 hours in my dehydrator. Once slices are hard and crisp, transfer to a spice mill/ blender and grind until powdery,
image
Transfer the powder to an air tight container.
image
You've just created a gourmet salt.  You can sprinkle this on chicken, and fish.  Add it to my North African Lamb Stew, or to some grilled lamb chops, the possibilities are endless.
image

Wednesday, October 29, 2014

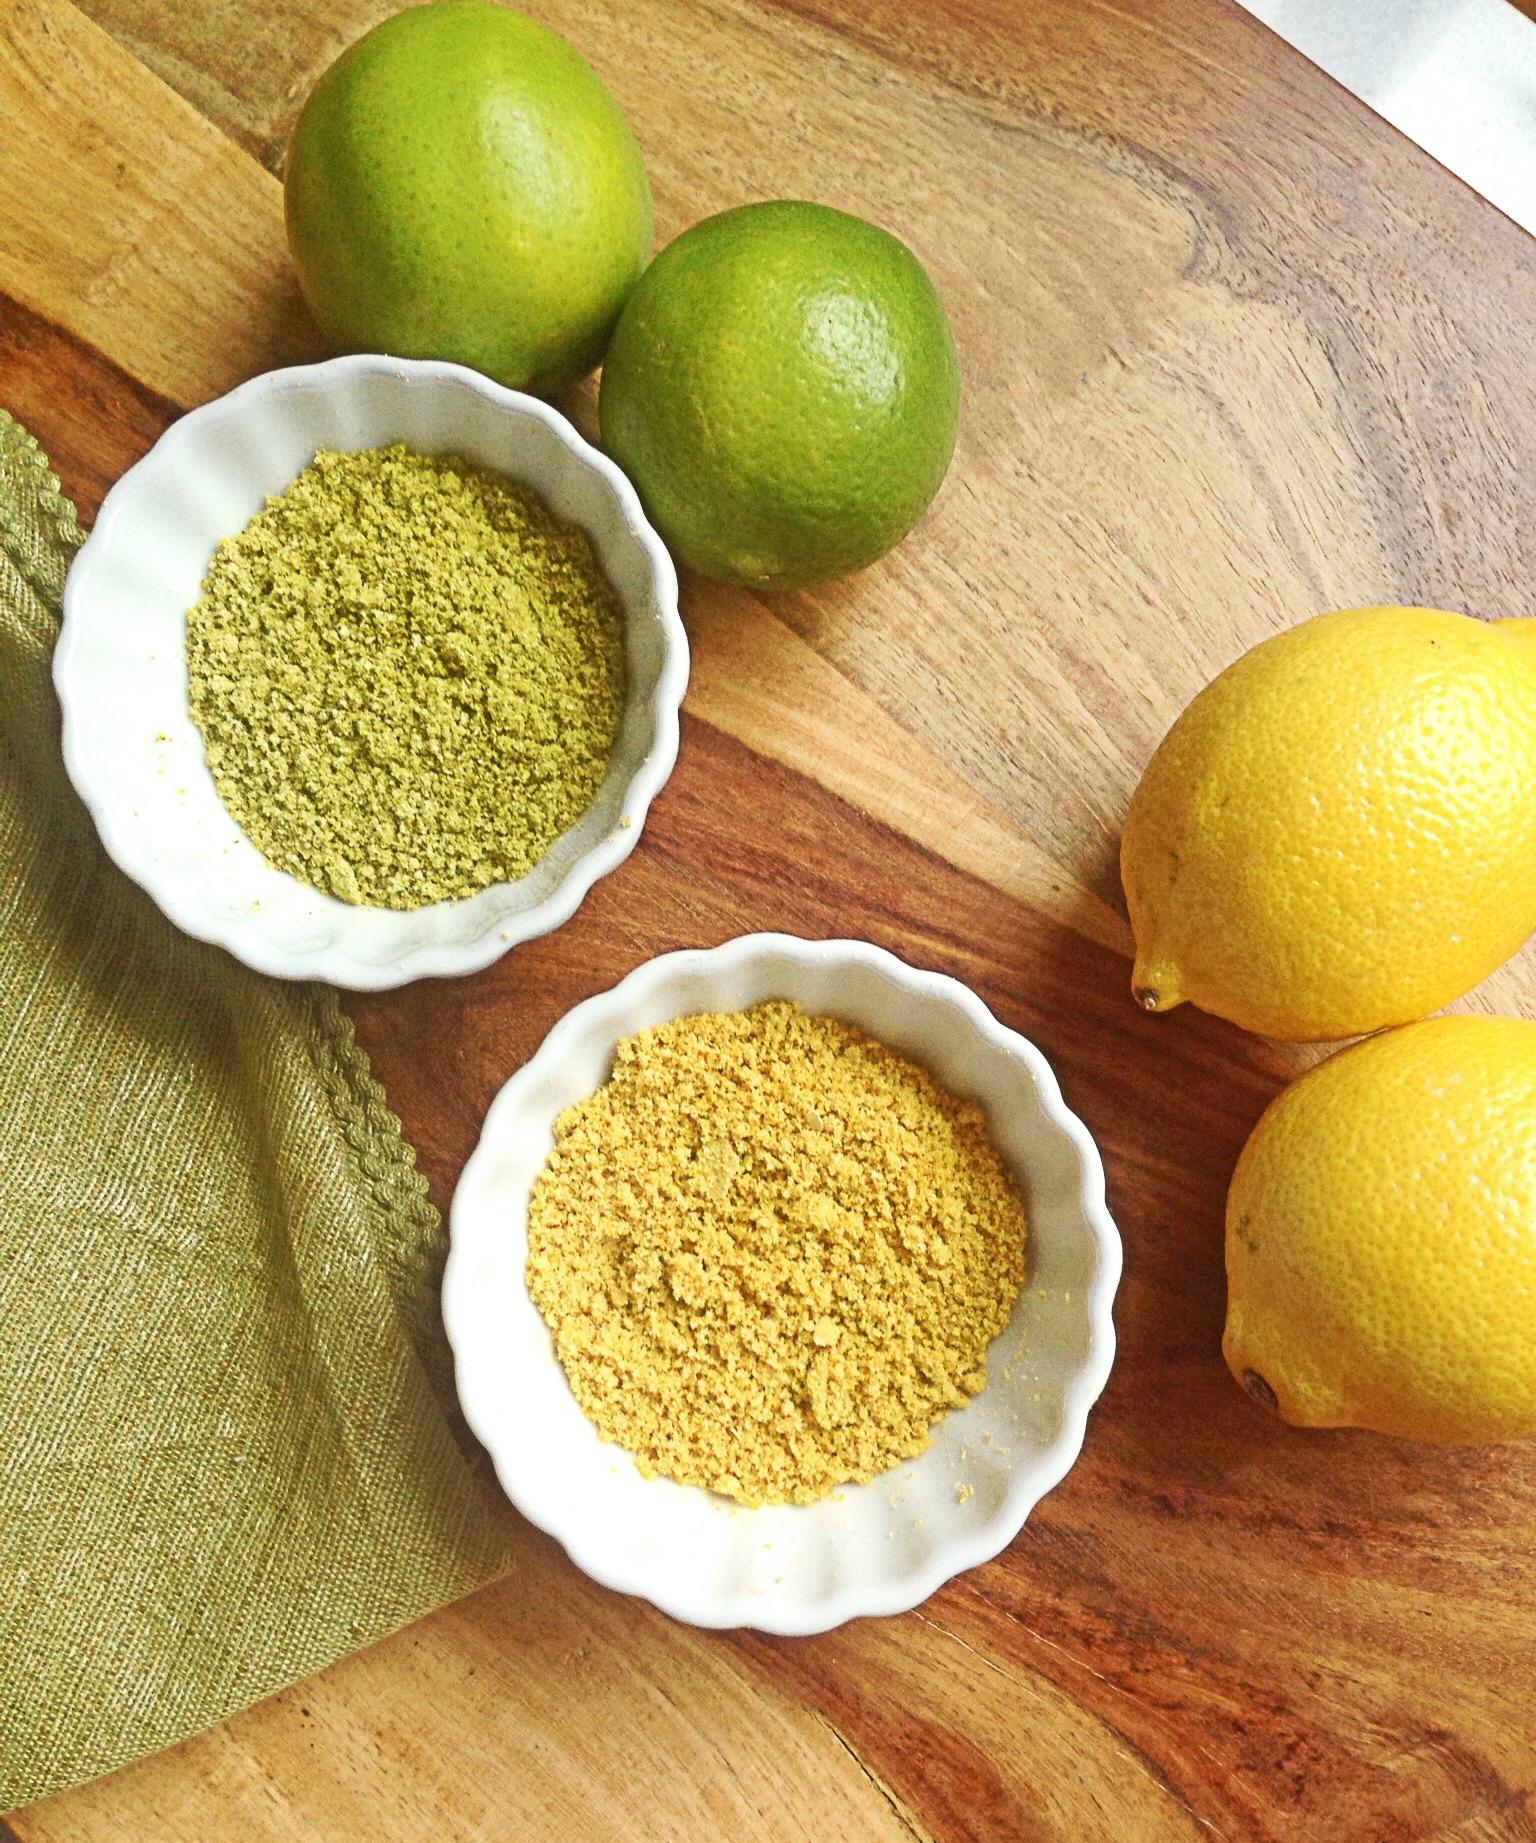
Citrus Powder--How to make Citrus Powder

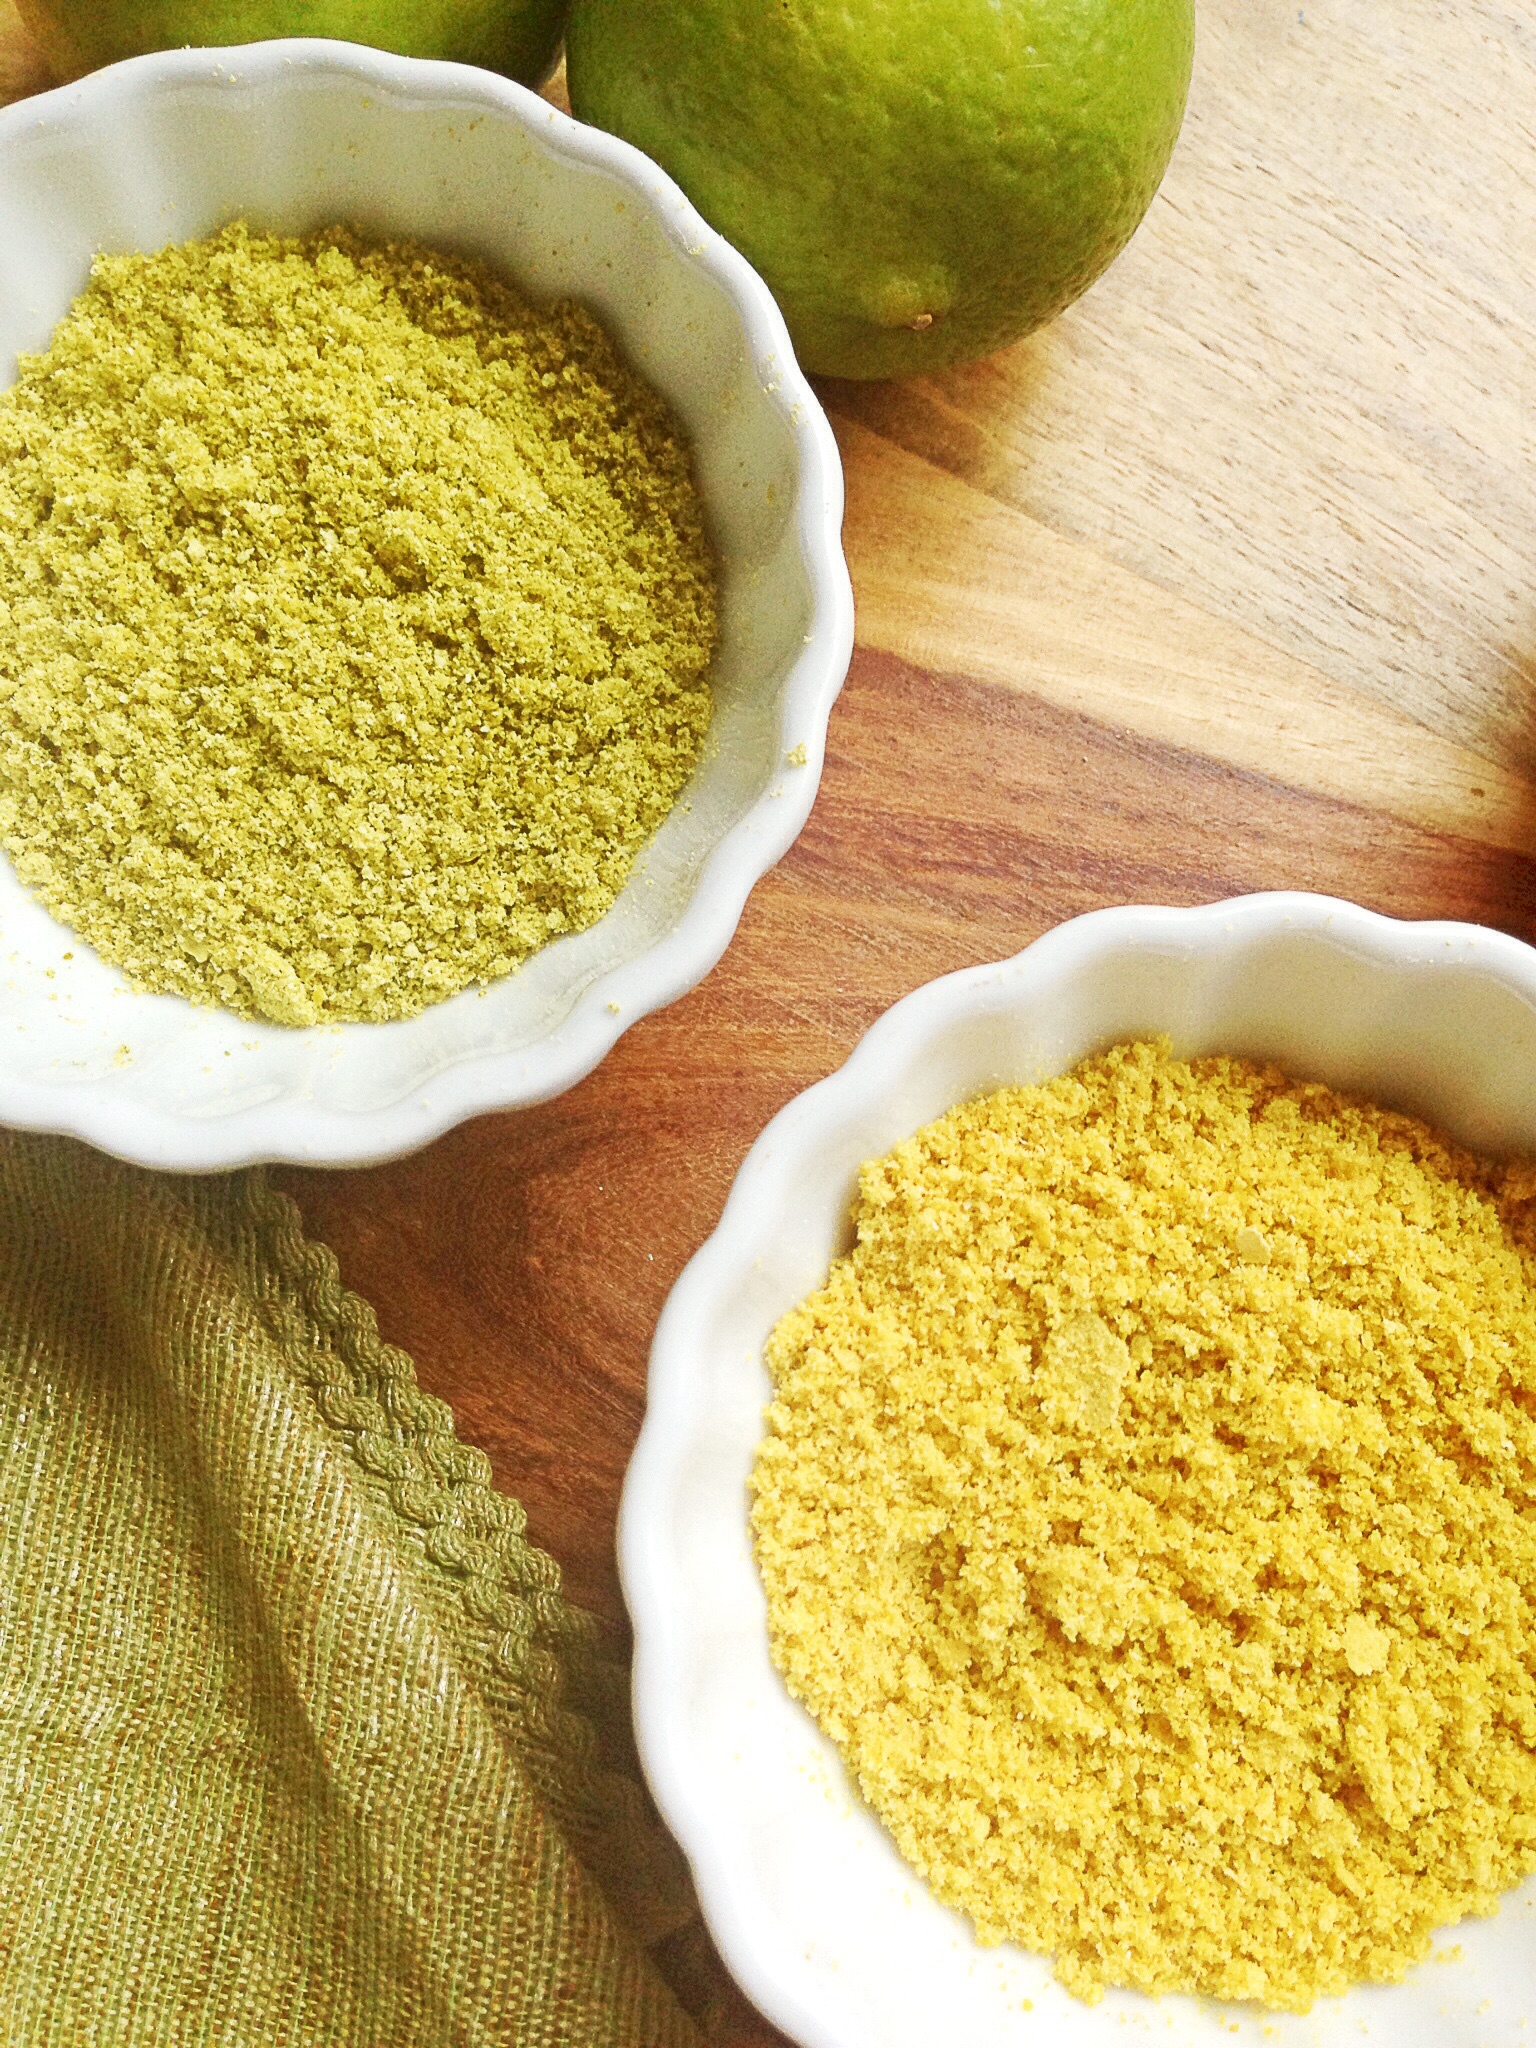
Lemon and Lime Citrus Powder
 
Several  month's ago I read an article in Bon Appetite Magazine about  how the chef at State Bird Provisions was using sour salts to brighten up dishes, and make use of an ingredients that would otherwise not get used.  His approach was simple, dehydrate something as simple as a preserved lemon, grind it into a powder, and boom you've created a flavorful salt without even trying.  After reading that article, I knew that I wanted to try making a preserved lemon salt.  I put it on my list of things to blog about, but never got around to it--it has been almost a year since I read that article!  I had almost forgotten about wanting to do a preserved lemon salt until last week, my husband and I went out to eat.  I ordered a Caesar salad, and when they brought it out, it looked completely under dressed, almost like they had forgotten to put the salad dressing on it.  I took a bite thinking it was going to be a bland salad, but instead  got this bright  burst of flavor.  The chef had dusted the salad with lemon zest.  The salad was fantastic! Even better than my Caesar Salad.  I  knew then that I had to try this at home.   It wasn't until I read a review for the soon to be released cookbook Bar Tartine: Techniques and Recipes that I got the idea about exactly how I could do it, but even better.  Lemon zest is great but it's not exactly shelf stable.  If you're going to use it, you definitely have to use it right away.  But if you take the peels of a lemon, lime, or even an orange, and dry them in the dehydrator, and then blend them into a powder, what you get is something extremely flavorful, and shelf stable.  You also get a way to use leftover peels! I don't know about you, but I hate to waste, so anything that allows me to preserve, rather than waste, I love.   So you're probably wondering besides a salad what you use these powders on.  The answer is almost anything!  You can sprinkle the lemon or lime powder on chicken, fish, pork or steak to give it a fresh and vibrant twist.  You can add these citrus powders to baked goods, rim your tequila glasses with them, add them with some other dry spices to make a citrus rub, (stay tuned for that post), make citrus salts, the list goes on and on.  If you make enough of these powders you can even give them as gifts for Christmas.  I for one am doing a lemon pepper for my friends.   Bar Tartine: Techniques and Recipes hasn't been release yet, but I've already pre-ordered a copy through Amazon.  It's full of recipes for dehydrating and powdering everything from herbs, to yogurt.   Yes you can even dehydrate yogurt! I suppose it's not such a leap to know that you can dry yogurt, especially given the fact that powdered milk, and cheese are products that you can buy in most grocery stores. However, the thought of being able to use my dehydrator to make my own powdered yogurt and herbs excites me!
Pin It!
Pin It!


Prep time: 10 minutes
Drying time: 1.5 hours-2 hours
 
Ingredients:
The peels from 2 lbs of organic citrus --I used lemon, lime
Directions: Pre-heat oven to 150F if using an oven.  If using a dehydrator set it to 135F.  Using a vegetable peeler peel the skin off of the citrus.
image
Add the citrus to a pot, add enough  cold water to cover all of the citrus and bring to a boil---let boil for 1 minute.  Drain peels into a sieve and rinse under cold water.  Return back to the pot and repeat: boil ,drain, and rinse twice more.
image
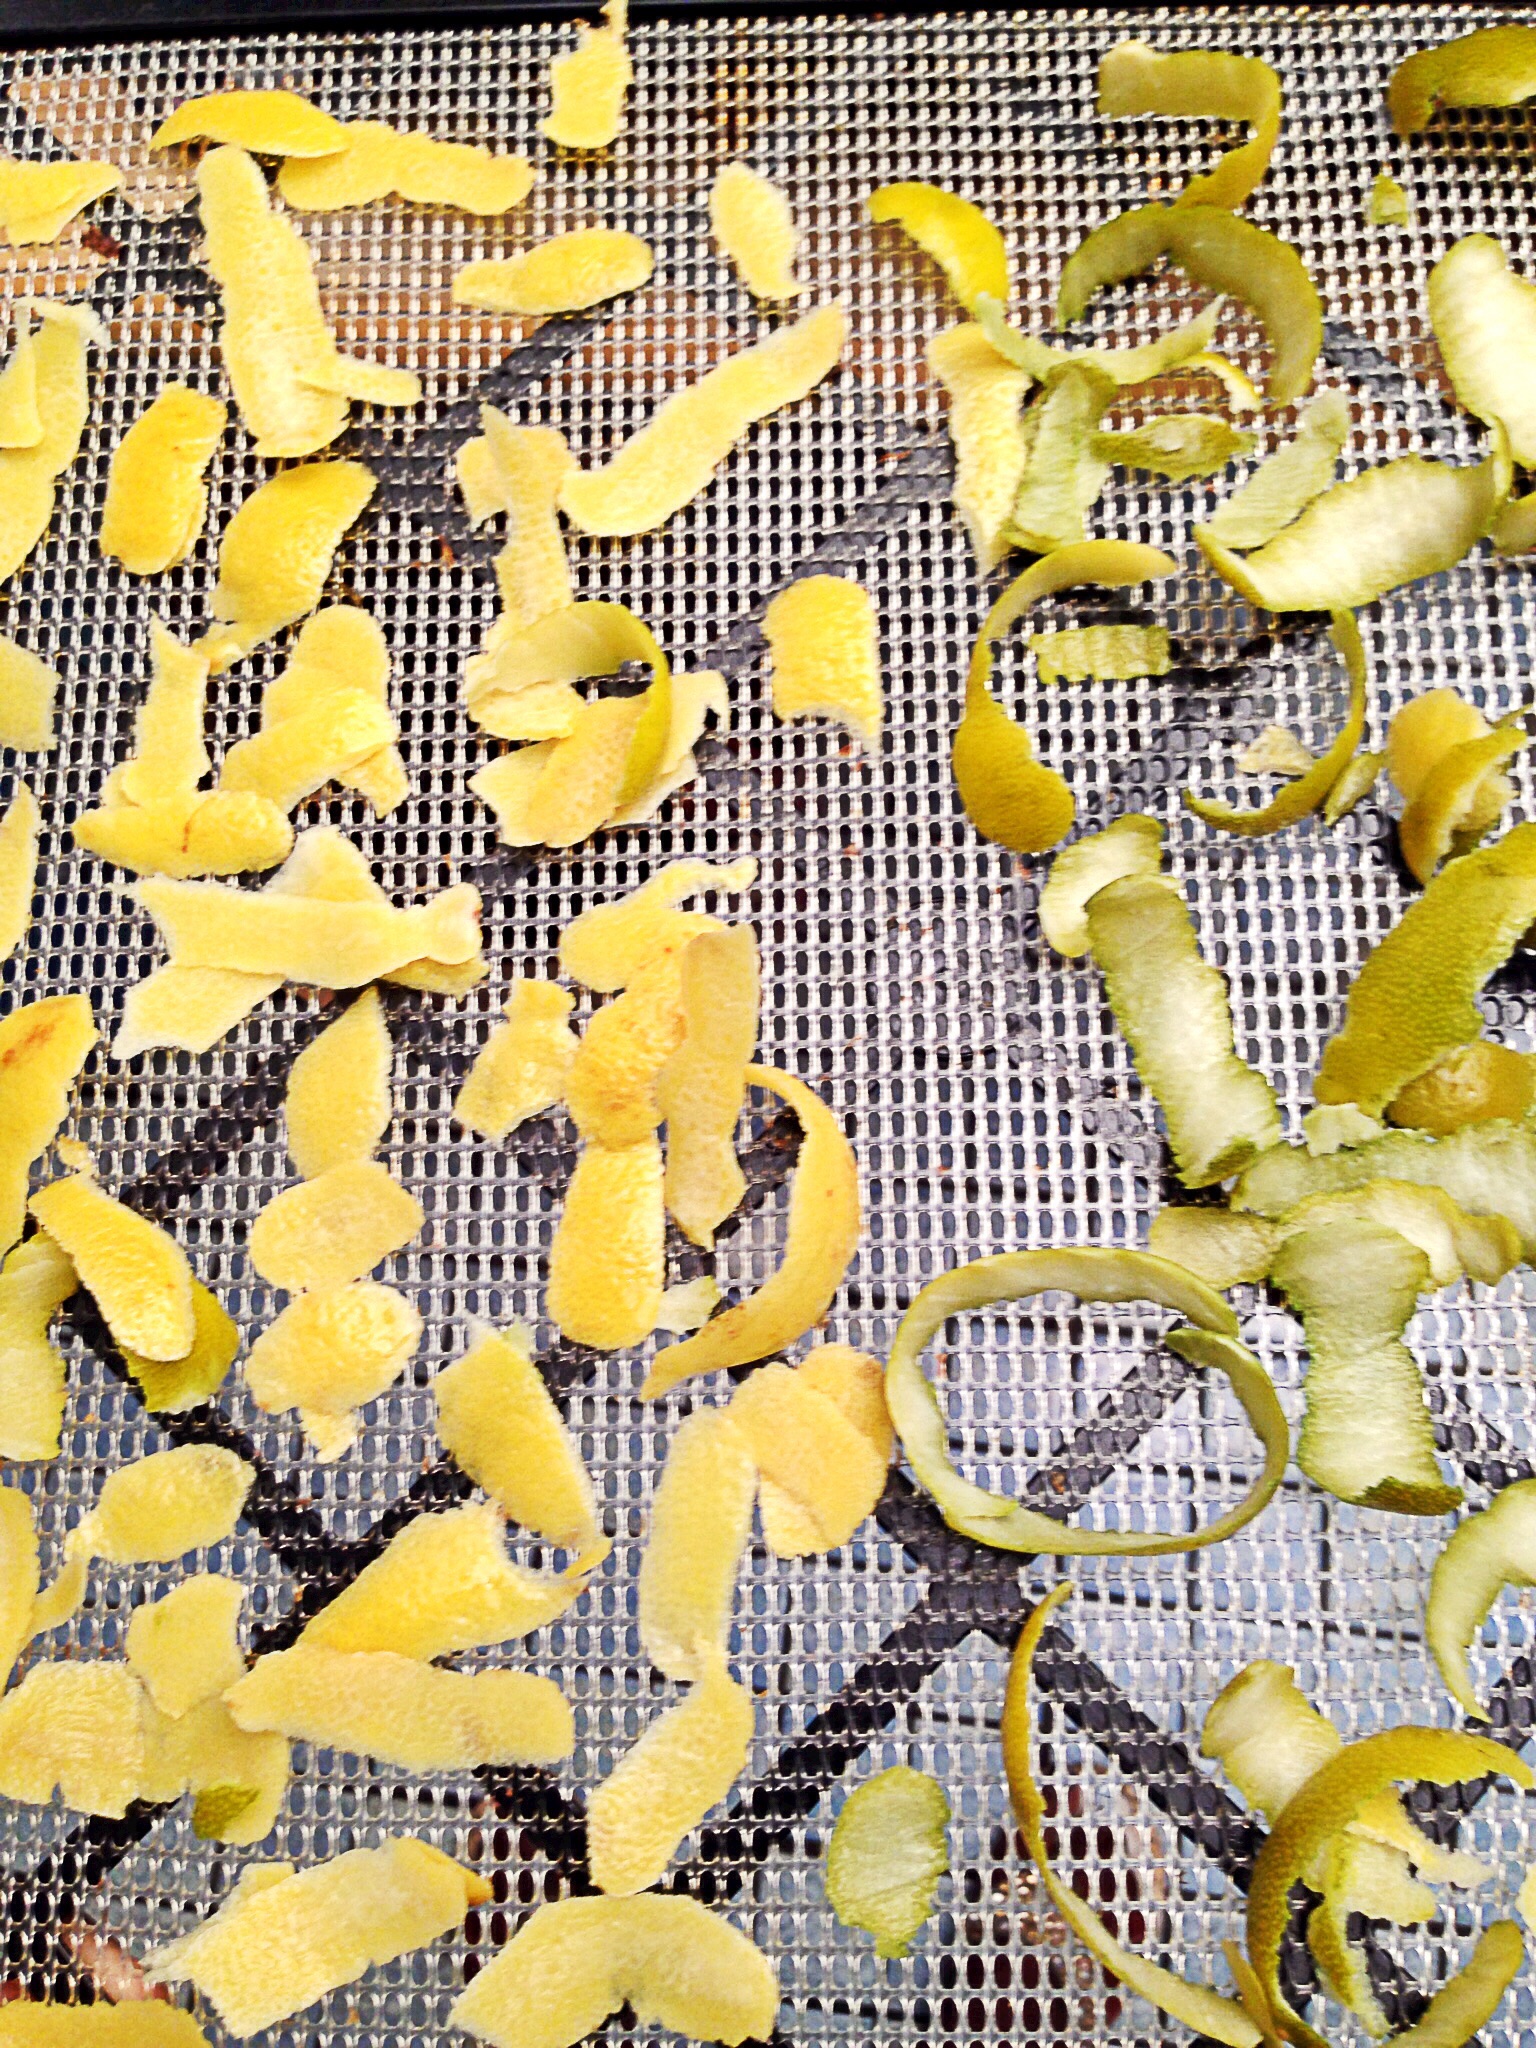
Spread the peels out evenly onto your dehydrator sheets if using a stove,  spread the peels over a wire rack set inside of a bake sheet.
image
bake or dehydrate  until peels are hard and brittle, it took about 1.5 hours in my dehydrator. Once peels are hard and crisp, transfer to a spice mill
image
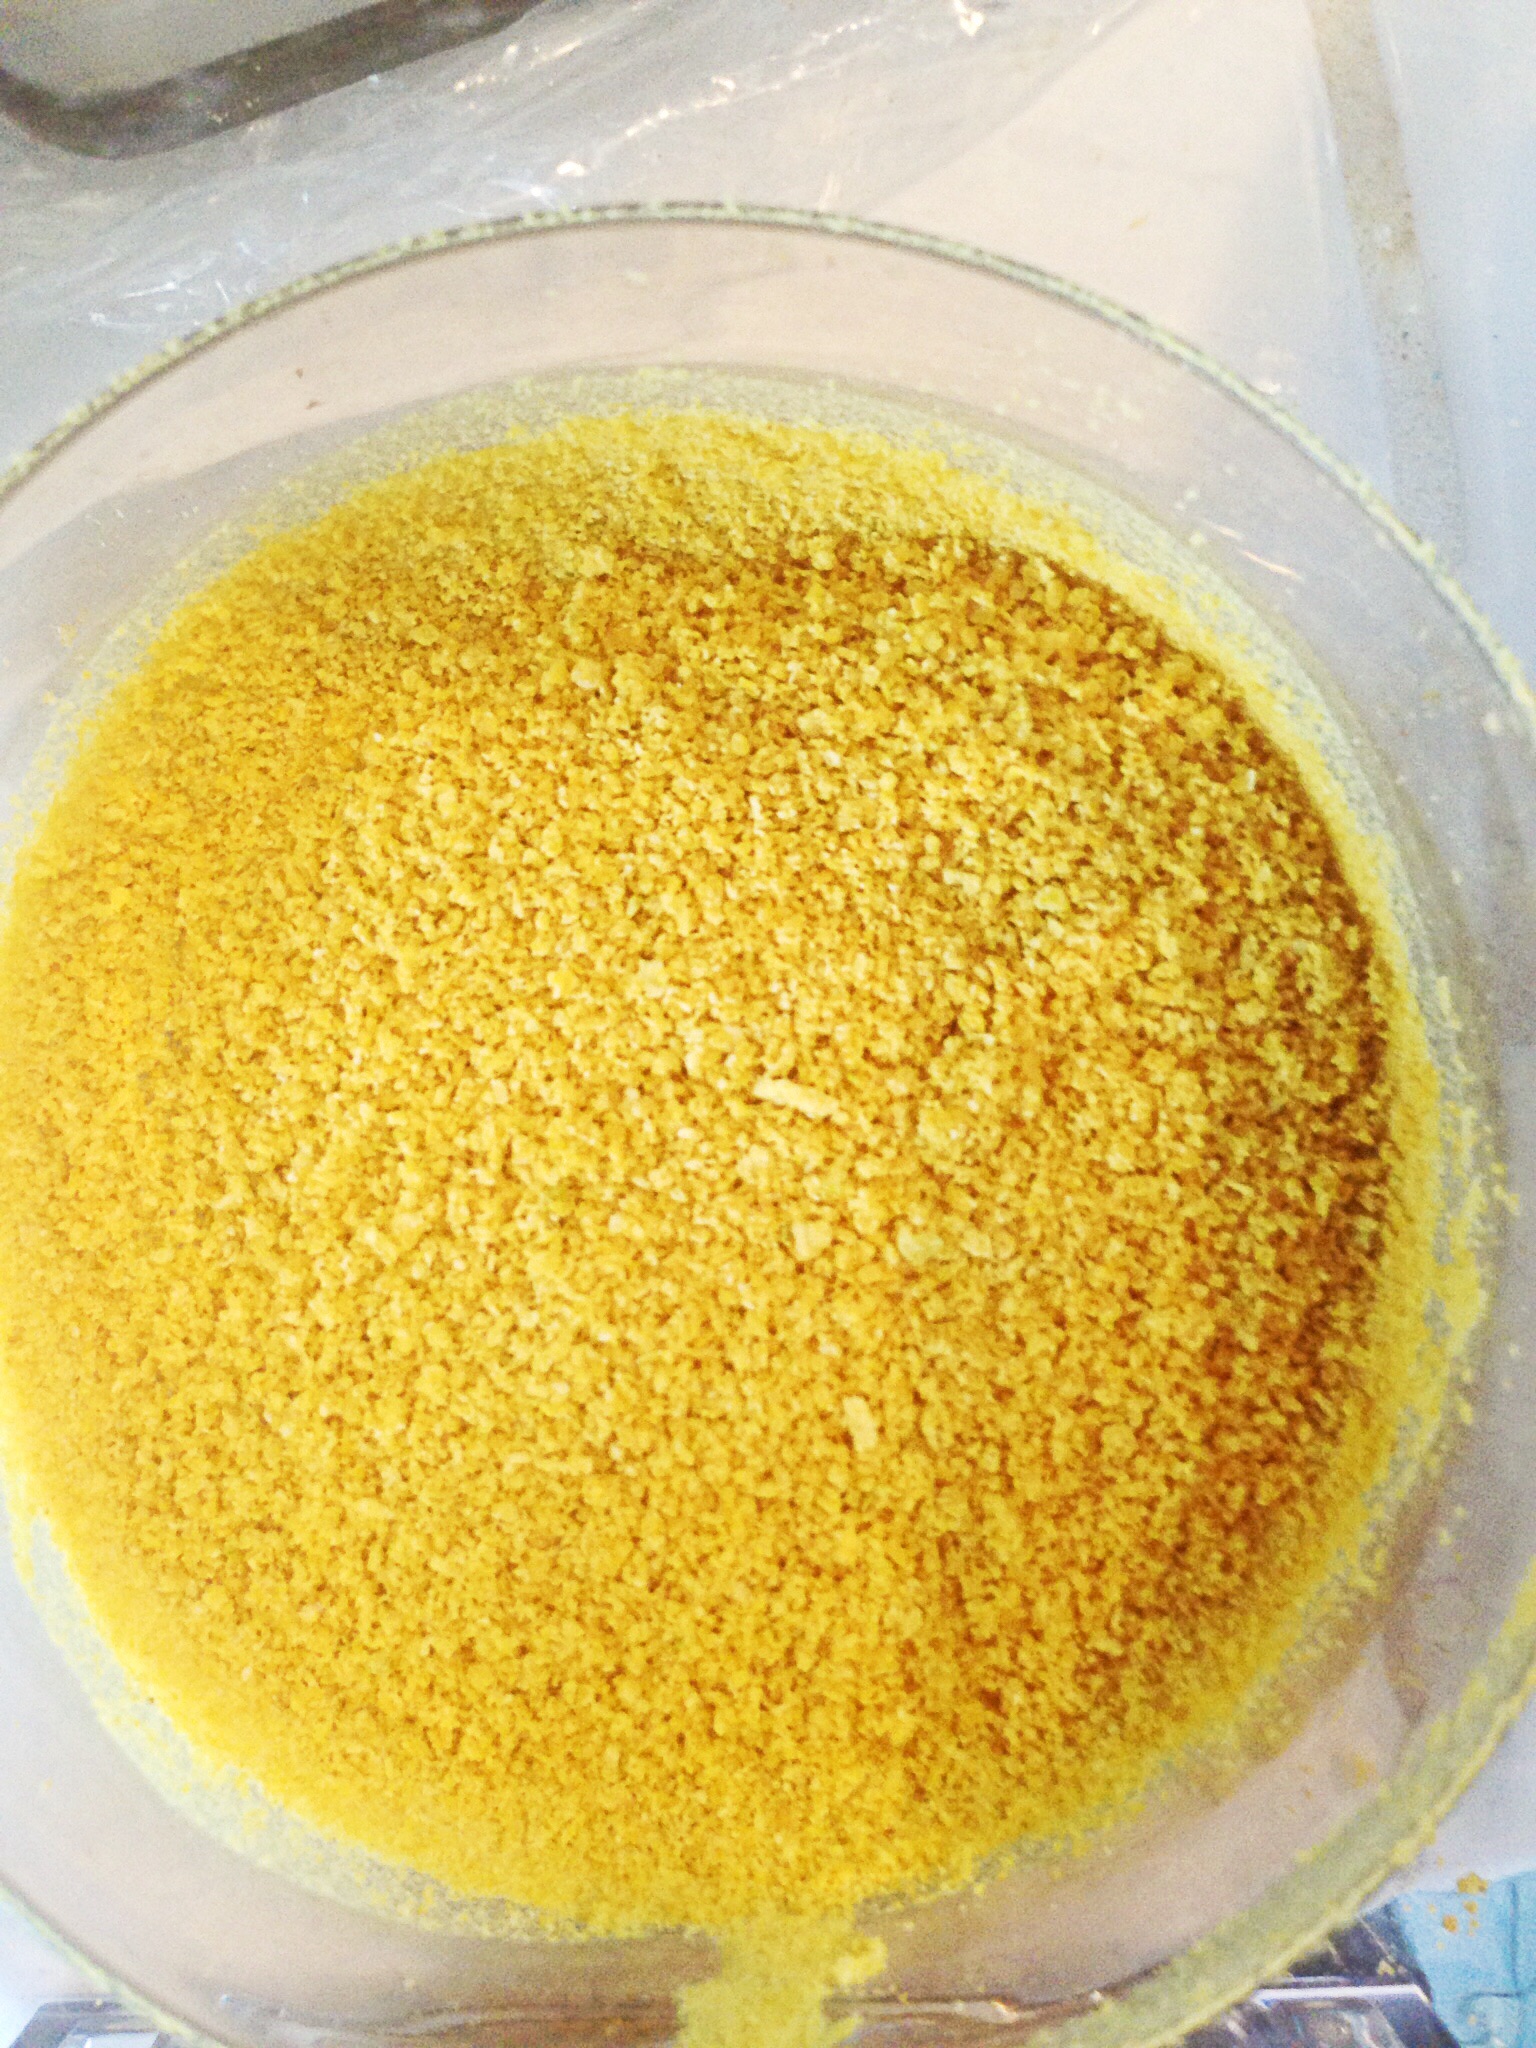
and grind until powdery, transfer the powder to an air tight container.  OMG the smell of these when you are grinding!  AMAZING!!!!
image


image

Tuesday, October 28, 2014

D.I.Y. Ground Ginger-How to Make Powdered Ginger

How to make Powdered Ginger
 
If you've been on the fence about whether or not to purchase a dehydrator, my blogs this week may just get you off of the fence.  This week you may find yourself ordering  a dehydrator, or at the least adding one to your Christmas wish list. My dehydrator has been in constant use, and I can't wait to share what I've been doing. So let's get started! I've purchased fresh ginger so many times, and only used a fraction of it, the rest goes bad and then in the trash--a total waste! I was reading about drying in one of the books in my Modernist Cuisine set, and then I read a blurb in "Bon Appetite  Magazine"about powdering herbs and boom--light bulb--I thought to myself, why not powder your own ginger? So I did.  You're probably asking yourself, "do I really need a dehydrator to do this?" The answer is no! You can do this in the oven set to 150F but you have to stay home to watch it! If you had a dehydrator you could set it and forget it--well not completely, but you wouldn't have to worry about it burning.
Pin It!
Pin It!


Prep time:5 minutes
drying time: 1.5-2 hours
Ingredients:
1 large bulb of fresh ginger
tools: spice grinder
Directions: remove the skin from the ginger, then slice the ginger thinly.
image
Place the sliced ginger pieces on a piece of parchment paper, or on the sheets of your dehydrator and place in the dehydrator or oven, then set the temperature to 135 on the dehydrator, or 150F in the oven.
image
Allow the ginger to dry until it become crisp. Transfer to the spice/coffee grinder
image
and blend until nice and powdery.
image
 
image
 
Store in an airtight container, it will be good for 8-12wks. Use this in any recipe that calls for ginger.  Add this to your favorite gingersnap recipe, and you will have some of the best gingersnaps that you've ever eaten!
image
 

Tuesday, September 9, 2014

Tahini Salad Dressing--Tahini Vegetable Dip

Mother's Market Inspired Tahini Salad Dressing/Vegetable Dip


I love a great salad. One of my favorite salads to eat when I eat out is a simple garden salad that I get at a local health food market that I frequent.  The salad is simple in every way,  fresh mixed greens, topped with fresh mushrooms, carrots, and beets.  What makes this salad better than other salads?  That's simple, the tahini dressing that accompanies it. The dressing is one of the best salad dressings that I have ever tasted.  The only problem is that the restaurant doesn't sell it in a bottle, so I can't take it home to use at a later time, and the restaurant is very secretive about what exactly is in the dressing.  I've asked a thousand and one times, but they won't give me the recipe. Sort of like they wouldn't give me the recipe for their gingered greens, which I also love.  So as usual, I had to experiment, and come up with my own version, and it is amazingly close to their tahini dressing-- exact actually.  It is so good!  You can use it to dress a salad, but it's equally good as a dip for cucumber, carrot, and celery sticks. My daughter loves it, with a capital L, and the best part is that nothing in it is bad for you.  It's high in protein, because it contains both sesame and cashew butters.
Pin It!
Pin It!


Prep time: 5 minutes
Cook time: none
Total time: 5 minutes

Ingredients:
2 tablespoons of tahini paste
2 teaspoons of cashew butter (about 20-30 whole cashews)
4 medium sized cherry tomatoes (about 2 tablespoons chopped)
1 large clove of garlic
1 teaspoon of Tamari soy sauce
3 tablespoons of a neutral oil like safflower
2 teaspoons of lemon juice

Directions:  Place all of the ingredients in a blender or processor and blend until smooth.  Pour into a serving container and enjoy! This would be awesome on grilled veggies as well!!


Tuesday, August 12, 2014

Eggplant Fries

Eggplant Fries

One of my husbands absolute favorite vegetables is eggplant. If I made it every night for dinner for three years straight that would not be enough for him. He loves it! The problem with his love for eggplant is not that I don't love it, because I do. It's that it's hard for me to find organic eggplants.  Short of me growing our own private stag of organic eggplants, which I have tried, and failed at, I just have not been able to appease his love for this vegetable. Whenever, our Whole Foods has organic eggplants a buy them, no matter what they cost. Fortunately for me, my husband will eat eggplant anyway I prepare it.  Page on the other hand is just getting acquainted with eggplant, so preparation for her is a much less forgiving thing.  She loved these eggplant fries which made my heart happy. The key to cooking eggplant in any kind of oil, is to bring your oil up to temperature before adding the eggplant. If you add the eggplant to the oil before the oil is hot enough, you will get an oil logged disgusting piece of eggplant. Eggplant is like a sponge in that way, it soaks up the oil, so make sure your oil is nice and hot before you add the eggplant.
Pin It!
Pin It!


Prep time: 5 minutes
Cook time: 10 minutes

Ingredients: 
1 medium sized eggplant, julienned but keep them thick
1/2 teaspoon of turmeric
sea salt to taste
4-5 tablespoons of safflower oil ( can substitute with grape seed oil, or another high heat oil)

Directions: Add the eggplant, turmeric and sea salt to a bowl and toss well, and set aside.

 Heat the oil in a cast iron pan, once the oil is hot, add in the eggplant, make sure not to overcrowd the pan. 

Brown the eggplant on all sides, then transfer to a paper towel lined plate. 

Season with more sea salt if necessary, then serve and enjoy!