Showing posts with label healthy recipes. Show all posts

Tuesday, May 19, 2015

Crispy Pork Larb

Crispy Pork Larb
Crispy Pork Larb
This is one of those dinners that is both healthy and delicious.  Trust me when I tell you when you take one bite of this you will be forever grateful that I started this blog--yes it's that good!  For those of you who do not know, Larb is a Thai street food.  It's so good that it'll make you question how we do street food in America.  It's bright, fresh, and full of the umami flavors that will make you go Mmmmmm... If you don't fancy pork, no problem, you can try this with ground chicken, turkey, or even lamb and beef.  Check out my recipe for Chicken larb here.  This is one of my favorite ways to use ground meat, it's so simple that this meal almost makes itself!

Pin It!
Pin It!


Prep time: 5 minutes
Cook time: 10 minutes


Ingredients:
1 pound of ground pork
3 large cloves of garlic thinly sliced
1/4 cup of diced red bell pepper
1/2 of a red onion, sliced thinly
1/2 cup of fresh mint leaves
1/2 cup of fresh basil leaves
1/2 cup of fresh cilantro leaves
1 head of romaine lettuce, leaves removed to use as cups
1/2 cup of sliced persian cucumbers
1/3 cup of fresh lime juice
1 tablespoon of a good quality fish sauce, I used red boat
2  tablespoons of soy sauce
1/4 cup of water
Sea salt to taste
2 tablespoons of cooking oil of your choice
red pepper flakes to taste
Directions:
Heat oil, garlic and red bell pepper and cook until garlic is fragrant--about 15 seconds.
image
Add in ground meat season with sea salt and cook until brown about 5-7 minutes.
image
Once brown, add in soy sauce, fish sauce, water and red pepper flakes if using.
image
Cook until liquid evaporates and pork is brown and crispy about 2 minutes. Add in lime juice, toss well, remove from heat.  Add the meat to the lettuce cups, top with a generous amount of the fresh herbs, cucumbers, red onion, red pepper flakes, and a squeeze of additional lime juice, enjoy! So good!
image

image

Monday, February 16, 2015

Tortilla Pizza--How to Make Pizza with a Tortilla Crust


Tortilla Pizza
Tortilla Pizza
 
A friend of mine has been espousing the virtues of the Baking Steel for over a year and half now.  We don't make very many pizza's in this house, so I put it on my list of things that I want to buy in the future, but really can wait. Then I read all about the virtues of this steel plate in Modernist Cuisine, and I knew that I needed one sooner rather than later.  Aside from being a great way to make brick oven style pizza's, the baking steel works as a plancha, an anti-griddle, and a teppanyaki.  A multi-purpose gadget always excites me, so I  ordered one.  I came across a great article on Serious eats about a reversible version of the Baking Steel, and right next to it was a recipe for Extra-Crispy Bar-Style Tortilla Pizza and I knew that I had to try it. Leave it to me to buy a gadget made for making pizza only to put it aside to make a pizza in a cast iron skillet.  After making this, I don't know why I never thought to try making pizza with a tortilla as a base before.  I've used naan, pita, and a middle eastern bread to make pizza before, so you would think it would have occurred to me to try one with a tortilla.  This pizza is super-duper easy, takes less than 10 minutes from start to finish, and it's the best thin crust pizza that I've ever eaten.   For my gluten free friends, this pizza is easily adapted to become gluten free by switching out the flour tortilla, with a gluten free tortilla, Whole Food's sells a host of different varieties. You can add additional toppings to this, but I kept it simple.
Prep time: 5 minutes
Cook time: 7-10 minutes
Pin It!
 
 
Ingredients:
3 tablespoons of Organic Tomato sauce (I used the Trader Joe's brand)
1/4 cup of freshly grated parmesan cheese
1/2 cup of organic mozzarella cheese (grated)
3 fresh basil leaves sliced thinly
1 large organic flour tortilla
1/2 teaspoon coconut oil or grape seed oil
Directions: Pre-heat oven to broil.  Add the oil to the cast iron pan and bring to temperature over high heat.
image
Once the oil is hot, wipe out any excess with a paper towel--be careful not to burn yourself.
image
Add the tortilla to the pan, turn the heat down to medium-low.
image
Add the 3 tablespoons of tomato sauce,
image
spread the sauce out evenly over the tortilla, all the way out to the edges.
image
 
Add the mozzarella.
image
Then add the parmesan around the edges--you are giving your pizza a parmesean crust.
image
Add the basil:
image
Transfer the pizza to the oven,
image
 
Allow the pizza to cook for 3-4 minutes or until the cheese bubbles and browns.
image
Remove the pan from the oven.  The pizza should be nice and crisp--if it is not, place the cast iron pan over a burner, turn on the fire and allow to  cook for another 30-60 seconds until it's nice and crisp. Remove the pizza from the pan slice, serve and enjoy! This recipe is only for one pizza, so if you need more adjust accordingly.  My daughter enjoyed this so much, that she begged me to make her one for breakfast the next morning.
image
 
image
 
image
If you like this recipe you will probably like my recipe for Artisan Prosciutto Tomato and Basil Pizza.
Follow and like me on Facebook: www.facebook.com/lazygirldinners

Tuesday, July 22, 2014

Fudgesicles

Coconut Cream Fudgesicles

One of my favorite treats as a kid was a fudge pop. Back then they were sold as the low-fat, low-calorie version of ice cream.   Not that any of that mattered to me , I was 7!  I just really enjoyed the creamy chocolate treat!  Back then fudgesicles contained 3 or 4 key ingredients, Milk, chocolate, and cream.  That is a far cry from the ingredient list we see today on a fudgepop box.  When formulating this recipe, I wanted to stick to what made fudgesicles great when I was little, a few ingredients and not much else.  I switched out the milk for coconut milk, and added some coconut cream for richness, the result----Heaven--creamy fudge heaven!  I didn't add any extra sugar to this, for my palate it didn't need it.  My daughter and husband both loved these without any added sugar as well.  However, if you like fudgesicles on the sweeter side, add 2 tablespoons of maple syrup to the mix before freezing.  Although I used coconut milk and cream as a base for these, you can use milk and cream, or just use milk.   You can also use my recipe for Chocolate Tofu Pudding just freeze and enjoy!
Pin It!
Pin It!


Prep time: 10 minutes
Cook time: 5 minutes
Freeze time: 4-6 hours

Makes 4-6 pops

Ingredients:
2 ounces of semi-sweet chocolate chopped
1 tablespoons of unsweetened  cocoa powder
1 teaspoon of vanilla extract
1 cup of coconut milk
3/4 cup of coconut cream

Special equipment:
Popsicle molds

Directions: Add the milk, cream and cocoa powder to a sauce pan over medium heat, and whisk until well combined and mixture is just below a simmer--DO NOT BOIL!!! Remove from heat.  Add in chopped chocolate, and whisk until all the chocolate is melted, stir in the vanilla extract.  


Divide the mixture evenly among the popsicle molds,
 Freeze for 4-6 hours or until solidly frozen. Follow your popsicle molds instructions for removing pops from molds and enjoy!


Tuesday, July 15, 2014

Chicken Enchilada's with Salsa Verde

Easy Chicken Enchiladas with Salsa Verde Sauce


Chicken enchilada's are so easy to make. You can throw almost anything in enchiladas and not mess them up and they're done in less than 30 minutes. A friend gave me some homemade salsa verde, and the moment I tasted it, I knew that it would make these enchiladas sing!  For the chicken in these I just threw a chopped onion and 1 pound of chicken thighs in my pressure cooker with enough water to cover, and cooked the chicken for 20 minutes--easy peasy.  But if you have leftover chicken you can use that.

Prep time: 10 minutes
Cook time: 15-20 minutes
Total time: 30 minutes

Ingredients:
1 lb of cooked chicken (shredded)
2 cups of cheddar cheese (grated)
2 cups of salsa verde
1/2 cup of black olives, sliced
10-12 corn tortilla's

Directions: Pre-heat the oven to 375F. Lightly greese a 9x11 baking dish, then line the bottom of  the baking dish with corn tortillas.  Top the tortillas with the shredded chicken, top the chicken with salsa verde, top the salsa verde with cheese, and  finally add a layer of  black olives.  Cover the olives with one more layer of corn tortillas, add a  layer of salsa verde, a layer of cheese and the last of the olives.


 Place in the oven for 15-20 minutes, or until the cheese has melted, remove from the oven, serve and enjoy!


Monday, June 9, 2014

How to make Cherry Lemonade--with real Cherries

Homemade Cherry Lemonade--Made with Fresh Cherries

Lemonade is as American--especially Southern American--as cherry pie--see my upcoming blog about that--and I'd be remiss if I didn't share one of my favorite summertime drinks--Cherry Lemonade.  Cherry season is almost at an end here, so I thought I'd give the last of my cherries a brilliant send off, by highlighting them in two recipes.  If it's too late in the season and you can't find a fresh cherry anywhere--then use frozen cherries--skip thawing them, and blend them frozen with the lemon and the sugar.  Doing so will allow you to omit the use of ice cubes.

Ingredients:
1 cup of fresh cherries (pits and stems removed)
1 cup of fresh lemon juice
1/2 cup of maple sugar (can sub other sugars, and if you like your lemonade on the sweet side use more sugar)
3 cups of water
ice for chilling

Directions:  To a blender add the cherries, lemon juice, and sugar and blend until well combined.  Add this mixture to a pitcher, with the water and some ice, mix well, serve and enjoy.


Wednesday, June 4, 2014

White Bean Salad with Lemon Cumin Vinaigrette


White Bean Salad with Lemon Cumin Dressing

This salad represents all that this blog is about.  It's lazy in every sense of the word lazy and at the same time it's fresh and vibrantly flavorful.  I was talking to a girl friend  of mine  the other day about food and little ones.  She was in need of some advice about healthy choices for her little one. We went through the list of what she currently feeds her little one.  On her list was a simple salad of canned white beans drizzled with lemon juice and olive oil.  I thought it sounded delish, and I set out to make my own version of that salad.  Pair this salad with a crusty piece of sourdough rubbed with a little garlic and grass-fed butter and you've got a rustic and delicious meal that didn't require you to turn on the stove.  Lazy--yes, absolutely! But it tastes anything but lazy--that counts right?;-)

Ingredients:
15 ounce can of Organic White beans (drained and rinsed)
1/2 cup of feta cheese crumbled
1/2 cup of organic rainbow radish diced
1/2 cup of cherry tomatoes quartered
1/2  cup persian cucumbers diced
1/2 cup of red bell pepper diced
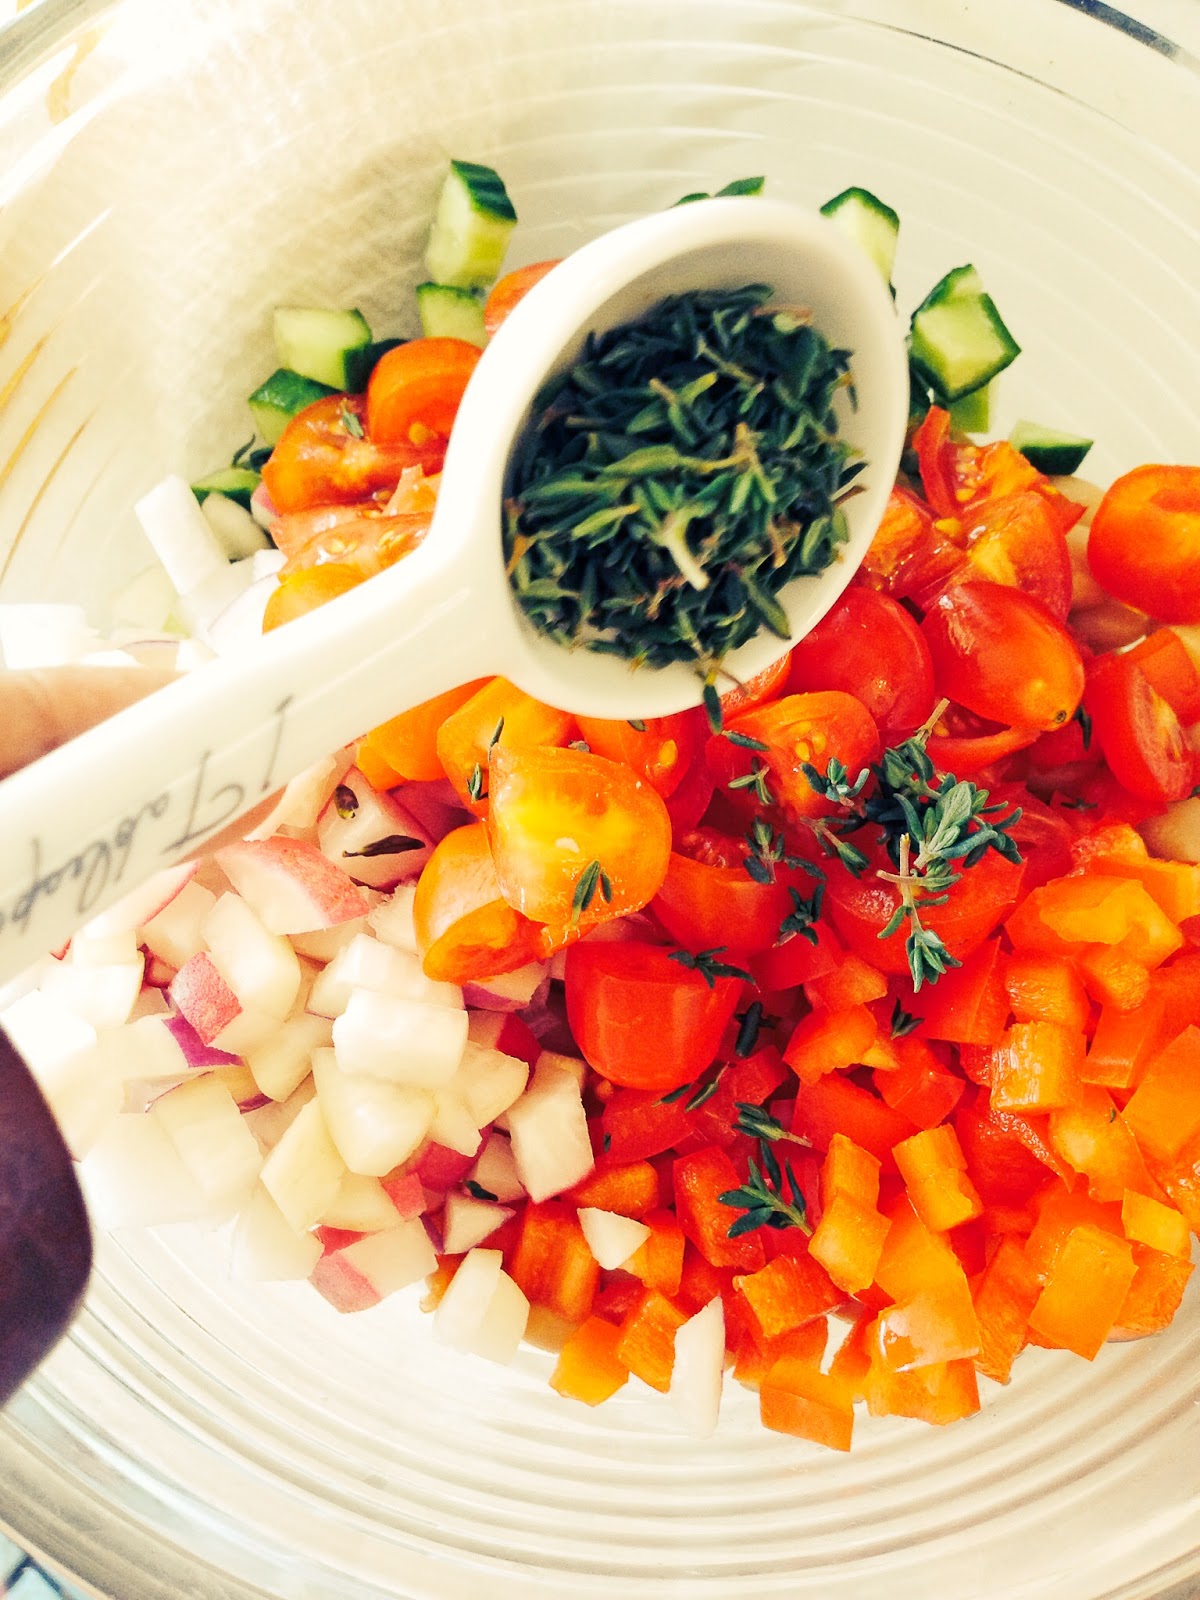
1 Tablespoon of fresh organic Thyme leaves
Sea salt and black pepper to taste

Vinaigrette
5 Tablespoons of fresh lemon juice
3 Tablespoons of olive oil
1/2 teaspoon of cumin
1 medium clove of garlic finely chopped
Sea salt to taste

Directions: Add all of the ingredients except for the sea salt to a large bowl and toss well.  

Add all the ingredients for the vinaigrette to a mason jar cover and shake until well combined.  If you don't have a mason jar, just whisk together all the ingredients for the vinaigrette in a bowl, and set aside. Salt the salad ingredients just before serving, this will prevent the tomatoes and cucumbers from becoming soggy.


 Drizzle with a generous amount of the vinaigrette, toss  again to combine, serve and enjoy!

Tuesday, June 3, 2014

Smokey Paprika and Lime Chicken Kabobs

Smokey Paprika and Lime Chicken Kabobs

I think that there is definitely an art to marinades. I'm still learning that particular art. I recently purchased the highly acclaimed Modernist Cuisine book set. It's massive and filled with information--extremely useful information. I'm only on the second book about 1000 pages into this probably 7000 page set, and the information that I've learned has completely changed the way that I view cooking.  This set is amazing! If you're interested in the how's and why's of cooking, from a scientific perspective---then you want this set. If you can save the $550 plus dollars it costs to buy this book set then I highly recommend it.  Or just stay tuned to my blog, lot's of changes are coming.  Not to mention appliances. One is the immersion circulator that I've been wanting for years.  Another is a vacuum chamber sealer.  I returned my Food saver in preparation for this machine.  This machine makes marination super easy, and effective.  It sucks out all of the air in the chamber and compresses everything in it. Thus making pickles in a matter of minutes, and  infusing steak or chicken and fish with marinades in minutes. Long gone will be my days of marinating anything over night.  I'm really excited for my vacuum chamber to arrive. Not having my Food Saver or a vacuum machine has been torture, but life goes on.  This particular marinade is a mixture of dry and wet ingredients.  It's really delicious, and so flavorful, that it doesn't need more than a few minutes to flavor the chicken--gotta love a quick marinade with no fancy equipment.


Ingredients
1 teaspoon of onion powder
1 teaspoon of garlic powder
1 teaspoon of smoked paprika
1 tablespoon of olive oil
1 tablespoon of lime juice
1 lb of skinless boneless chicken thighs, cubed into one inch pieces
Sea salt and black pepper to taste

Directions: Add the onion powder, garlic powder, smoked paprika, olive oil and lime juice to a small bowl and mix well.

Season the chicken generously with sea salt and black pepper, add it to a large bowl.  Add the marinade paste to the chicken then toss well to cover the chicken with the marinade.

Place chicken on skewers and grill cooking until chicken is cooked through about 10-12 minutes. Serve and enjoy!


Monday, May 19, 2014

Grilled steak salad with Spicy Mustard Vinaigrette

Grilled Steak Salad with Spicy Mustard Vinaigrette 

Boy has it been hot here! For the past 2 weeks temperatures here have stayed above 100 degrees and that's in the shade. When it gets this hot, the last thing I want to do is move, let alone cook. The grill has definitely been a life saver for us these past few weeks. It allows me to push all the work of cooking onto my husband. He loves grilling--thank The Lord! Since he is so happy to cook on the grill, I thought I'd make a steak salad, which requires little effort from me other than cutting veggies, and marinating the steak in my FoodSaver. Oh and making a vinaigrette to go on the salad. All easy, peasy, lemon queasy;-)

Prep time: 10 minutes
Cook time: 5-7 minutes
Total time: 17 minutes

Ingredients:
1lb of flank or skirt steak
3 cloves of garlic pasted
1 tablespoon of olive oil
1 tablespoon of lemon juice
Sea salt and black pepper to taste
5 cups of mixed organic salad greens
1/2 cup of  organic cucumber cubed
1/2 cup of organic orange bell pepper sliced
2 small organic  heirloom tomatoes sliced and quartered
1/4 cup of radish sliced thinly

Ingredients for  Spicy mustard vinaigrette
1 teaspoon of Dijon mustard
1 tablespoon of lemon juice
1 tablespoon of sherry vinegar (or red wine vinegar)
1 small clove of grated garlic
4 tablespoons of olive oil
1/8 teaspoon of Worcester sauce (optional)
1/2 teaspoon of maple sugar (can sub with maple syrup, agave, or honey)
Sea salt to taste

Directions: in a small bowl whisk all the ingredients for the vinaigrette together and set aside.  In a large bowl toss together the mixed greens, cucumbers, bell peppers, and tomatoes and set aside. In another bowl Mix together the pasted garlic, lemon juice, and olive oil. Season the steak generously with sea salt and black pepper, then pour the lemon and garlic marinade over both sides of the steak. Grill the steak for 5-8 minutes on each side, let it rest for 5-7 minutes, then slice on a bias, and serve over the salad. Top with a few spoonfuls of mustard vinaigrette and enjoy.

Wednesday, April 16, 2014

Crispy Smelt with a Parsley Lemon Viniagrette


Crispy Smelt with Parsley Lemon Vinaigrette
I LOVE Smelt, LOVE them. In fact I love them so much I wish that I could eat them year round.  If you've never tried smelt, then after you read this blog, stop by your grocery store, and get some! They are rich in omega-3 fatty acid, so not only are they delicious, but they're great for you. Smelt are small boned fish, like anchovies, so you can eat them whole, even the head. if you're so inclined. If you're really lucky, like I have been thus far, you'll find them fresh at your grocer.  I'm told that most grocers sell them frozen in bags.  Fresh is best, but these are so good that I would imagine they would still be good even after they've been frozen and defrosted. But if you have a choice, why not choose fresh?

Prep Time: 10 minutes
Cook time: 10 minutes
Total Time: 20 minutes

Ingredients
1 pound of Smelt (cleaned)
1/2 cup of coconut flour
Sea salt and black pepper to taste
1/2 cup of coconut oil

Ingredients for Parsley Lemon Vinaigrette
1/4 cup of fresh organic flat leaf parsley finely chopped
5 tablespoons of Lemon juice
3 Tablespoons of olive oil
2 cloves of garlic grated
Sea salt and black pepper to taste

Directions: Melt the coconut oil in a cast iron skillet, and bring up to temperature. Season the smelt with sea salt and pepper:


Dredge through the coconut flour, coating all sides of the fish with the flour:

Carefully add the fish to the hot oil and fry until golden brown on all sides, about 5-7 minutes:

 Add the ingredients for the parsley lemon vinaigrette to a bowl and whisk until well combined, spoon over the fish and enjoy! These make a great appetizer at a party, just make sure that you buy enough, because no one can eat just one of these!

Like this recipe? Then you'll love my video recipes, subscribe to my Lazy Girl Dinners Youtube channel for quick do it yourself and how to cook videos.


Wednesday, April 9, 2014

Basil Chicken

Basil Chicken Recipe

So everyone has that one friend whom they idolize, you know the one who is super intelligent, charismatic, gorgeous, and the kind of mother to her children you only wish you could be. Well that person for me is my friend Jennifer. She has the energy of the energizer bunny--actually I think she could out last that bunny 3 times over, She's a great friend, reliable without fault, and on top of all that, she is a great cook. One of her signature dishes is basil Chicken.  It's beyond delicious, the sweet notes of basil mixed with the Unami flavors imparted by the soy sauce in this dish make it heaven on a plate.  She makes hers with the whole parts of chicken, usually legs, or drummetts. I decided to try it using ground chicken, because who couldn't use another way to use ground meat?  I'm so glad I did, it is equally as delicious as using chicken with bones, but much less time consuming, because there aren't any bones.

Prep time: 5-7 minutes
Cook time : 15 minutes
Total time: 20 minutes

Ingredients:
1 pound of ground chicken
3/4 cups of fresh basil chopped
1 small brown onion or shallot chopped
2 tablespoons of soy sauce
2 large cloves of garlic
2 tablespoons of olive oil/ghee
1/2 teaspoon of red pepper flakes
Sea salt to taste

Directions: heat oil in skillet, add garlic, sauté for 30 seconds, then add the onion, and cook until translucent. Add the ground chicken and brown. Add in the soy sauce, basil and red pepper flakes, cook for 2 minutes then turn off the fire. Serve over brown rice, or in lettuce cups.


Tuesday, April 8, 2014

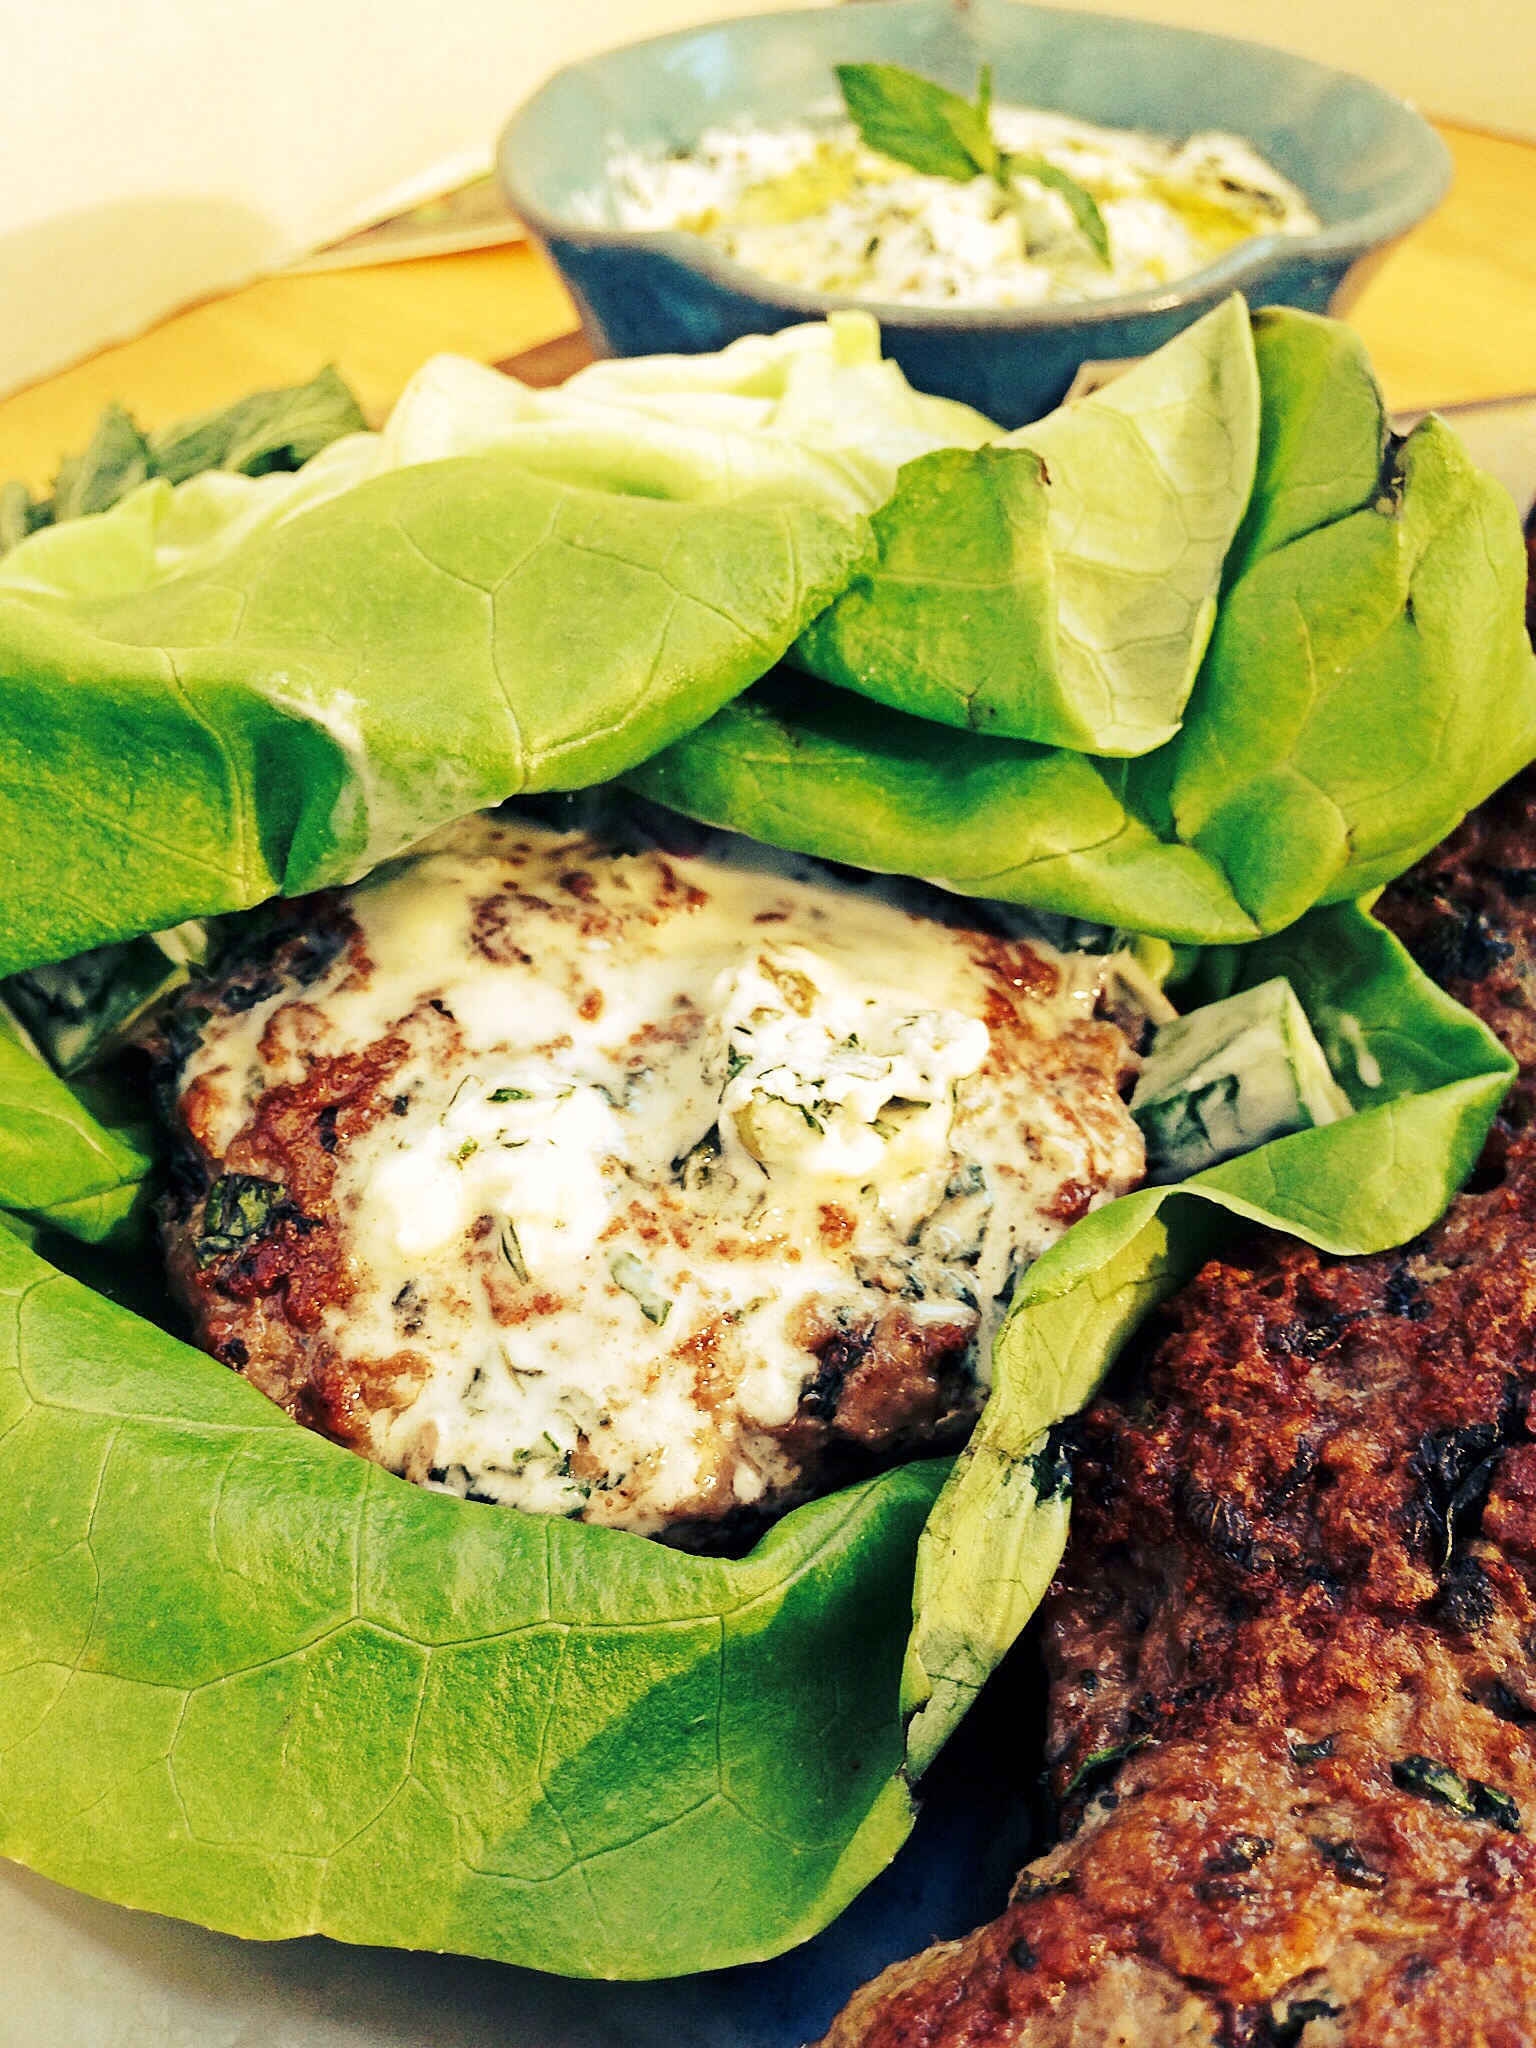
Lamb Burgers with Yogurt Cucumber Mint Sauce


Lamb Burgers With Yogurt Cucumber Sauce
Sometimes you just need a burger! Considering the fact that Americans consume nearly 50 billion burgers a year, I am assuming most people need more than one! Although beef burgers are great, it's nice every once in awhile to switch meats up a bit.  This lamb burger provides the perfect switch.

Prep time: 7-10 minutes
Cook time: 7-10 minutes
Total time: 20 minutes

Ingredients:
1lb of ground lamb
1/2 cup of mint, chopped finely
1/4 cup of flat leaf parsley chopped finely
Sea Salt & Black pepper to taste

Ingredients for Yogurt Cucumber Sauce
1/2 cup of yogurt
1 large clove of garlic grated
1/4 cup of organic Persian cucumber cubed
3 tablespoons of lemon juice
1 Tablespoon of finely minced shallot
1 tablespoon of mint finely chopped
Sea salt to taste

Directions:  add all the ingredients for the yogurt sauce to a medium sized bowl, mix well and set aside.
image
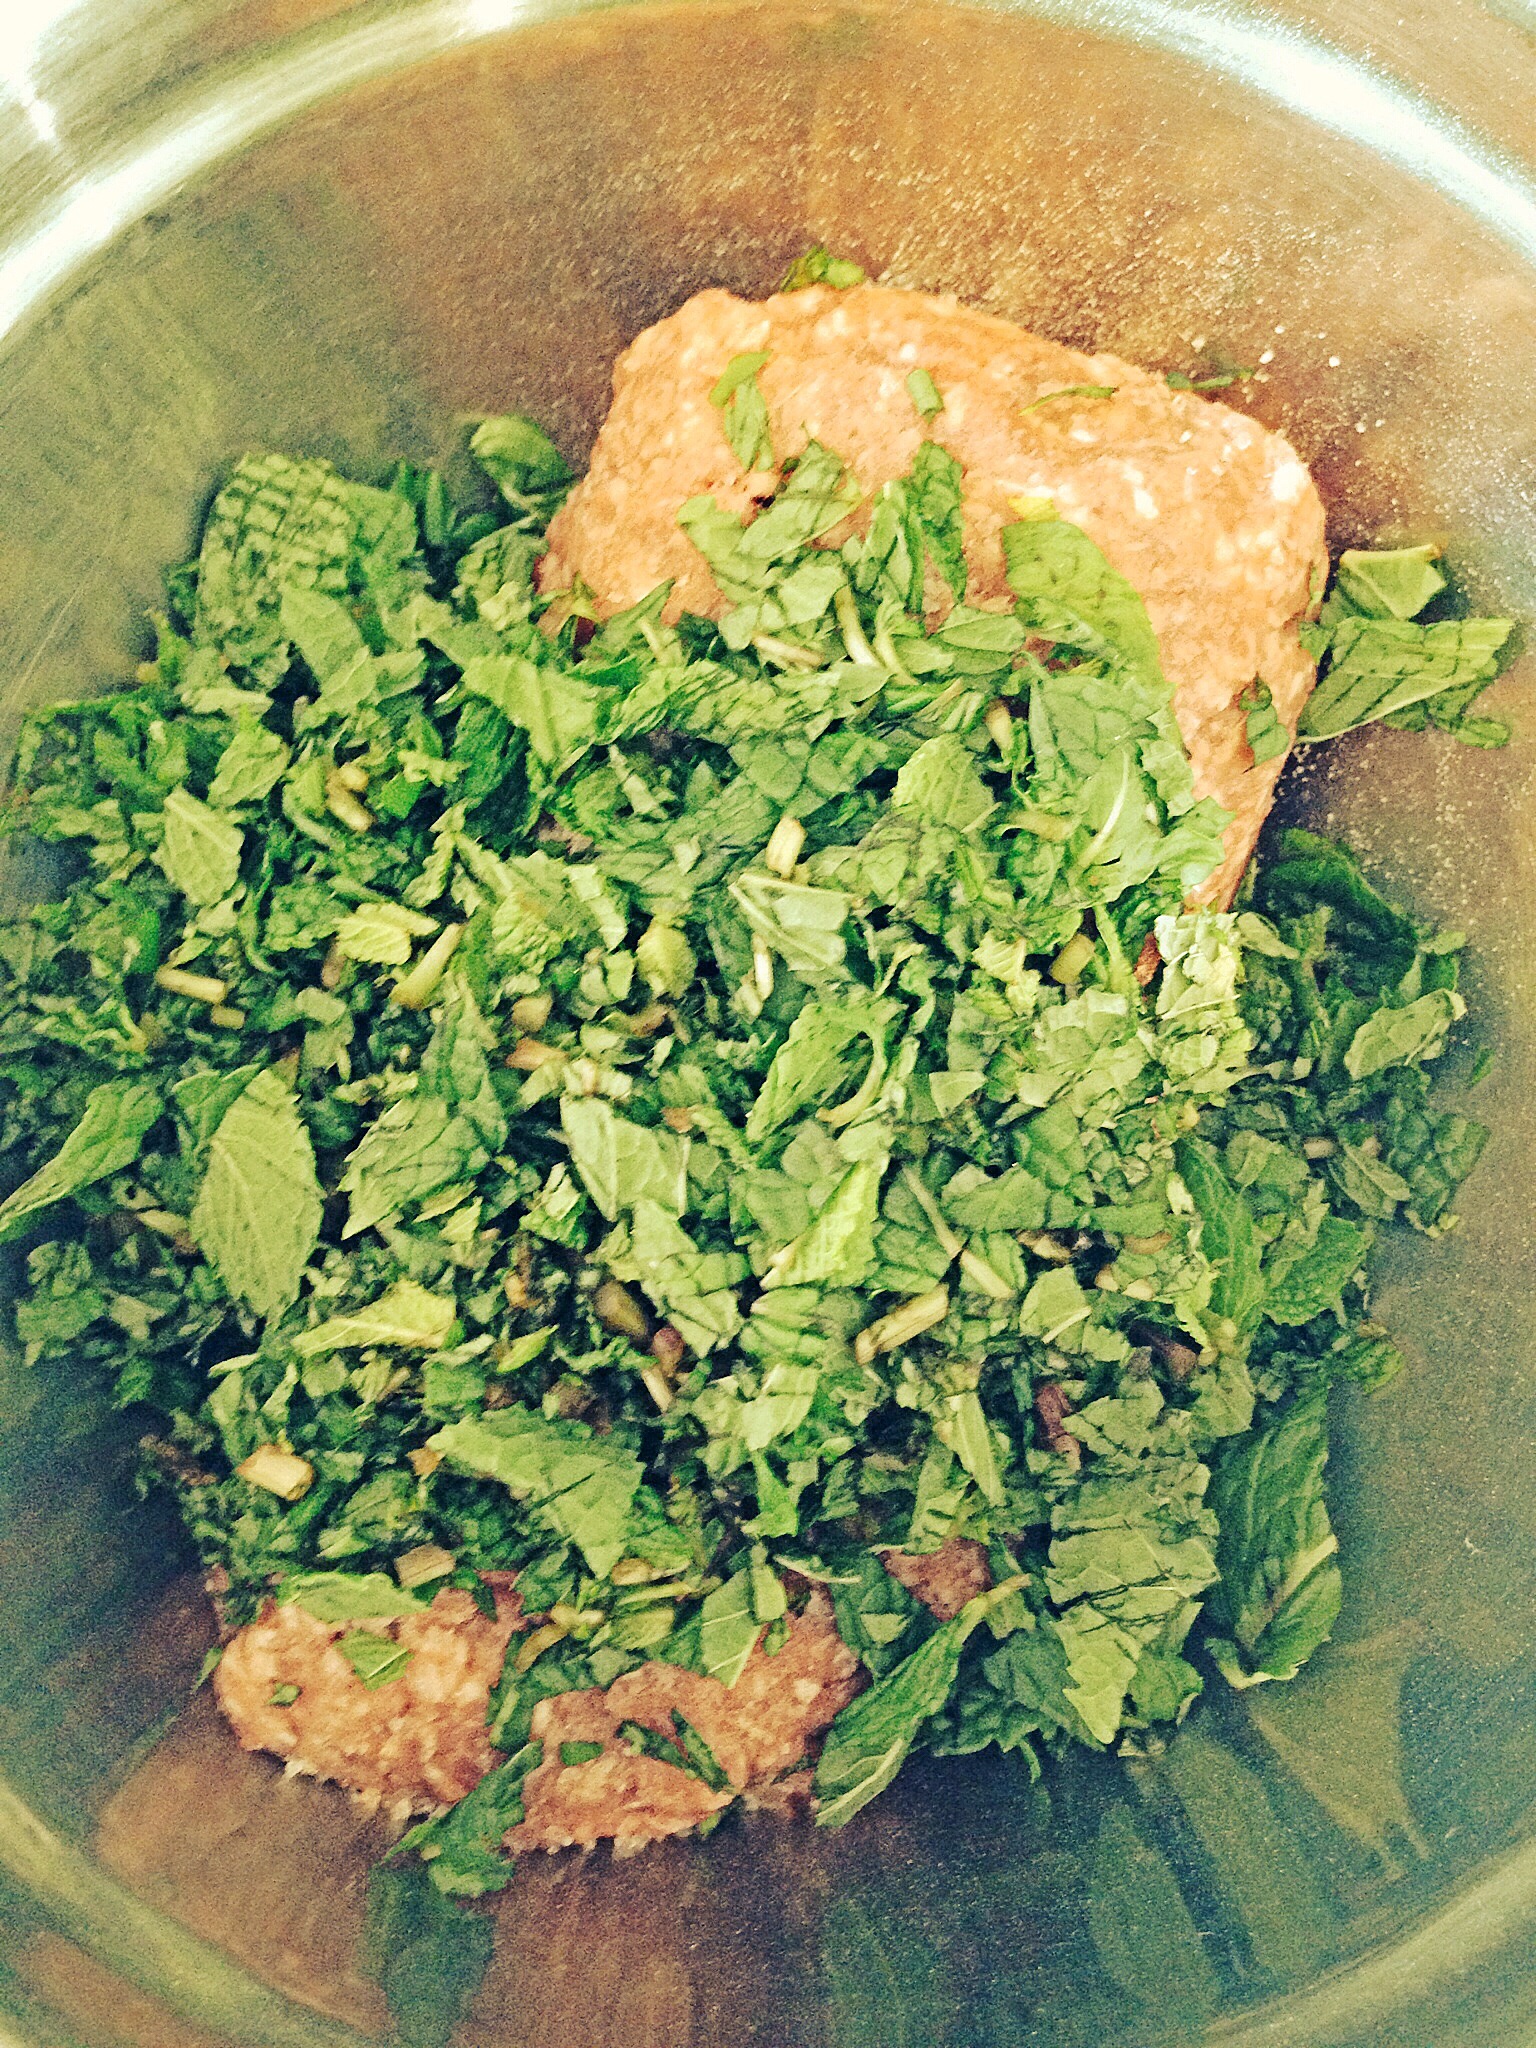
In a large bowl add the ingredients for the burger, mix with your hands to incorporate all of the ingredients,  and then form patties.
image
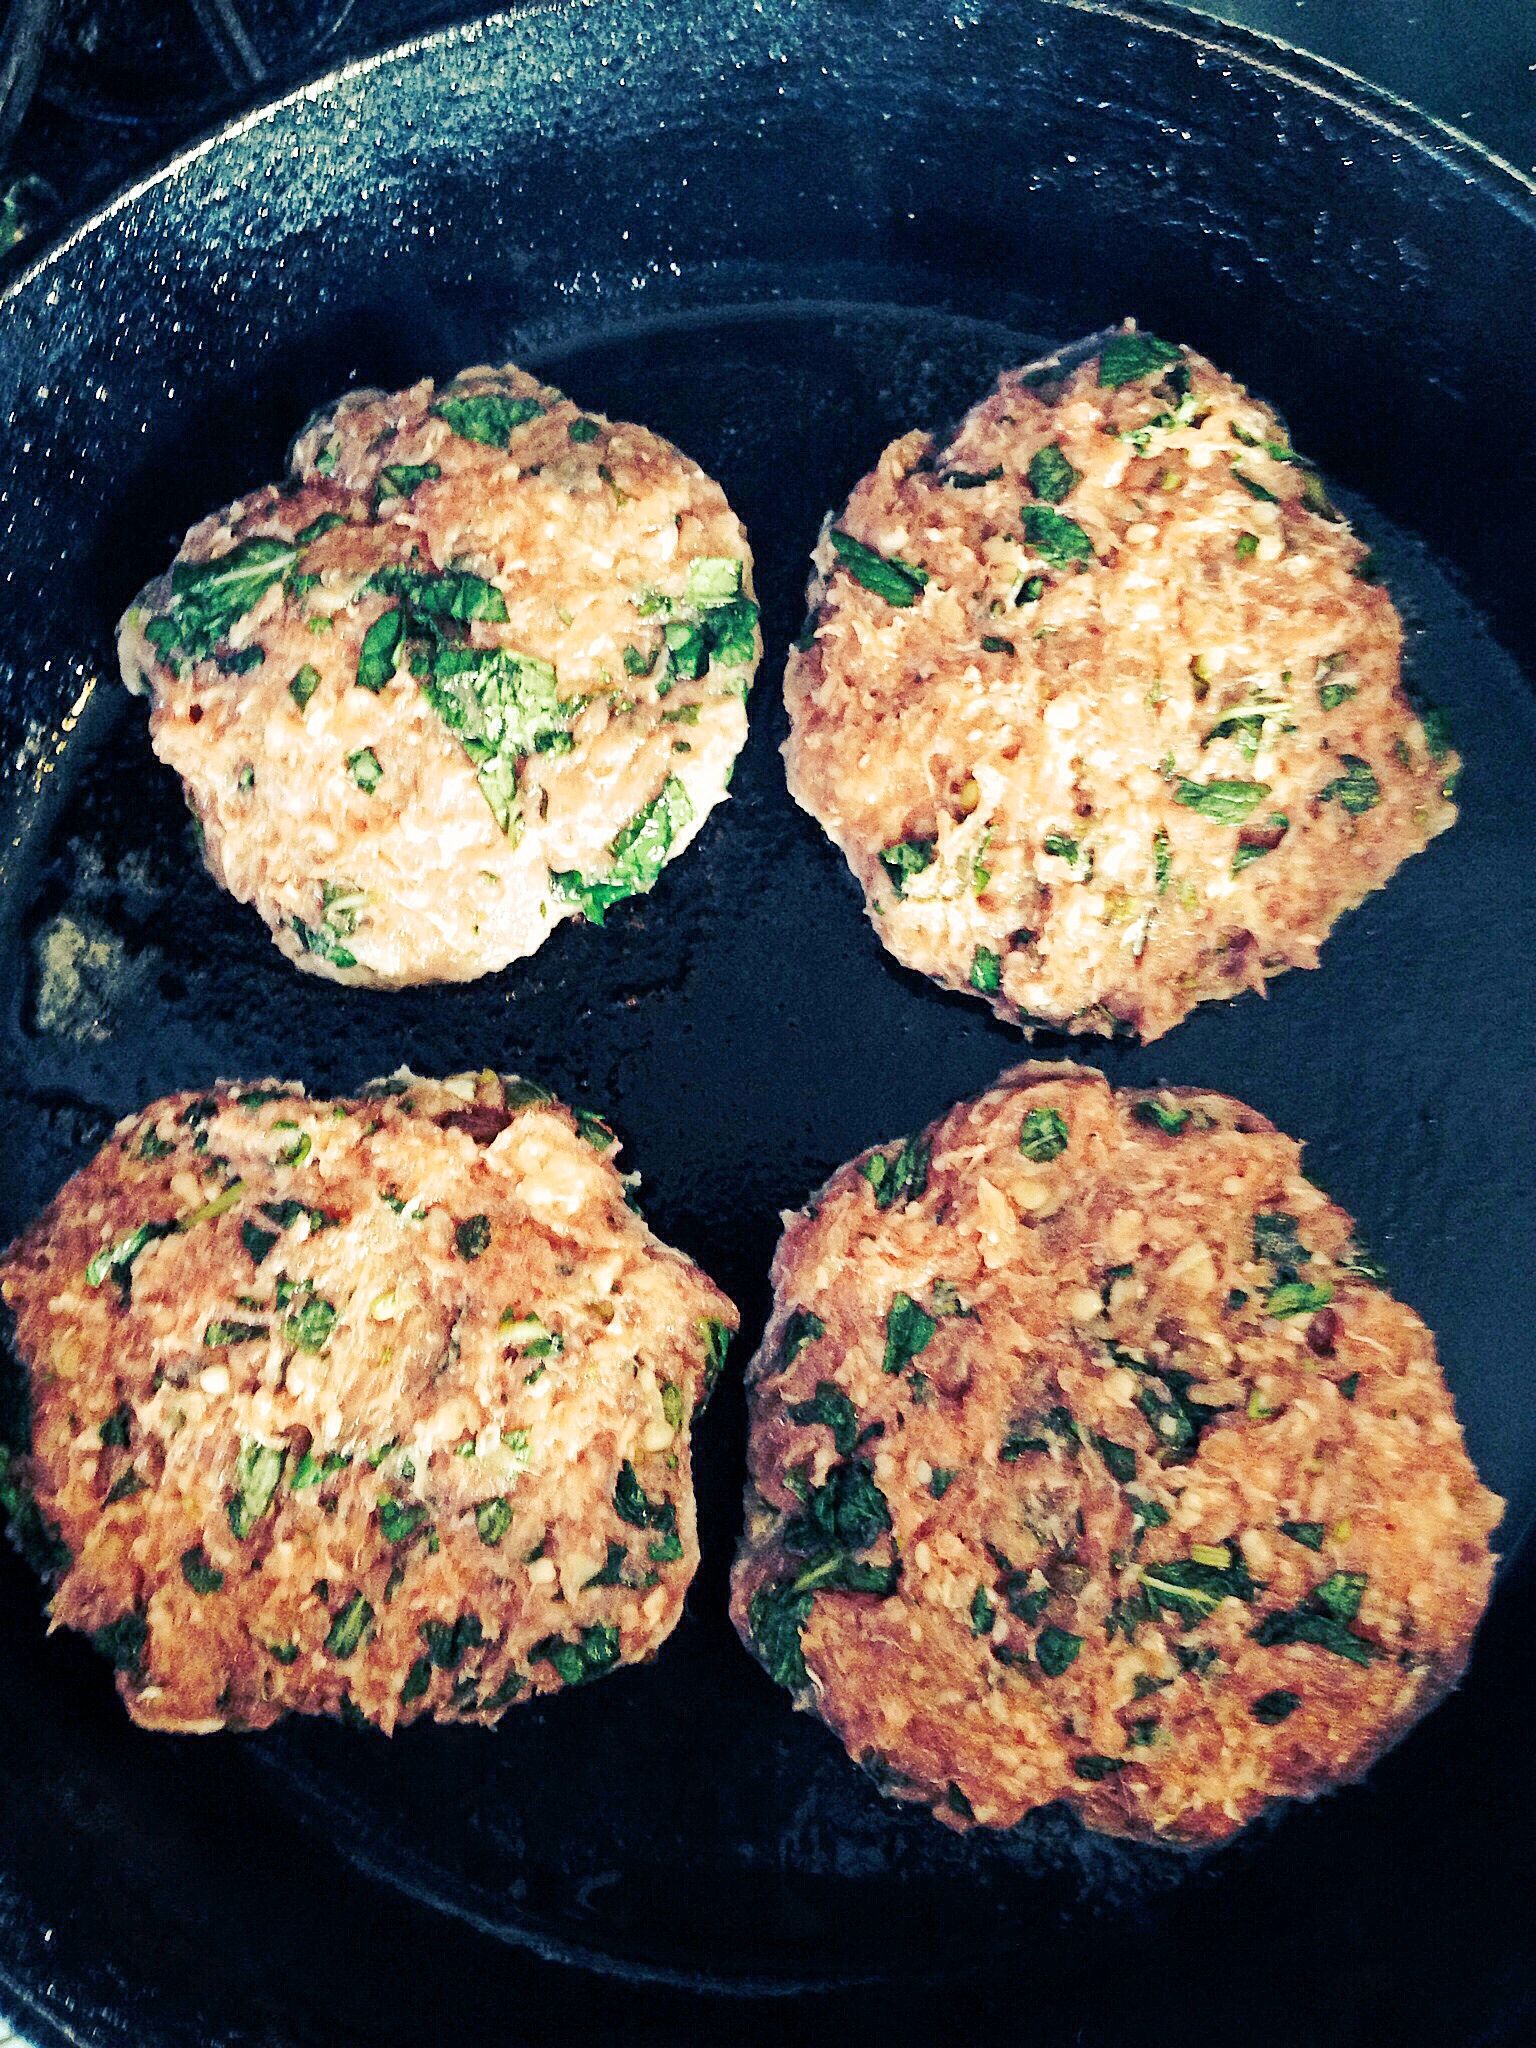
Heat a cast iron skillet, then add the burgers. Cook each burger without turning them, for 4-6 minutes on each side.
image
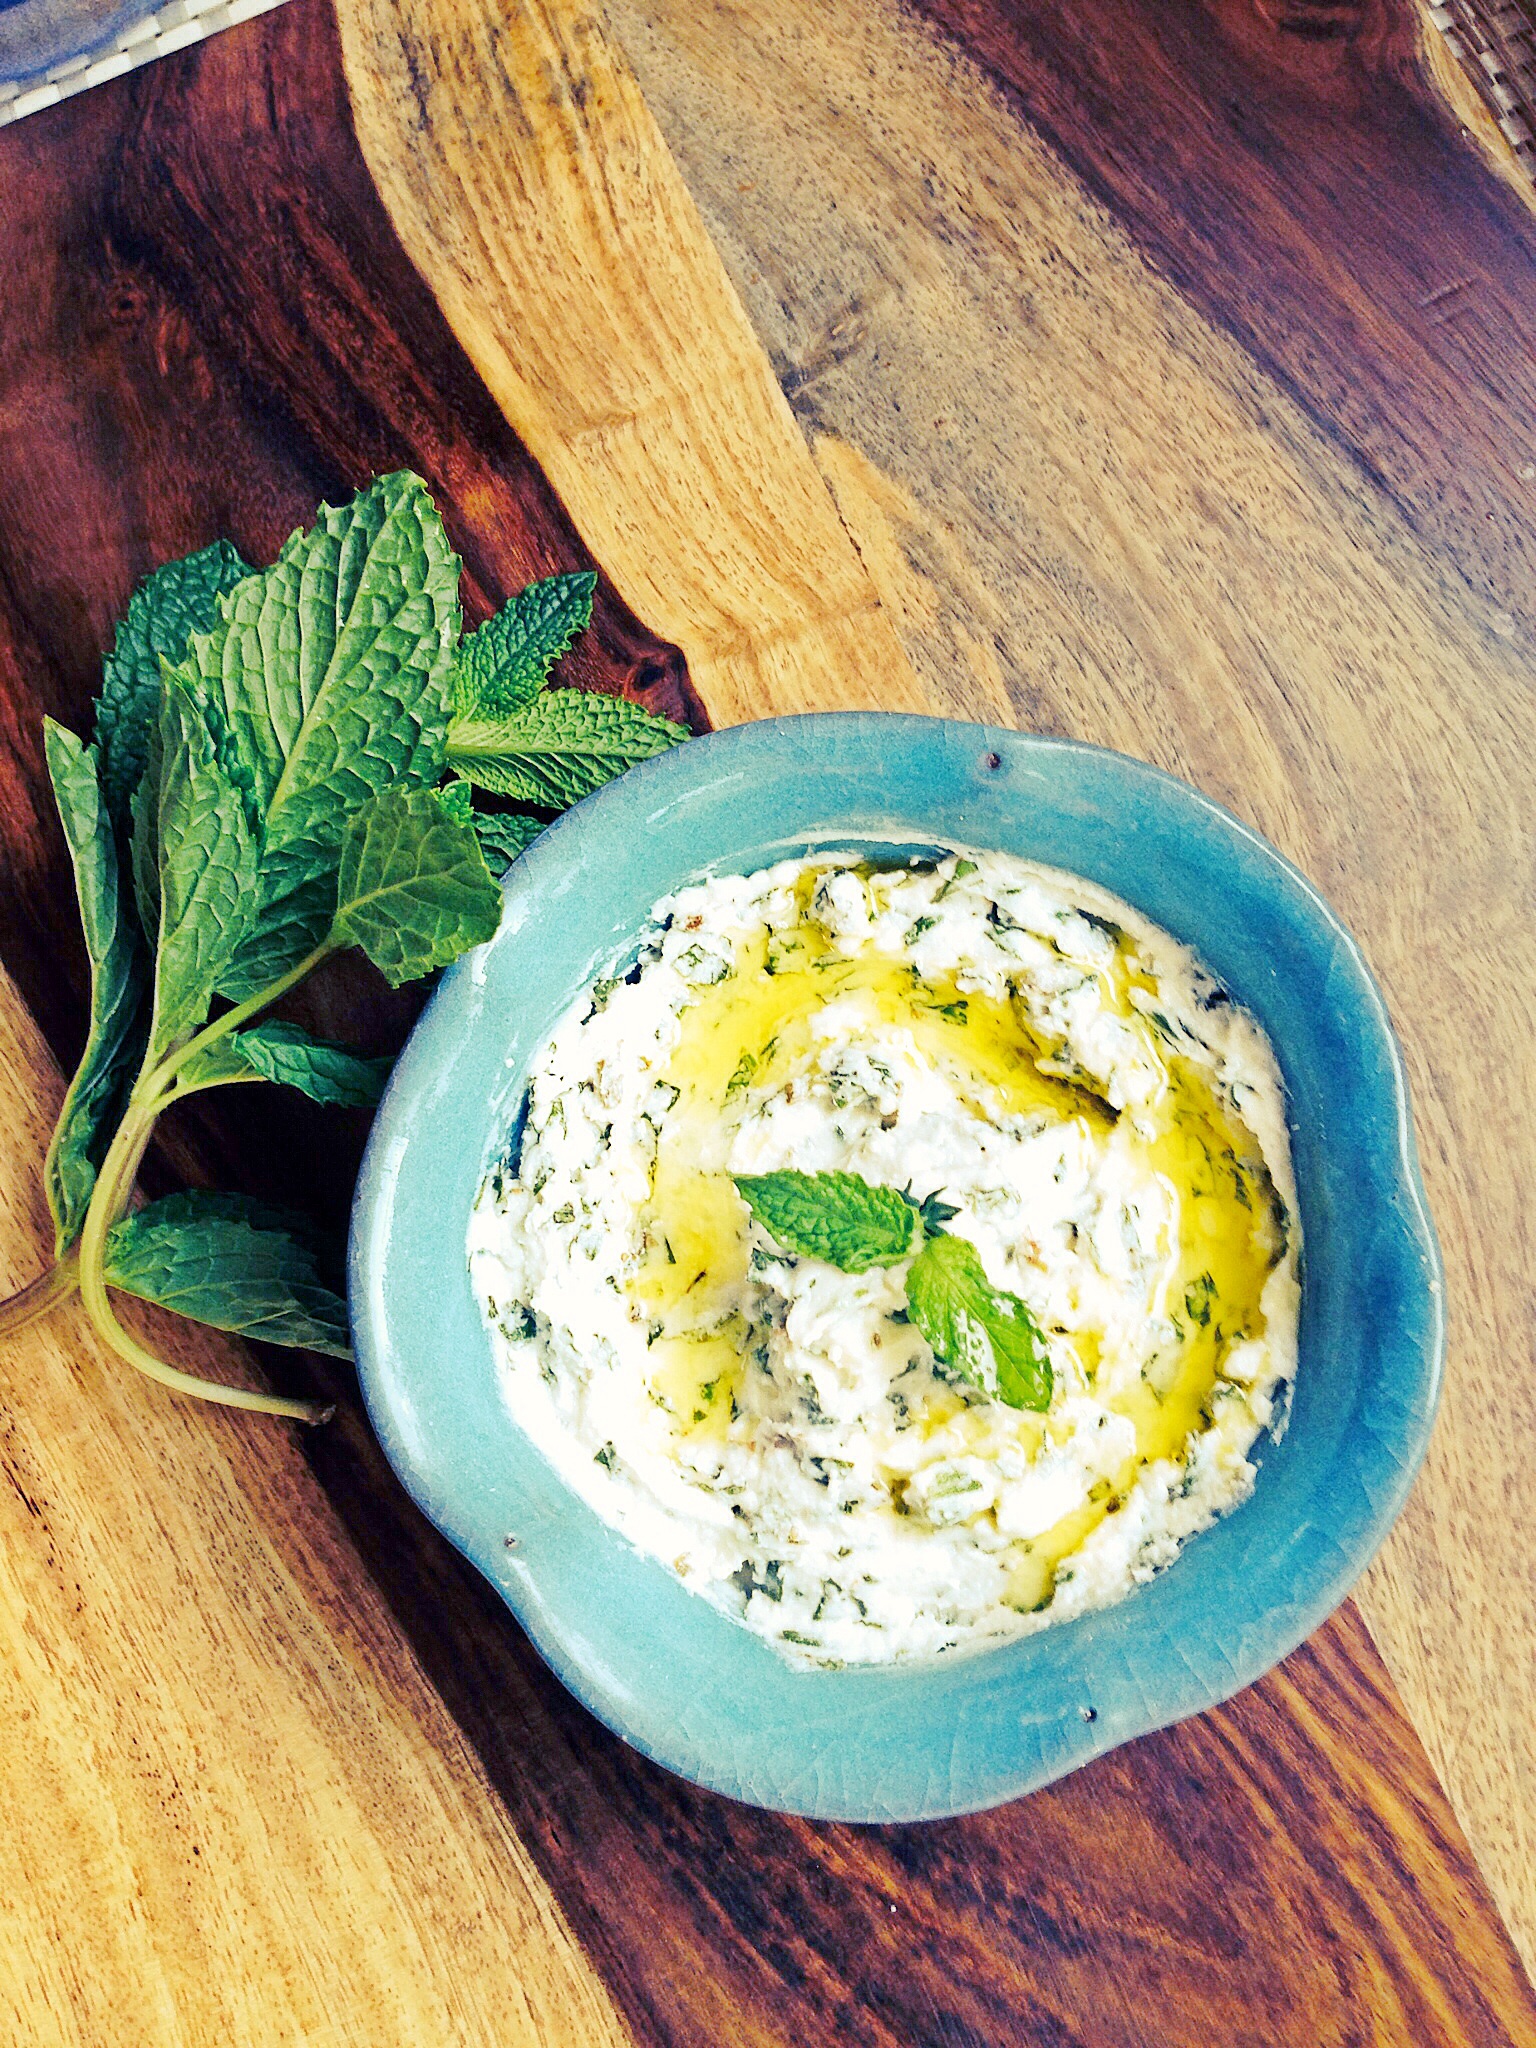
Serve these on buns with the cucumber sauce or go to my YouTube channel and get my recipe for Creamy herb feta cheese spread.
Creamy Herbed Feta Cheese Spread

Creamy Herbed Feta Cheese Spread
Or skip the bun and use lettuce as a low carb option.
Lamb Burger with Yogurt cucumber sauce