Showing posts with label gluten free pizza. Show all posts

Wednesday, March 4, 2015

Cauliflower Pizza Crust--How to make Cauliflower Pizza Crust

image
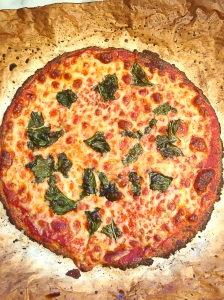
Cauliflower Pizza Crust
 
I'm trying to find different ways to serve vegetables to Page.  She has a new found love for pizza--before she wasn't at all impressed.  Recently, I've started to get her involved in helping me to make the meals we're eating.  I saw a food documentary about food, and kids.  In it the narrator said that the best way to get kids to eat vegetables is to have them take part in cooking. Page is at that age where she's very eager to help, so I thought why not take advantage of that.   I've also really wanted to try out a cauliflower pizza crust on our new baking steel.  I have to say that I was more than impressed with the results--so was Page.   Now for those of you wondering if this will taste anything like that delicious yeasty bread that you're used to with pizza--the short answer is no.  Bread is bread--this is an alternative to bread.  Although it's not bread--it mimics bread in form, and it is so delicious that it stands on it's own.  The reason cauliflower is most often used by people as a substitution for grains is because it has such a mild flavor.  It also has great texture. This recipe requires that you add cheese.  I used parmesan, but you could use mozzarella, or pecorino, or a combination of your favorite Italian cheeses.  I also used fresh basil, but you can use rosemary, or another herb of your choosing, dried or fresh--totally up to you.

Pin It!
 
Prep time: 10 minutes
Cook time: 15 minutes
Ingredients:
1 small head of cauliflower
1/4 teaspoon of garlic powder
1/4 teaspoon of truffle salt
1 tablespoon of finely chopped fresh basil
1 cup of freshly grated parmesan--or cheese of your choice
1 egg
Directions: Pre-heat your oven and pizza stone or baking steel  to 450F for 45 minutes. Steam the cauliflower for 5-7 minutes--or until fork tender.
image
Transfer cauliflower to a processor and process until cauliflower looks like grains of rice.
image
Transfer processed cauliflower to a clean kitchen towel, or a nut milk bag, and squeeze until the cauliflower becomes dry.  You want to squeeze out as much water as you can.
image
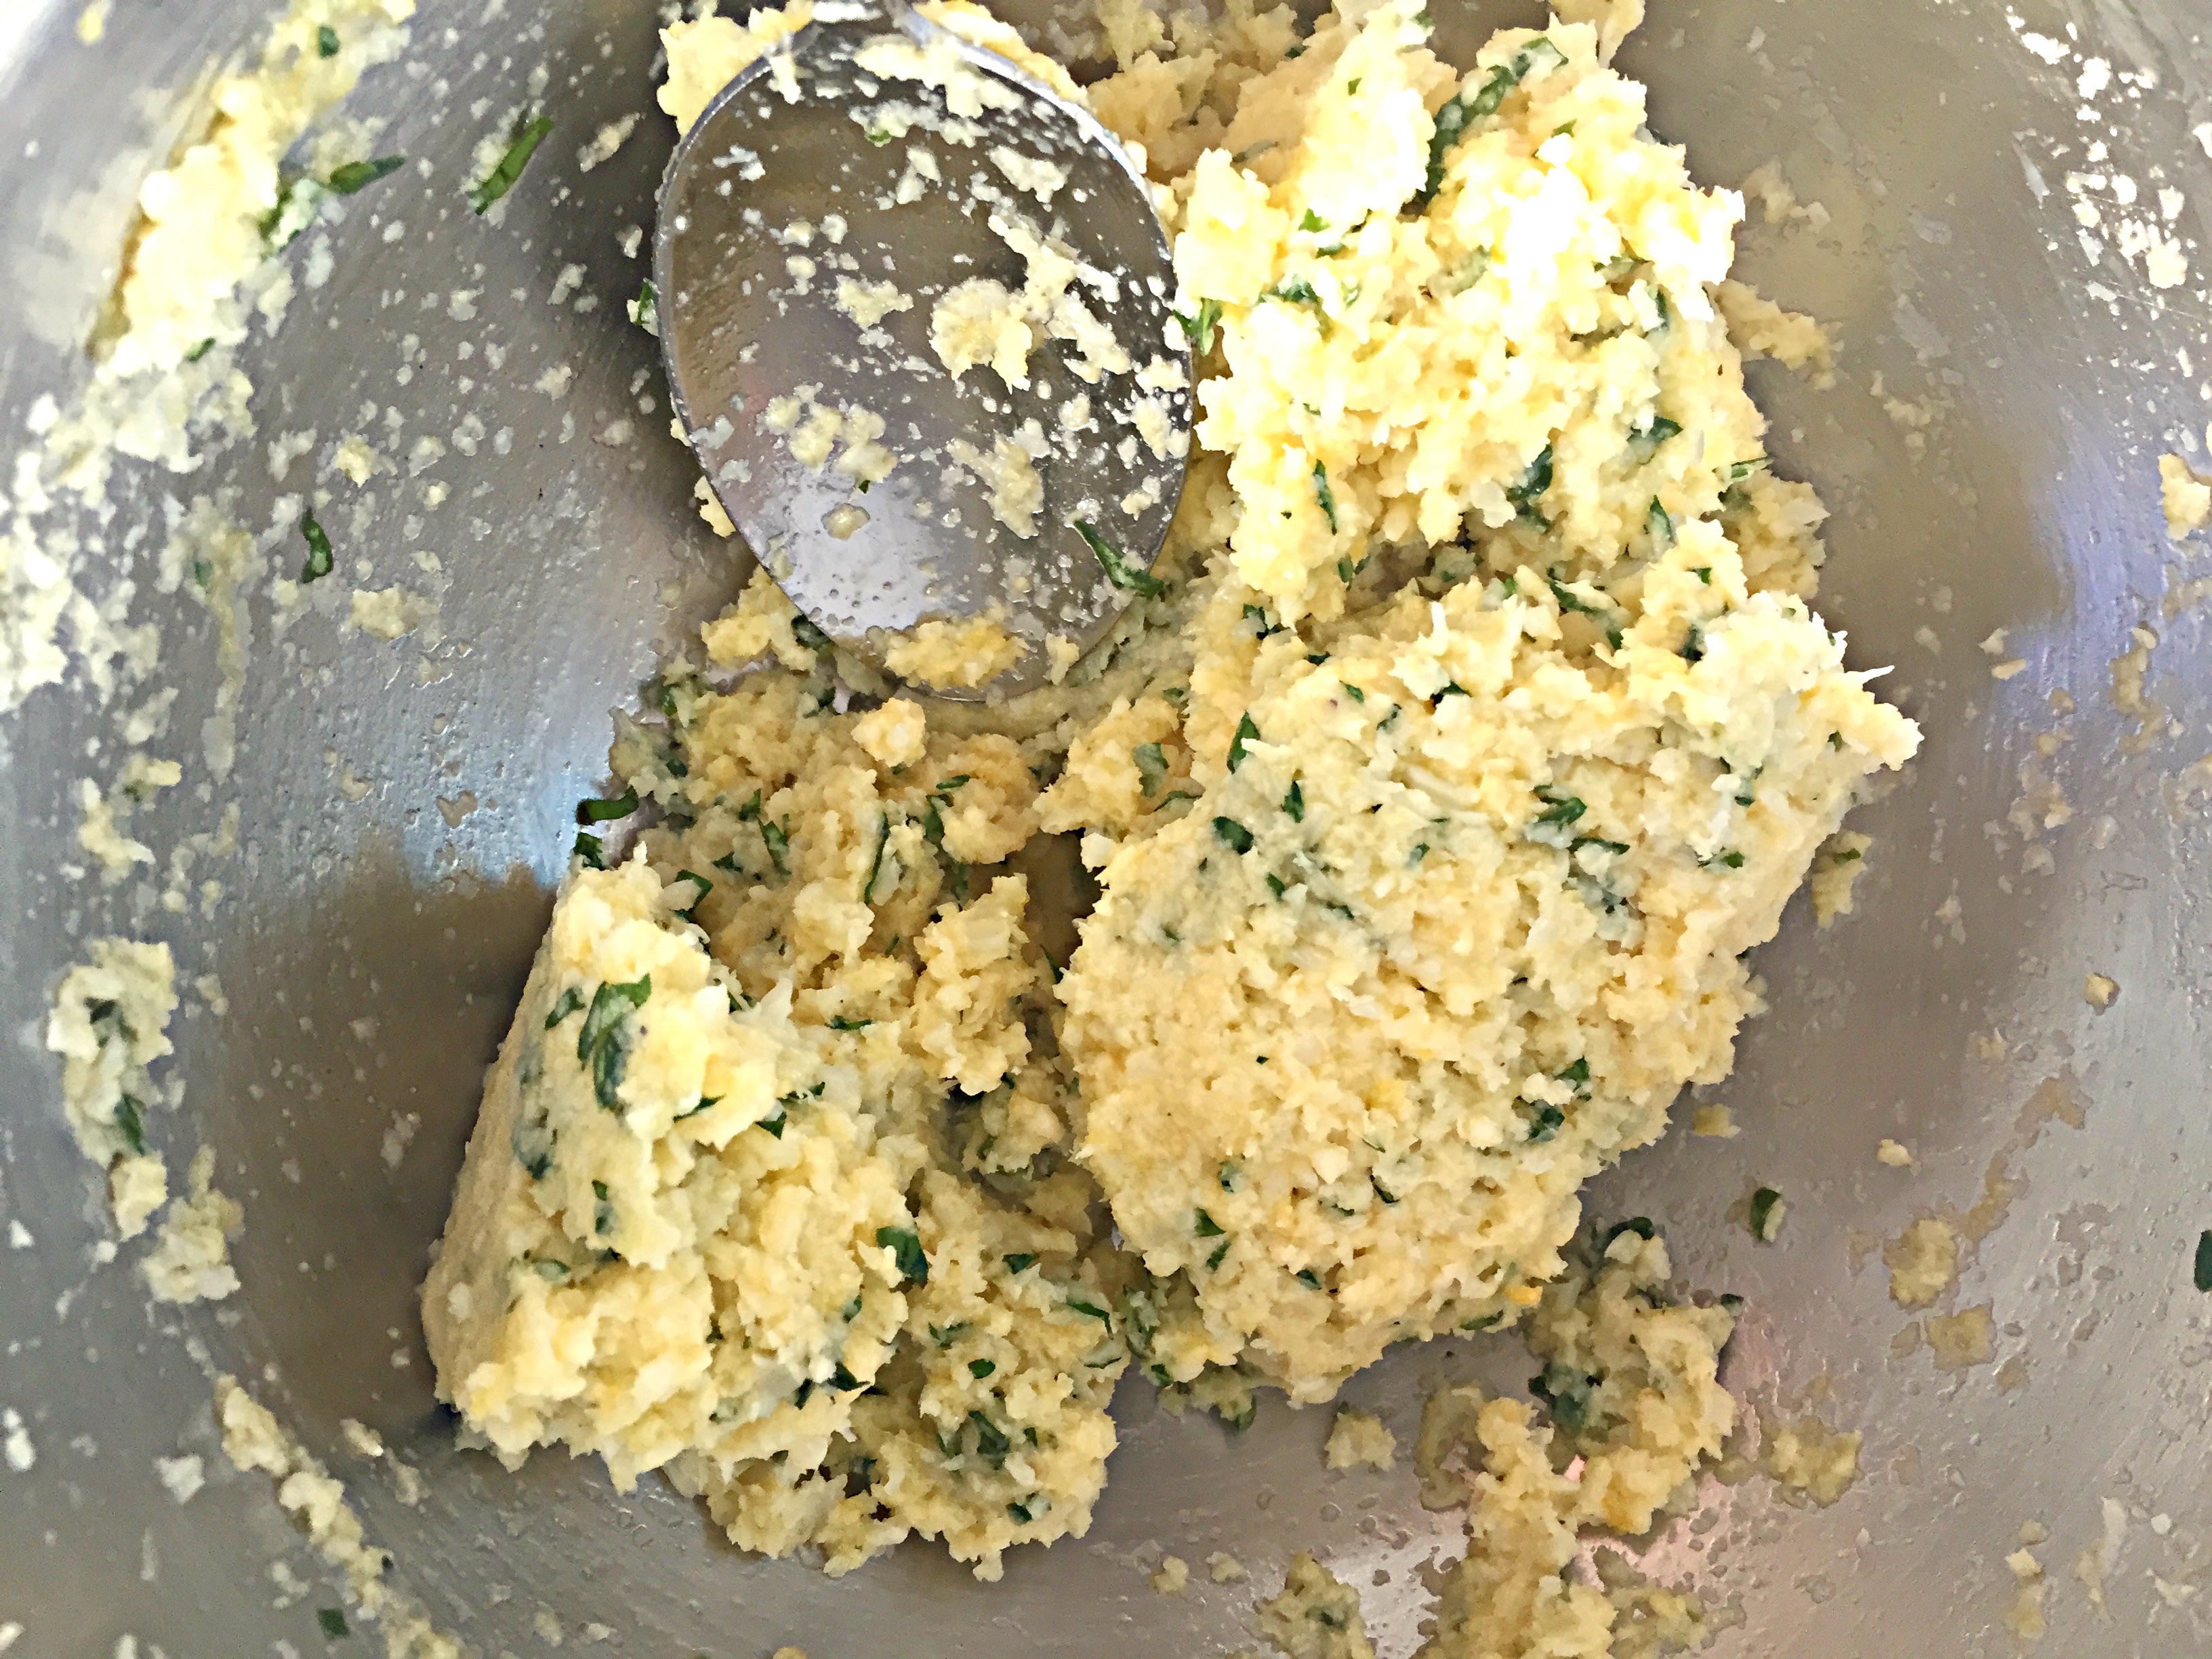
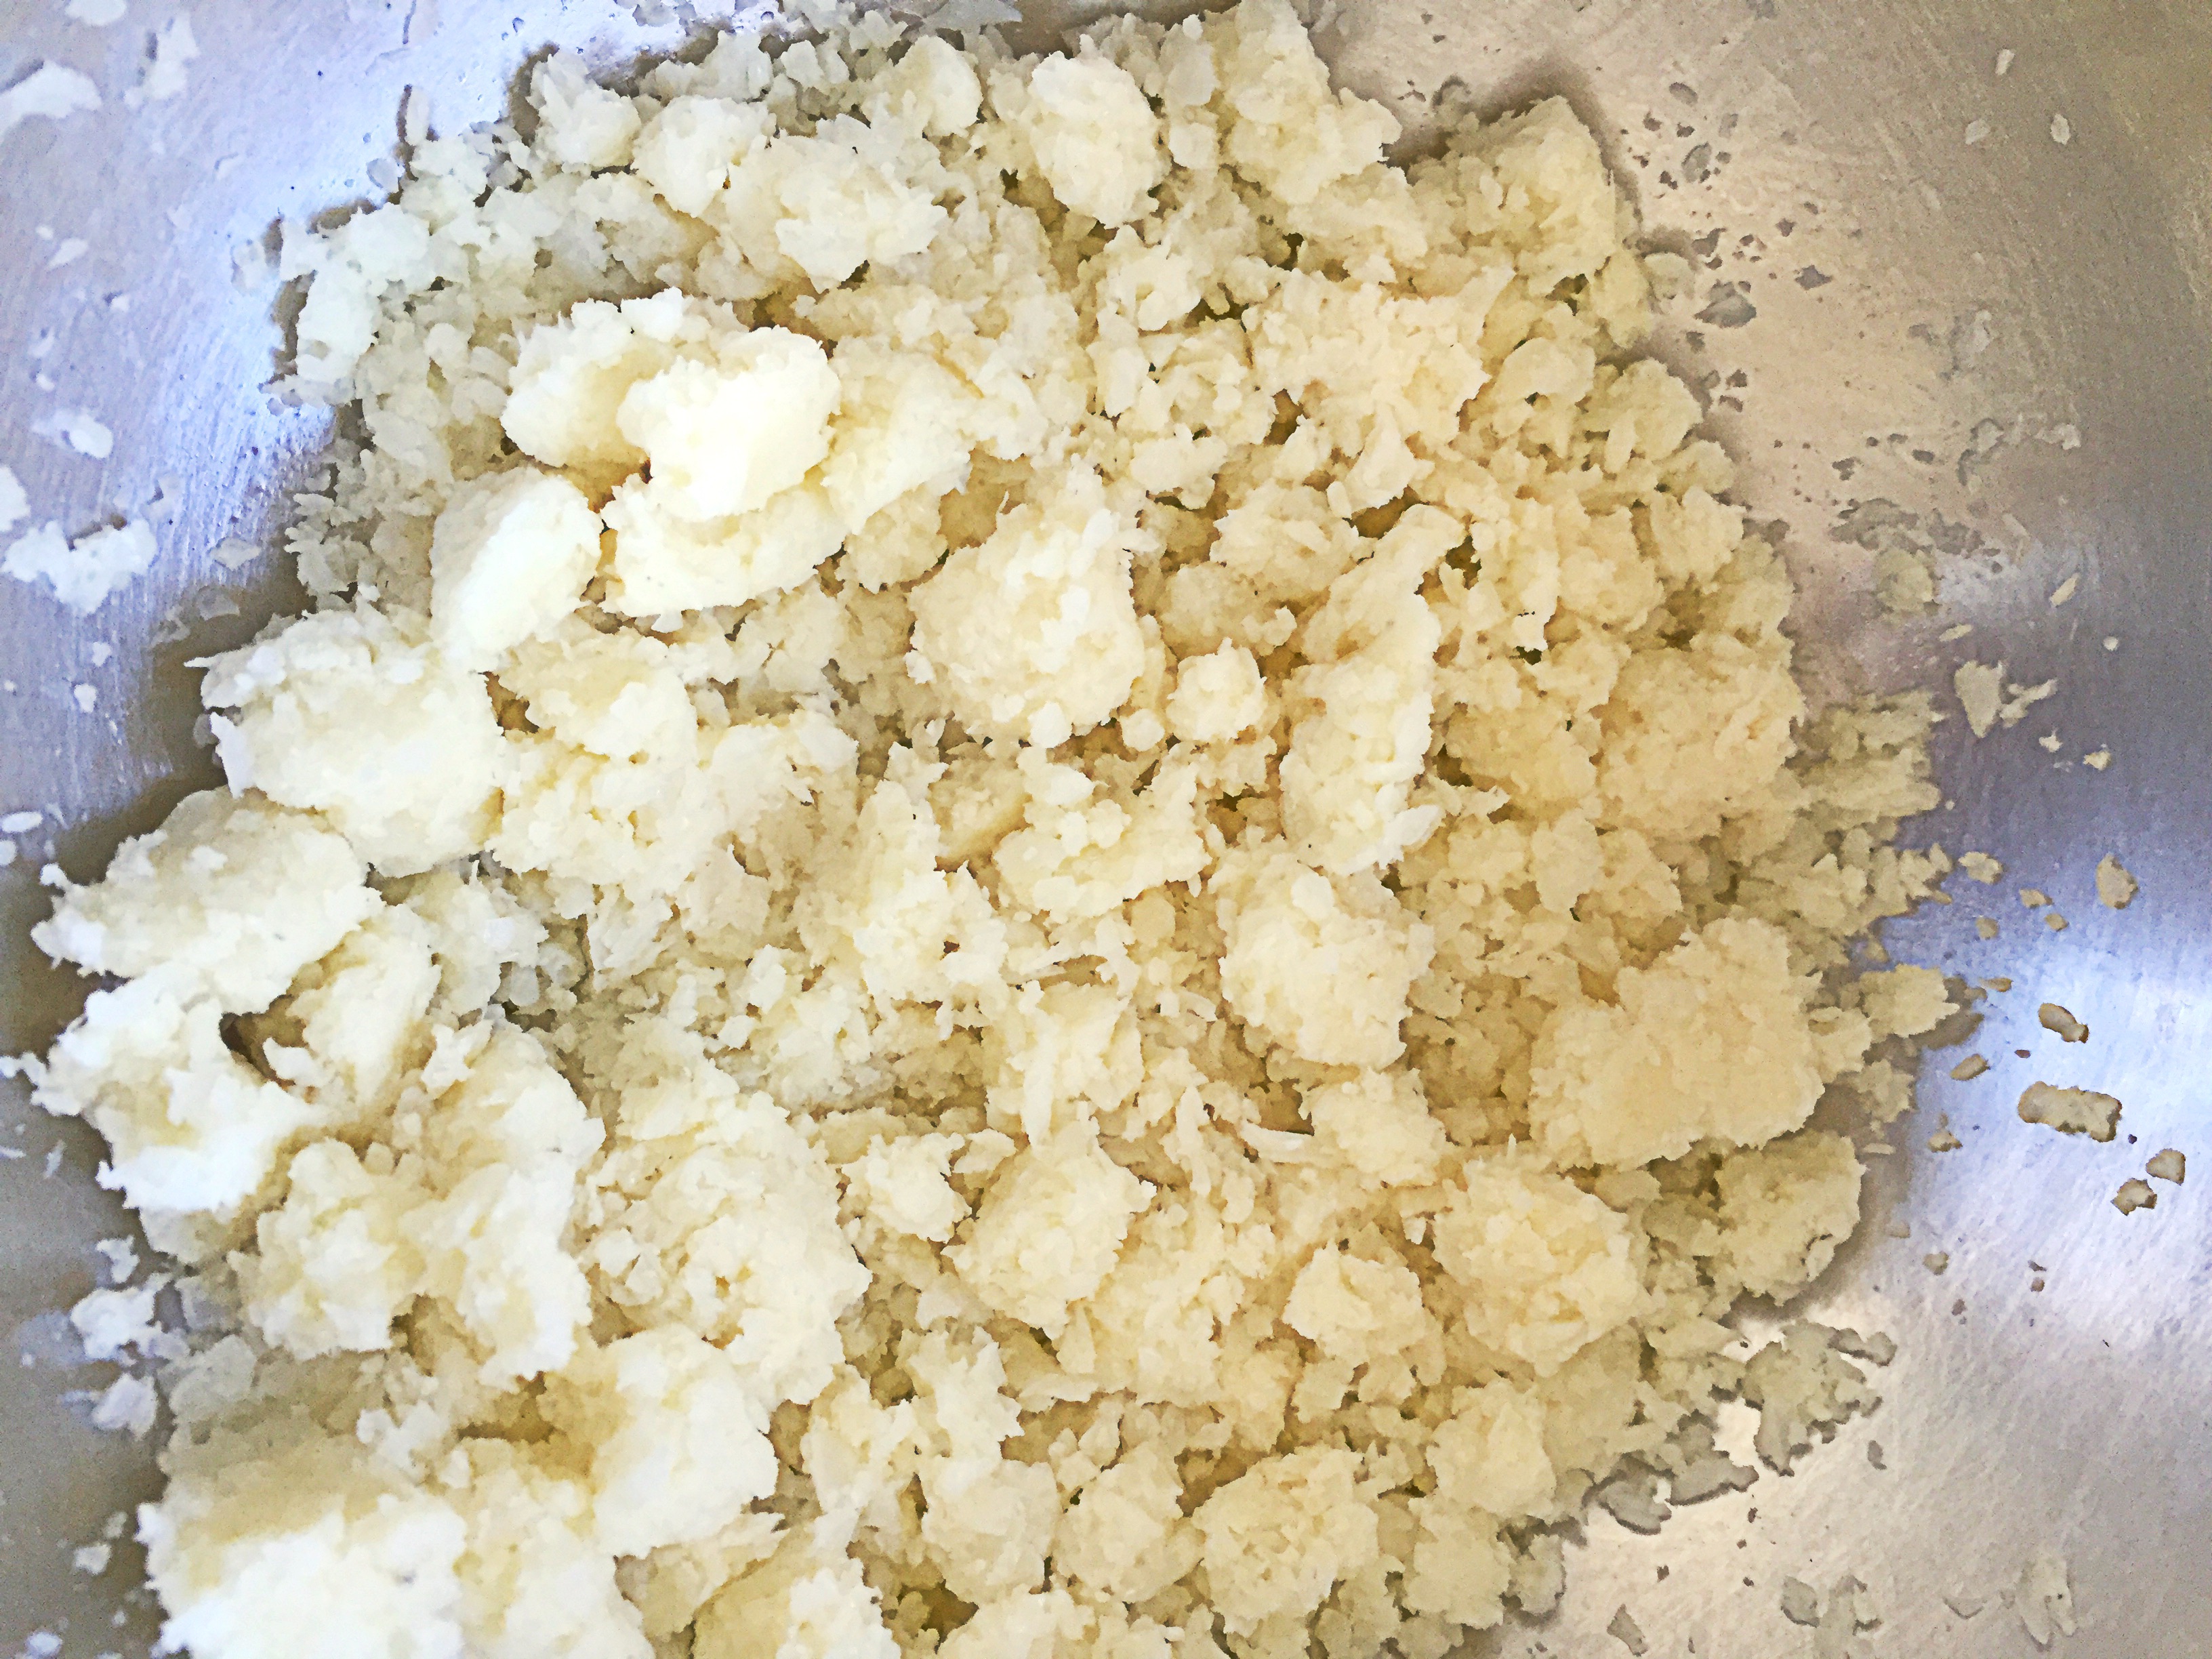
Transfer the cauliflower to a medium size bowl, and add garlic powder, salt, basil, and cheese--mix together into a ball.
image
image
image
Spray a sheet of parchment paper with oil.  Add the cauliflower mixture to the center of the parchment paper, and with your hands begin to flatten and form it into the shape of a pizza.
image
image
Once you have the shape you want, place it in the oven for 10-12 minutes.
image
Once it's golden brown and bubbly like this:  remove it from the oven.
image
image
Now you can top it with your favorite tomato sauce, cheese and toppings.
image
Once you have it topped, place it in the oven to cook until the cheese and topping melt.  Remove from oven, cut serve and enjoy!
image
This made a 10-12 inch pizza, not a crumb was left over.  Everyone enjoyed it--my husband didn't even know that the crust was made from cauliflower until Page told him! If you like this try my recipe for Tortilla Pizza!

Monday, February 16, 2015

Tortilla Pizza--How to Make Pizza with a Tortilla Crust


Tortilla Pizza
Tortilla Pizza
 
A friend of mine has been espousing the virtues of the Baking Steel for over a year and half now.  We don't make very many pizza's in this house, so I put it on my list of things that I want to buy in the future, but really can wait. Then I read all about the virtues of this steel plate in Modernist Cuisine, and I knew that I needed one sooner rather than later.  Aside from being a great way to make brick oven style pizza's, the baking steel works as a plancha, an anti-griddle, and a teppanyaki.  A multi-purpose gadget always excites me, so I  ordered one.  I came across a great article on Serious eats about a reversible version of the Baking Steel, and right next to it was a recipe for Extra-Crispy Bar-Style Tortilla Pizza and I knew that I had to try it. Leave it to me to buy a gadget made for making pizza only to put it aside to make a pizza in a cast iron skillet.  After making this, I don't know why I never thought to try making pizza with a tortilla as a base before.  I've used naan, pita, and a middle eastern bread to make pizza before, so you would think it would have occurred to me to try one with a tortilla.  This pizza is super-duper easy, takes less than 10 minutes from start to finish, and it's the best thin crust pizza that I've ever eaten.   For my gluten free friends, this pizza is easily adapted to become gluten free by switching out the flour tortilla, with a gluten free tortilla, Whole Food's sells a host of different varieties. You can add additional toppings to this, but I kept it simple.
Prep time: 5 minutes
Cook time: 7-10 minutes
Pin It!
 
 
Ingredients:
3 tablespoons of Organic Tomato sauce (I used the Trader Joe's brand)
1/4 cup of freshly grated parmesan cheese
1/2 cup of organic mozzarella cheese (grated)
3 fresh basil leaves sliced thinly
1 large organic flour tortilla
1/2 teaspoon coconut oil or grape seed oil
Directions: Pre-heat oven to broil.  Add the oil to the cast iron pan and bring to temperature over high heat.
image
Once the oil is hot, wipe out any excess with a paper towel--be careful not to burn yourself.
image
Add the tortilla to the pan, turn the heat down to medium-low.
image
Add the 3 tablespoons of tomato sauce,
image
spread the sauce out evenly over the tortilla, all the way out to the edges.
image
 
Add the mozzarella.
image
Then add the parmesan around the edges--you are giving your pizza a parmesean crust.
image
Add the basil:
image
Transfer the pizza to the oven,
image
 
Allow the pizza to cook for 3-4 minutes or until the cheese bubbles and browns.
image
Remove the pan from the oven.  The pizza should be nice and crisp--if it is not, place the cast iron pan over a burner, turn on the fire and allow to  cook for another 30-60 seconds until it's nice and crisp. Remove the pizza from the pan slice, serve and enjoy! This recipe is only for one pizza, so if you need more adjust accordingly.  My daughter enjoyed this so much, that she begged me to make her one for breakfast the next morning.
image
 
image
 
image
If you like this recipe you will probably like my recipe for Artisan Prosciutto Tomato and Basil Pizza.
Follow and like me on Facebook: www.facebook.com/lazygirldinners