Showing posts with label vegetarian recipes. Show all posts

Wednesday, May 13, 2015

Fried Cauliflower Florets with Creamy Garlic Tahini Sauce


Fried Cauliflower Florets with Creamy Garlic Tahini  Sauce
Fried Cauliflower Florets with Creamy Garlic Tahini Sauce
Whenever I eat out at a Mediterranean restaurant, I find it hard to not just compose a meal from the appetizer menu.  With things like lentil soup, lemon and garlic potatoeshummus and pita bread, fattoush salad, grape leaves, and fried cauliflower on the appetizer menu, who needs a full entree!  I often find myself struggling not to order one of every thing on the appetizer menu.  I usually settle upon the potatoes or the fried cauliflower.  The fried cauliflower is amazingly simple.  Unlike most fried things that come dusted in flour or some other type of breaded base, this doesn't.  This recipe calls for only one ingredient, cauliflower!  The tahini sauce is great with this, but the cauliflower is pretty amazing on its own.  Your kids will love these cauliflower florets, mine did!

Pin It!
Pin It!


Prep time: 5 minutes
Cook time: 5-7 minutes
Ingredients:
1 small head of cauliflower
2 cups of grape seed oil or another high temp oil
Sea salt to taste
Ingredients Creamy Garlic Tahini Sauce
4 tablespoons of tahini paste
8 tablespoons of water
1 tablespoon of lemon juice, more if you like
2 cloves of garlic grated
Directions: Pre-heat the oil to 320F in a deep fryer.  Add ingredients for the tahini sauce to a small bowl and mix until well combined and creamy, then set aside. If you want this to be extra creamy, place all ingredients into a food processor or blender and blend until creamy, then transfer to a bowl.
image
Cut the cauliflower into florets.
image
Add the cauliflower florets to the deep fryer.
image
 
Fry until golden brown.
image
 
image
Transfer to a paper towel lined plate, season with sea salt, serve and enjoy!
 
 
image
 
image

Wednesday, March 4, 2015

Cauliflower Pizza Crust--How to make Cauliflower Pizza Crust

image
Cauliflower Pizza Crust
 
I'm trying to find different ways to serve vegetables to Page.  She has a new found love for pizza--before she wasn't at all impressed.  Recently, I've started to get her involved in helping me to make the meals we're eating.  I saw a food documentary about food, and kids.  In it the narrator said that the best way to get kids to eat vegetables is to have them take part in cooking. Page is at that age where she's very eager to help, so I thought why not take advantage of that.   I've also really wanted to try out a cauliflower pizza crust on our new baking steel.  I have to say that I was more than impressed with the results--so was Page.   Now for those of you wondering if this will taste anything like that delicious yeasty bread that you're used to with pizza--the short answer is no.  Bread is bread--this is an alternative to bread.  Although it's not bread--it mimics bread in form, and it is so delicious that it stands on it's own.  The reason cauliflower is most often used by people as a substitution for grains is because it has such a mild flavor.  It also has great texture. This recipe requires that you add cheese.  I used parmesan, but you could use mozzarella, or pecorino, or a combination of your favorite Italian cheeses.  I also used fresh basil, but you can use rosemary, or another herb of your choosing, dried or fresh--totally up to you.
Pin It!
 
Prep time: 10 minutes
Cook time: 15 minutes
Ingredients:
1 small head of cauliflower
1/4 teaspoon of garlic powder
1/4 teaspoon of truffle salt
1 tablespoon of finely chopped fresh basil
1 cup of freshly grated parmesan--or cheese of your choice
1 egg
Directions: Pre-heat your oven and pizza stone or baking steel  to 450F for 45 minutes. Steam the cauliflower for 5-7 minutes--or until fork tender.
image
Transfer cauliflower to a processor and process until cauliflower looks like grains of rice.
image
Transfer processed cauliflower to a clean kitchen towel, or a nut milk bag, and squeeze until the cauliflower becomes dry.  You want to squeeze out as much water as you can.
image
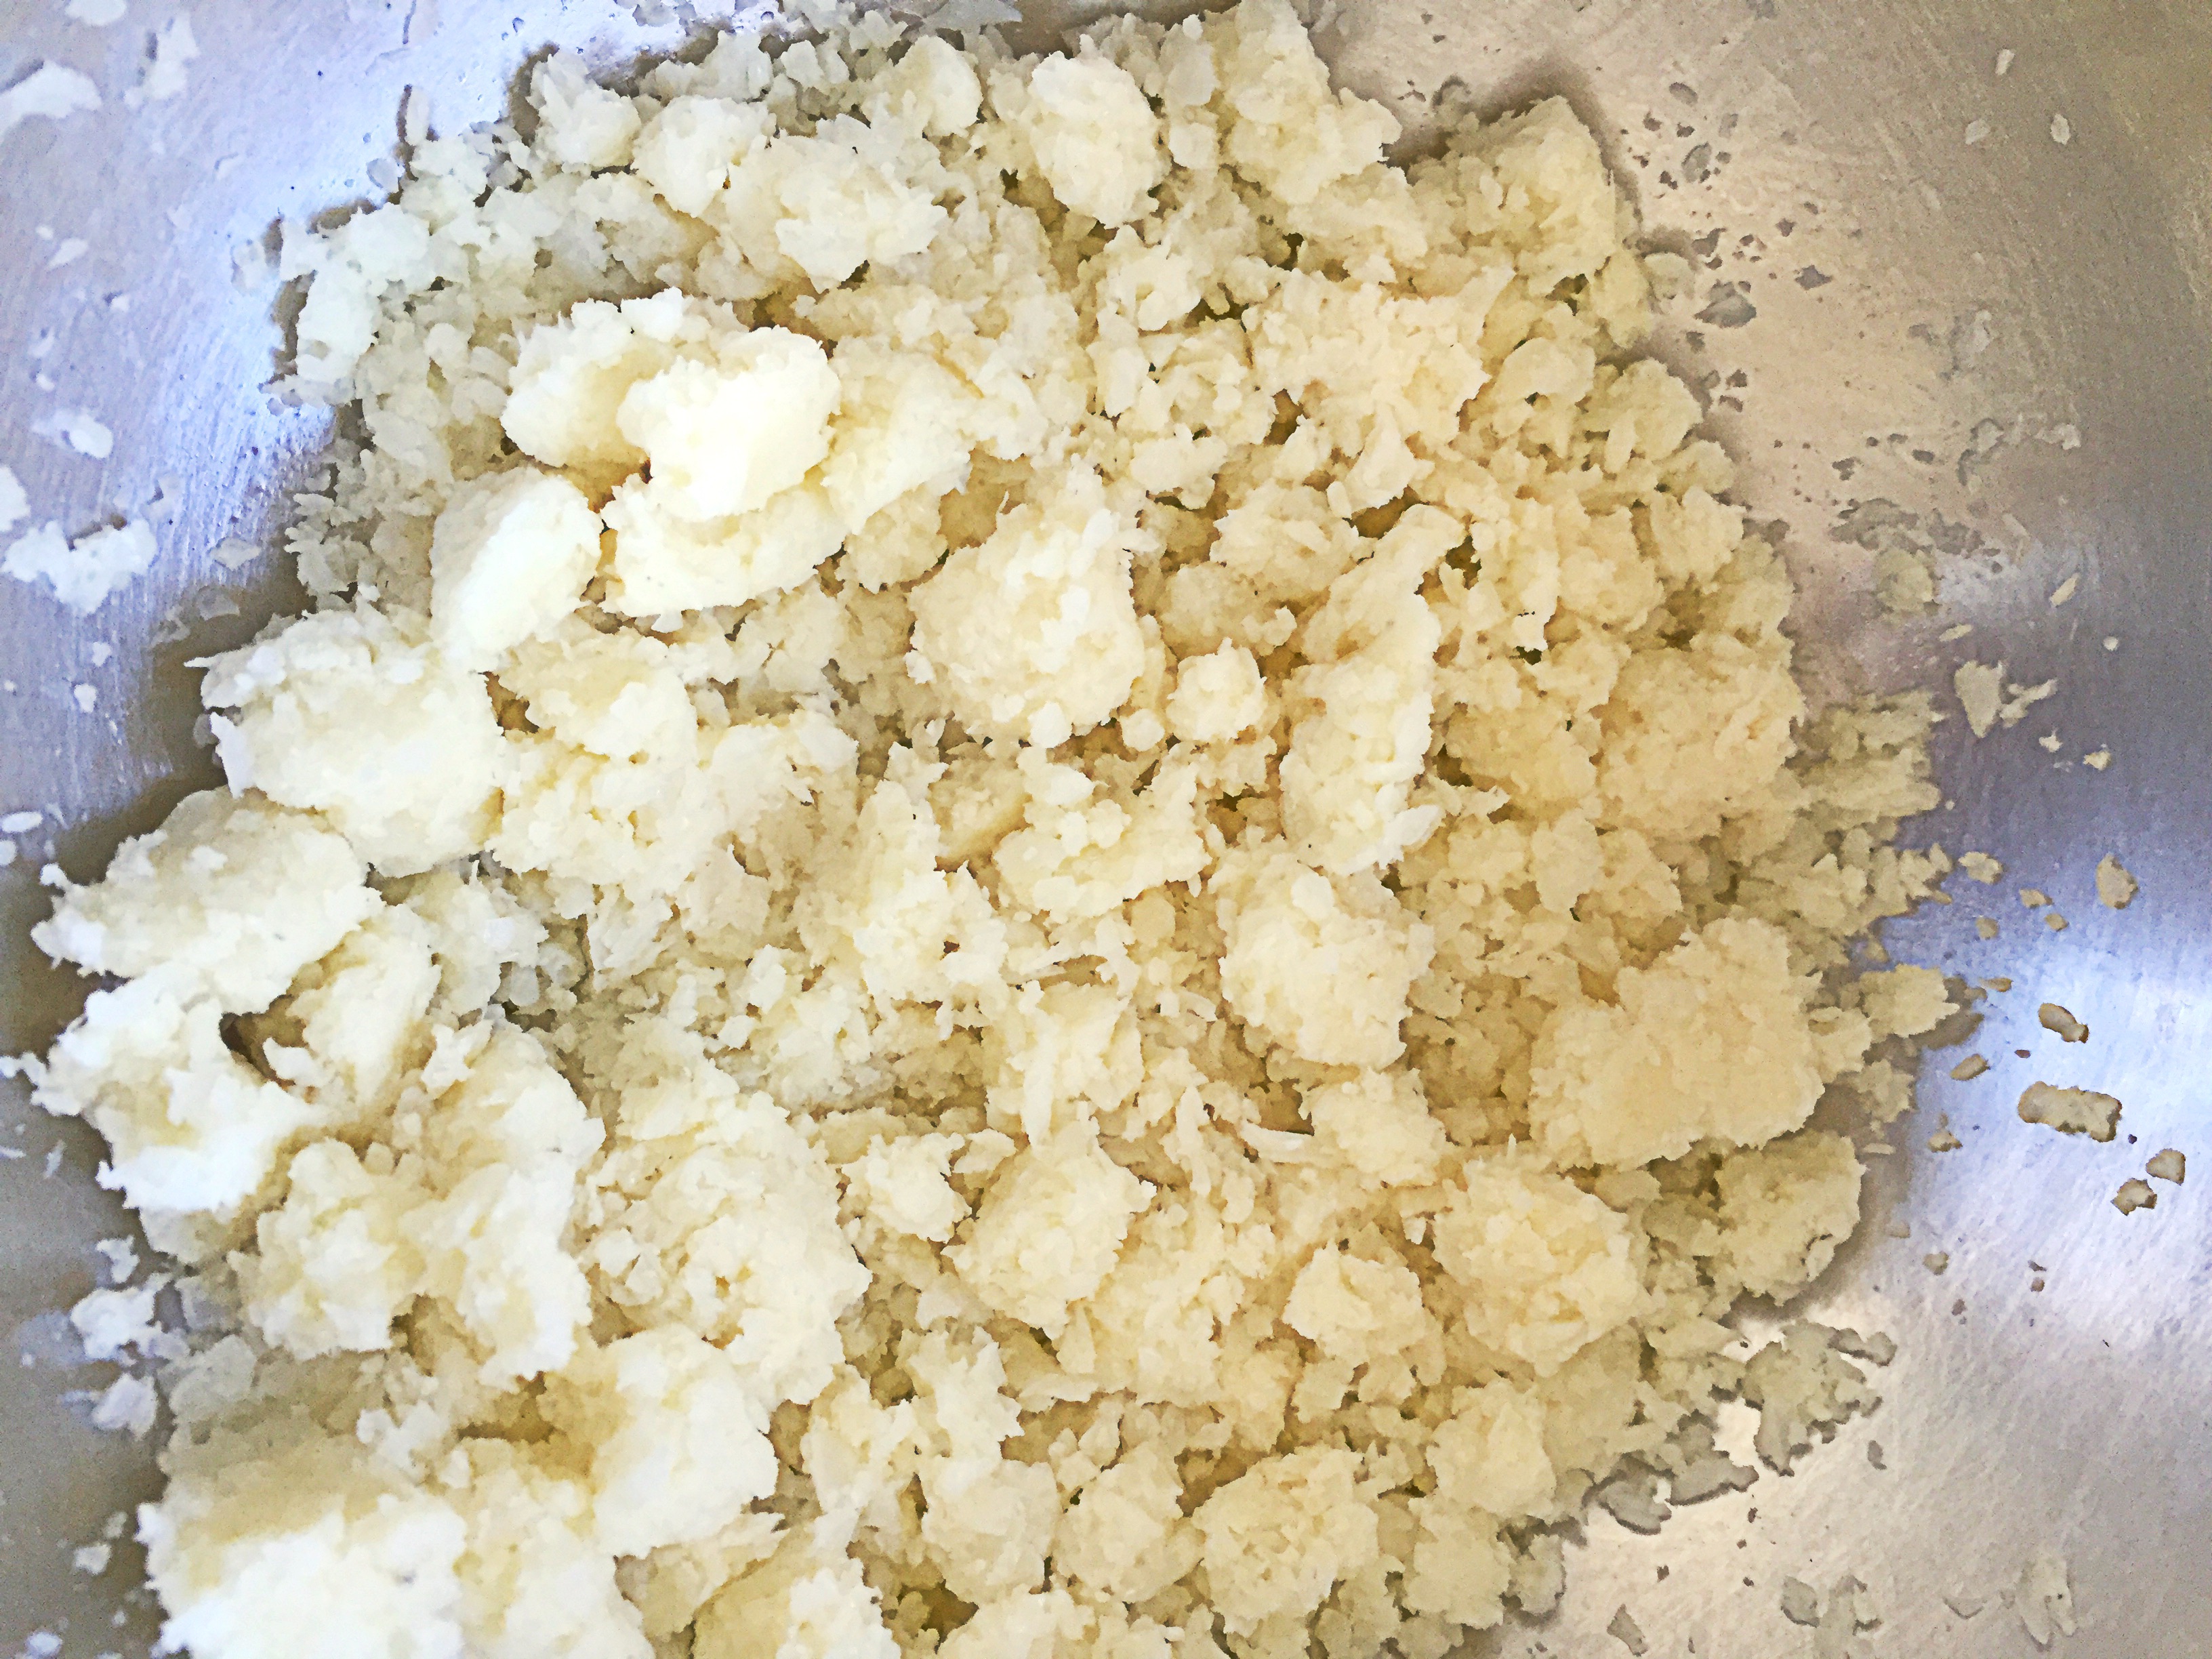
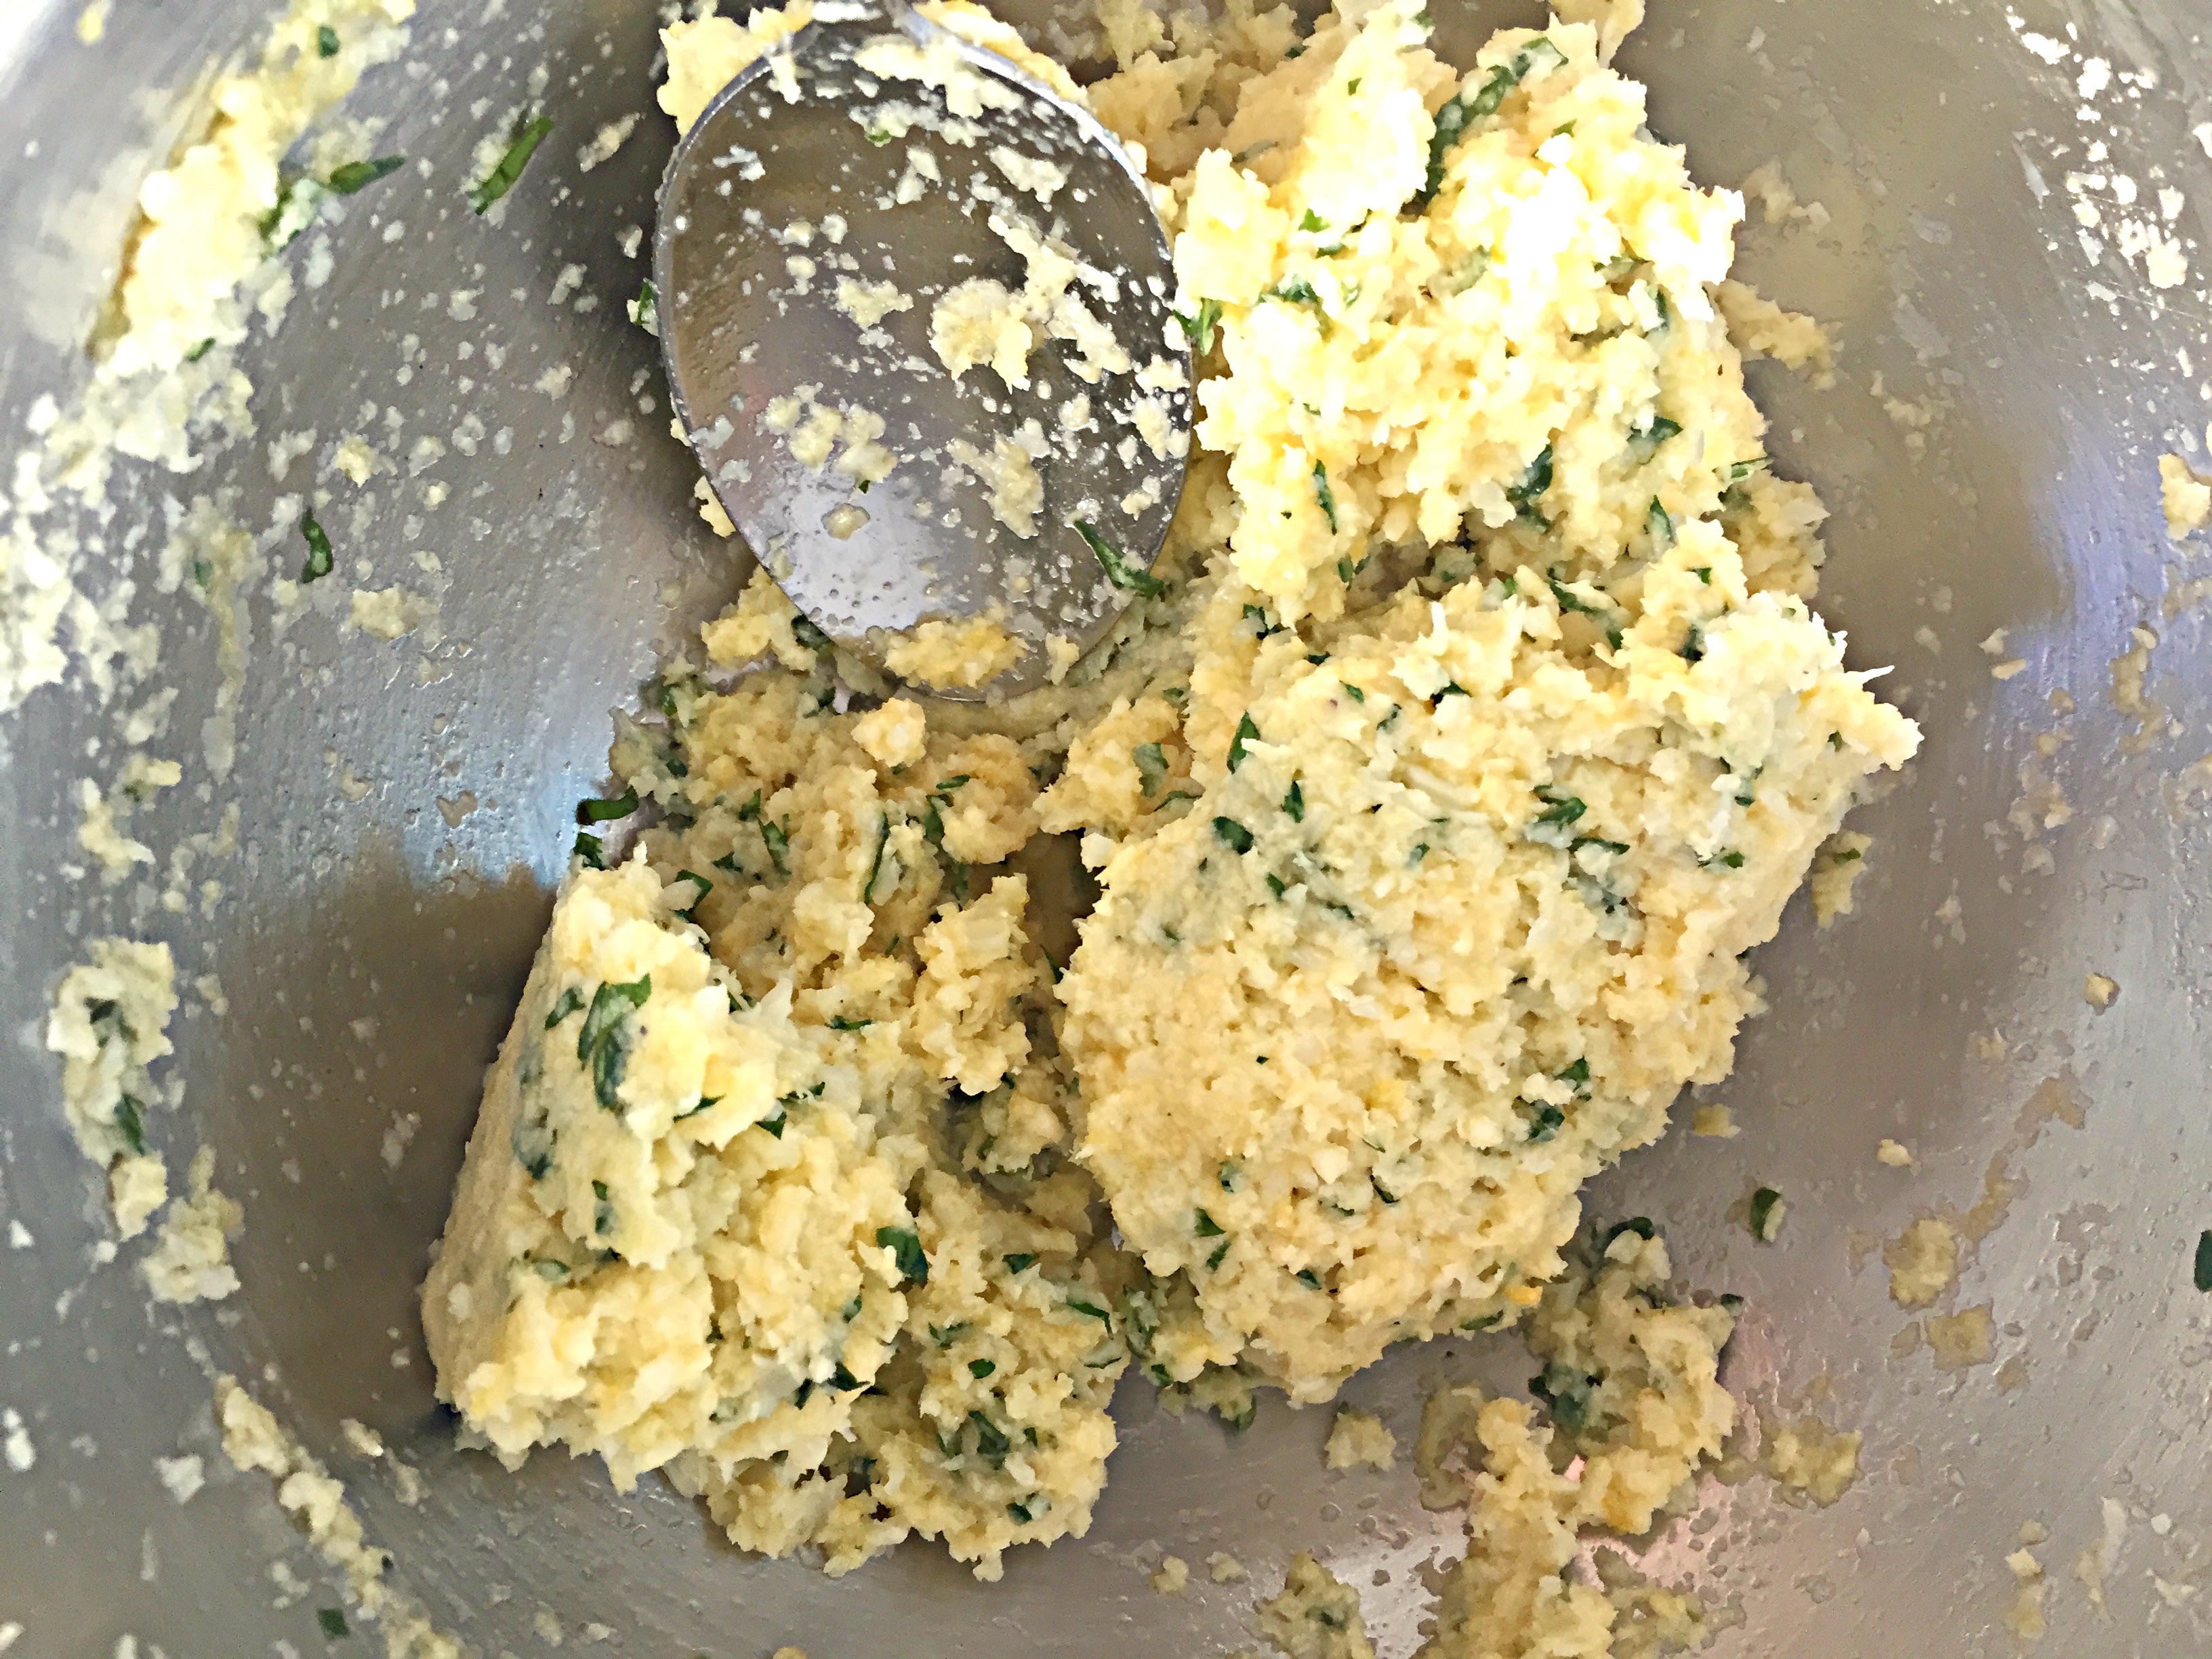
Transfer the cauliflower to a medium size bowl, and add garlic powder, salt, basil, and cheese--mix together into a ball.
image
image
image
Spray a sheet of parchment paper with oil.  Add the cauliflower mixture to the center of the parchment paper, and with your hands begin to flatten and form it into the shape of a pizza.
image
image
Once you have the shape you want, place it in the oven for 10-12 minutes.
image
Once it's golden brown and bubbly like this:  remove it from the oven.
image
image
Now you can top it with your favorite tomato sauce, cheese and toppings.
image
Once you have it topped, place it in the oven to cook until the cheese and topping melt.  Remove from oven, cut serve and enjoy!
image
This made a 10-12 inch pizza, not a crumb was left over.  Everyone enjoyed it--my husband didn't even know that the crust was made from cauliflower until Page told him! If you like this try my recipe for Tortilla Pizza!

Tuesday, January 27, 2015

Oven-Roasted Broccolini with Lemon-Garlic Parmesan


Oven Roasted Broccolini with Lemon-garlic Parmesan
 
Going to the Farmer's market on Sunday has become routine for my family.  My daughter gets excited about going and so do I.  I never know what my weekly meal plan will include until after I've forged my way through the market.  This week the pickings were slim.  I don't know if was just extremely busy before we got to the farmer's market, or if the farmer's just didn't have much to share.  Either way, I left with only two produce items--broccolini and strawberries.  Not my usual bountiful assortment.  I had no idea how I was going to prepare the broccolini, and decided just before cooking it, to roast it and top it with the lemon-garlic parmesan mixture.  The flavors sounded like they would pair well to me, so I took an chance, and I'm so glad I did.  Beside's my Roasted Broccoli with Garlic--this is new favorite way to prepare broccoli. For my Paleo, Vegan, and Whole 30 friends leave out the cheese, this is still great without it--the lemon really makes this broccolini sing!
Pin It!


Prep time: 5 minutes
Cook time: 10-15 minutes

Ingredients:
1lb of organic broccolini (can sub broccoli)
1/2 cup of freshly grated parmesan cheese
1/2 teaspoon of lemon powder (can sub 1 teaspoon of lemon zest)
3 cloves of garlic, minced
2 Tablespoons of oil plus an additional 2 teaspoons
sea salt to taste
Directions: Pre-heat the oven to 450F.  To a small bowl add parmesan, garlic, and 2 teaspoons of oil,
image
mix well and set aside.
image
Line a bake sheet with foil, add the broccolini, 2 tablespoons of oil, and sea salt and toss well.
image
Place in the oven for 10 minutes.  At the 10 minute mark, remove the sheet pan from the oven, and top with the lemon-garlic parmesan mixture.
image
Return the pan to the oven and cook for an additional 3-5 minutes or until the parmesan browns, remove from oven, serve and enjoy!
image
 
If you like this recipe you might like my recipe for Roasted Brussel Sprouts with Parmesan, Lemon and red pepper flakes, or my recipe Parmesan Chicken with Roasted Romaine.
Follow and Like me on Facebook:  www.facebook.com/lazygirldinners


Wednesday, September 3, 2014

Roasted Garlic Cauliflower Mashed Potatoes

Roasted Garlic Cauliflower Mash

From time to time, I crave a meal with a deep rich wine sauce. When that happens I turn to Julia Child's beef bourguignon recipe, or my version of it.  If you have ever made beef bourguignon, then you know the sauce that accompanies the beef is everything for that particular dish! The beef, as succulent as it is, is nothing without that sauce, and that sauce was made to adorn a potato mash! The year that I had Page I decided rather than running from house to house to celebrate Thanksgiving with friends and family, it would be easier on her, and my husband and I,  if we just stayed home and made dinner ourselves. My best friend agreed and we divided the dinner duties. Instead of a massive turkey, I roasted a chicken, she made a few sides, and I baked a cake. One of the sides she made was a potato and cauliflower mash. It was delicious, and Page loved it! It was hearty and everything you'd expect when eating mash potatoes and at the same time it had the added bonus of cauliflower. When I was making my beef bourguignon, and anticipating the yumminess of the sauce, I knew that this cauliflower mash would go perfectly with the sauce. If you're on a low-carb diet, you can omit the potatoes, and whip the cauliflower in a blender. For this recipe, I opted to not whip the mash, I wanted the hearty texture, so I used a potato masher instead. If you want a more creamy texture, just throw all the ingredients in a blender after cooking them.
Pin It!
Pin It!


Prep time: 5 minutes
Cook time: 10-15 minutes
Total time: 20 minutes

Ingredients:
1 small head of cauliflower (about 5 cups)
2 medium potatoes (2 cups cubed)
4 tablespoons of grass-fed butter
2 tablespoons of half and half (optional)
1 head of roasted garlic
sea salt and black pepper to taste

Directions:  Add the cauliflower and potatoes to a pot and fill with enough water to cover. Bring to a boil over medium high heat, and cook until potatoes and cauliflower are fork tender.  Immediately drain the water from the cauliflower and potatoes.

Add in, butter, half and half, roasted garlic, sea salt and pepper.

Mash with a potato masher until well incorporated, or add all the ingredients to a blender and blend until smooth, then enjoy!


Tuesday, August 12, 2014

Eggplant Fries

Eggplant Fries

One of my husbands absolute favorite vegetables is eggplant. If I made it every night for dinner for three years straight that would not be enough for him. He loves it! The problem with his love for eggplant is not that I don't love it, because I do. It's that it's hard for me to find organic eggplants.  Short of me growing our own private stag of organic eggplants, which I have tried, and failed at, I just have not been able to appease his love for this vegetable. Whenever, our Whole Foods has organic eggplants a buy them, no matter what they cost. Fortunately for me, my husband will eat eggplant anyway I prepare it.  Page on the other hand is just getting acquainted with eggplant, so preparation for her is a much less forgiving thing.  She loved these eggplant fries which made my heart happy. The key to cooking eggplant in any kind of oil, is to bring your oil up to temperature before adding the eggplant. If you add the eggplant to the oil before the oil is hot enough, you will get an oil logged disgusting piece of eggplant. Eggplant is like a sponge in that way, it soaks up the oil, so make sure your oil is nice and hot before you add the eggplant.
Pin It!
Pin It!


Prep time: 5 minutes
Cook time: 10 minutes

Ingredients: 
1 medium sized eggplant, julienned but keep them thick
1/2 teaspoon of turmeric
sea salt to taste
4-5 tablespoons of safflower oil ( can substitute with grape seed oil, or another high heat oil)

Directions: Add the eggplant, turmeric and sea salt to a bowl and toss well, and set aside.

 Heat the oil in a cast iron pan, once the oil is hot, add in the eggplant, make sure not to overcrowd the pan. 

Brown the eggplant on all sides, then transfer to a paper towel lined plate. 

Season with more sea salt if necessary, then serve and enjoy!

Tuesday, June 11, 2013

Tofu fried chicken--It tastes just like Chicken!!!


I am a southern girl through and through. My family is from Louisiana, and a Sunday dinner that did not involve fried chicken was not a Sunday dinner at our house. When I decided several years ago that I would switch to a more healthy diet, I eliminated fried chicken from my diet all together. The problem with that was that I really missed it! Enter this recipe for Tofu fried chicken. The saying, "it tastes just like chicken," is spot on here! Not only does this tofu fried chicken taste just like chicken, but it smells just like fried chicken when you are cooking it too! Vegetarians, Vegan's, and carnivores alike will love this! Your kiddies will love this tofu fried chicken too! Use cookie cutters to cut out fun shapes, and these become the perfect healthy alternative to fried chicken nuggets. I say fried chicken, but the truth is that this is a very shallow fry. You really only need enough oil to coat the bottom of your pan. After a lot of trial and error with this recipe, I learned that the best results come by freezing the tofu. The texture of the tofu becomes more meat like, and it is a lot easier to expel all of the excess water in the tofu after it has been frozen and defrosted. The more water the tofu has in it, the harder it is to get a crispy crust on the "fried chicken." It is possible, but it takes much longer than I want to be in the kitchen. Freezing the tofu and defrosting it on the day you want to cook it saves you about 20 minutes of cooking time with this dish.  I slice the tofu before i freeze it, which makes it easier to press out the excess water. I also use nutritional yeast, which you can find at Whole Foods, a health food store, at this Link on Amazon, or at your local vitamin shop since it is a nutritional supplement. I also use Garlic Gomasio, which is simply sesame seeds, garlic powder, and sea salt in one bottle. If you have these ingredients separately then just use 2 teaspoons of sesame seeds, 1 teaspoon of garlic powder, and 1/4 teaspoon of sea salt, and you'll have a home made Gomasio.
Pin It!
Pin It!


Ingredients:
1/4 cup of Garlic  Gomasio and 2 additional teaspoons set aside
1/4 cup of nutritional yeast add more if you need to
3-4 Tablespoons of a low sodium soy sauce
1 lbs of extra firm tofu (sliced, frozen in a ziplock bag and then defrosted)
4-5 Tablespoons of grape seed oil or another high temperature oil (canola, safflower) for frying.

Directions for expelling excess water from the tofu:
After the tofu is defrosted, drain the liquid from the bag. Then place each slice of tofu between paper towels and press out all of the remaining water. Be careful not to press too hard, the tofu breaks easily.

Directions:
Set up a work station, with a plate for each of the ingredients(except the oil). After you have removed the excess water from the tofu. Dredge the tofu slices through each plate, beginning with the soy sauce, then the nutritional yeast, and finally the Gomasio.


Be careful not to let the tofu soak in the soy sauce. You just want to coat both sides of the tofu with the soy sauce, don't leave it to soak otherwise you'll have one salty piece of fake chicken. Repeat this process until you've coated all the tofu.

In a skillet heat your oil. Add in the 2 teaspoons of Gomasio. once the seeds begin to pop add in your tofu. IMPORTANT: make sure that your oil is hot before you put your tofu in, otherwise you'll have a grease laden piece of fake chicken.

Cook until both sides are brown and crispy, should only take 3-4 minutes. Place onto paper towels to remove excess oil, serve and enjoy!

Do you have any Tofu recipes? What's your favorite tofu recipe?

Like me on Facebook: www.facebook.com/lazygirldinners