Showing posts with label low calorie. Show all posts

Wednesday, April 22, 2015

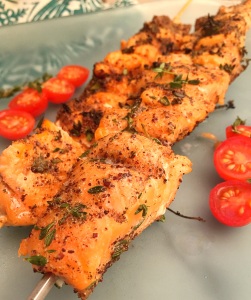
Persian Spiced Salmon Kabobs

Persian Spiced Salmon Kabob's
 
I love a good kabob and lately I've been craving them.  Salmon is such a hearty fish, and there are many great ways to prepare salmon, but when you want to switch things up a bit--grilled salmon is the way to go.  I made a paste to adorn this salmon, and it's rich in Mediterranean flavors.  I used sumac, which can be found in any middle eastern store, or in your local Trader Joe's--it's where I got mine.  Sumac is tart,  sour and is often used in place of lemon in middle eastern recipes.   If you can't find sumac, then by all means feel free to substitute with the zest of a lemon.  The flavor is this dish is fantastic.  The fresh thyme was amazing! I felt like I was eating at one of my favorite Persian restaurants.  Page really loved it, and my husband could not stop with the compliments.
Pin It!
Pin It!


Prep time: 5 minutes
cook time: 7 minutes
Total time: 12 minutes
 
Ingredients:
1lb of salmon-- dried with paper towels, de-skinned, and cubed into 1 inch pieces
1 teaspoon of sumac powder-- can substitute with lemon zest
1/2 teaspoon of garlic powder
1/2 teaspoon of cumin
1 teaspoon of fresh thyme-stems removed
1 teaspoon of olive oil--or oil of your choice
sea salt to taste
Directions: To a small bowl add the garlic powder, cumin powder, fresh thyme and oil, mix well and set aside.
image
Rub the spice mixture on the salmon,
image
 
then add the salmon to skewers,
image
 
Grill the salmon for 3-4 minutes on each side, remove from grill, serve and enjoy!
image
 

Wednesday, February 11, 2015

How to make Onion Powder--DIY Onion Powder

DIY Onion Powder--How to make Onion Powder
Recently I was chatting with some professional chefs online one of them was talking about using dried powders like garlic and onion in a recipe that he was playing with.  He wanted to know where he could find better quality powders.  The discussion quickly went from people being helpful, to people questioning whether any chef of good standing would ever use a dried product versus a fresh product. One person in particular, said absolutely not!  Others, said of course and then went on to make a case for when dried spices are needed, and in those cases how using dry spices make the dish better.  The discussion got me thinking about how often I use dried spices, and what dry ingredients I use.  The truth is that I am one of those cooks, who relies heavily on fresh ingredients.  The produce bin in my refrigerator is always stocked with, fresh thyme, parsley, mint, cilantro, basil, and whatever other herb is in season--ALWAYS.  I can't imagine cooking without the use of fresh herbs.  At the same time, my cupboards are stocked with the dried version of all the fresh herbs that I just mentioned, and many, many other dry spices, like garlic powder, cumin, tarragon, onion powder...the list could literally fill this page!  If you've been following my blog, then you know that I make many of my own spices.   When the person in that forum asked about sourcing onion powder, my immediate thought was, why not just make it? So I did.  It's a simple process, but the onion powder that you get from this process is the best that you will probably ever taste--or smell--the smell had me salivating--this is the stuff that great onion dips, and soups are built from!
Pin It!


Prep time: 10 minutes
Cook time: 6-8 hours--
Ingredients:
2 large onions sliced thinly
Directions: Evenly spread the sliced onions on a dehydrator sheet.
image
If using an oven, place the onions on a parchment lined bake sheet. Set the temperature on your dehydrator to 125F.  If using an oven, set it to the lowest possible setting 150F.  Let the onions dehydrate until brittle, then remove and let cool.
image
Once the onions have cooled, place them in a spice grinder/coffee grinder and blend into a powder.  Stop here if you want onion flakes,
image
 
image
Transfer to an airtight container until ready to use.
 
image
 

Wednesday, October 29, 2014

Citrus Powder--How to make Citrus Powder

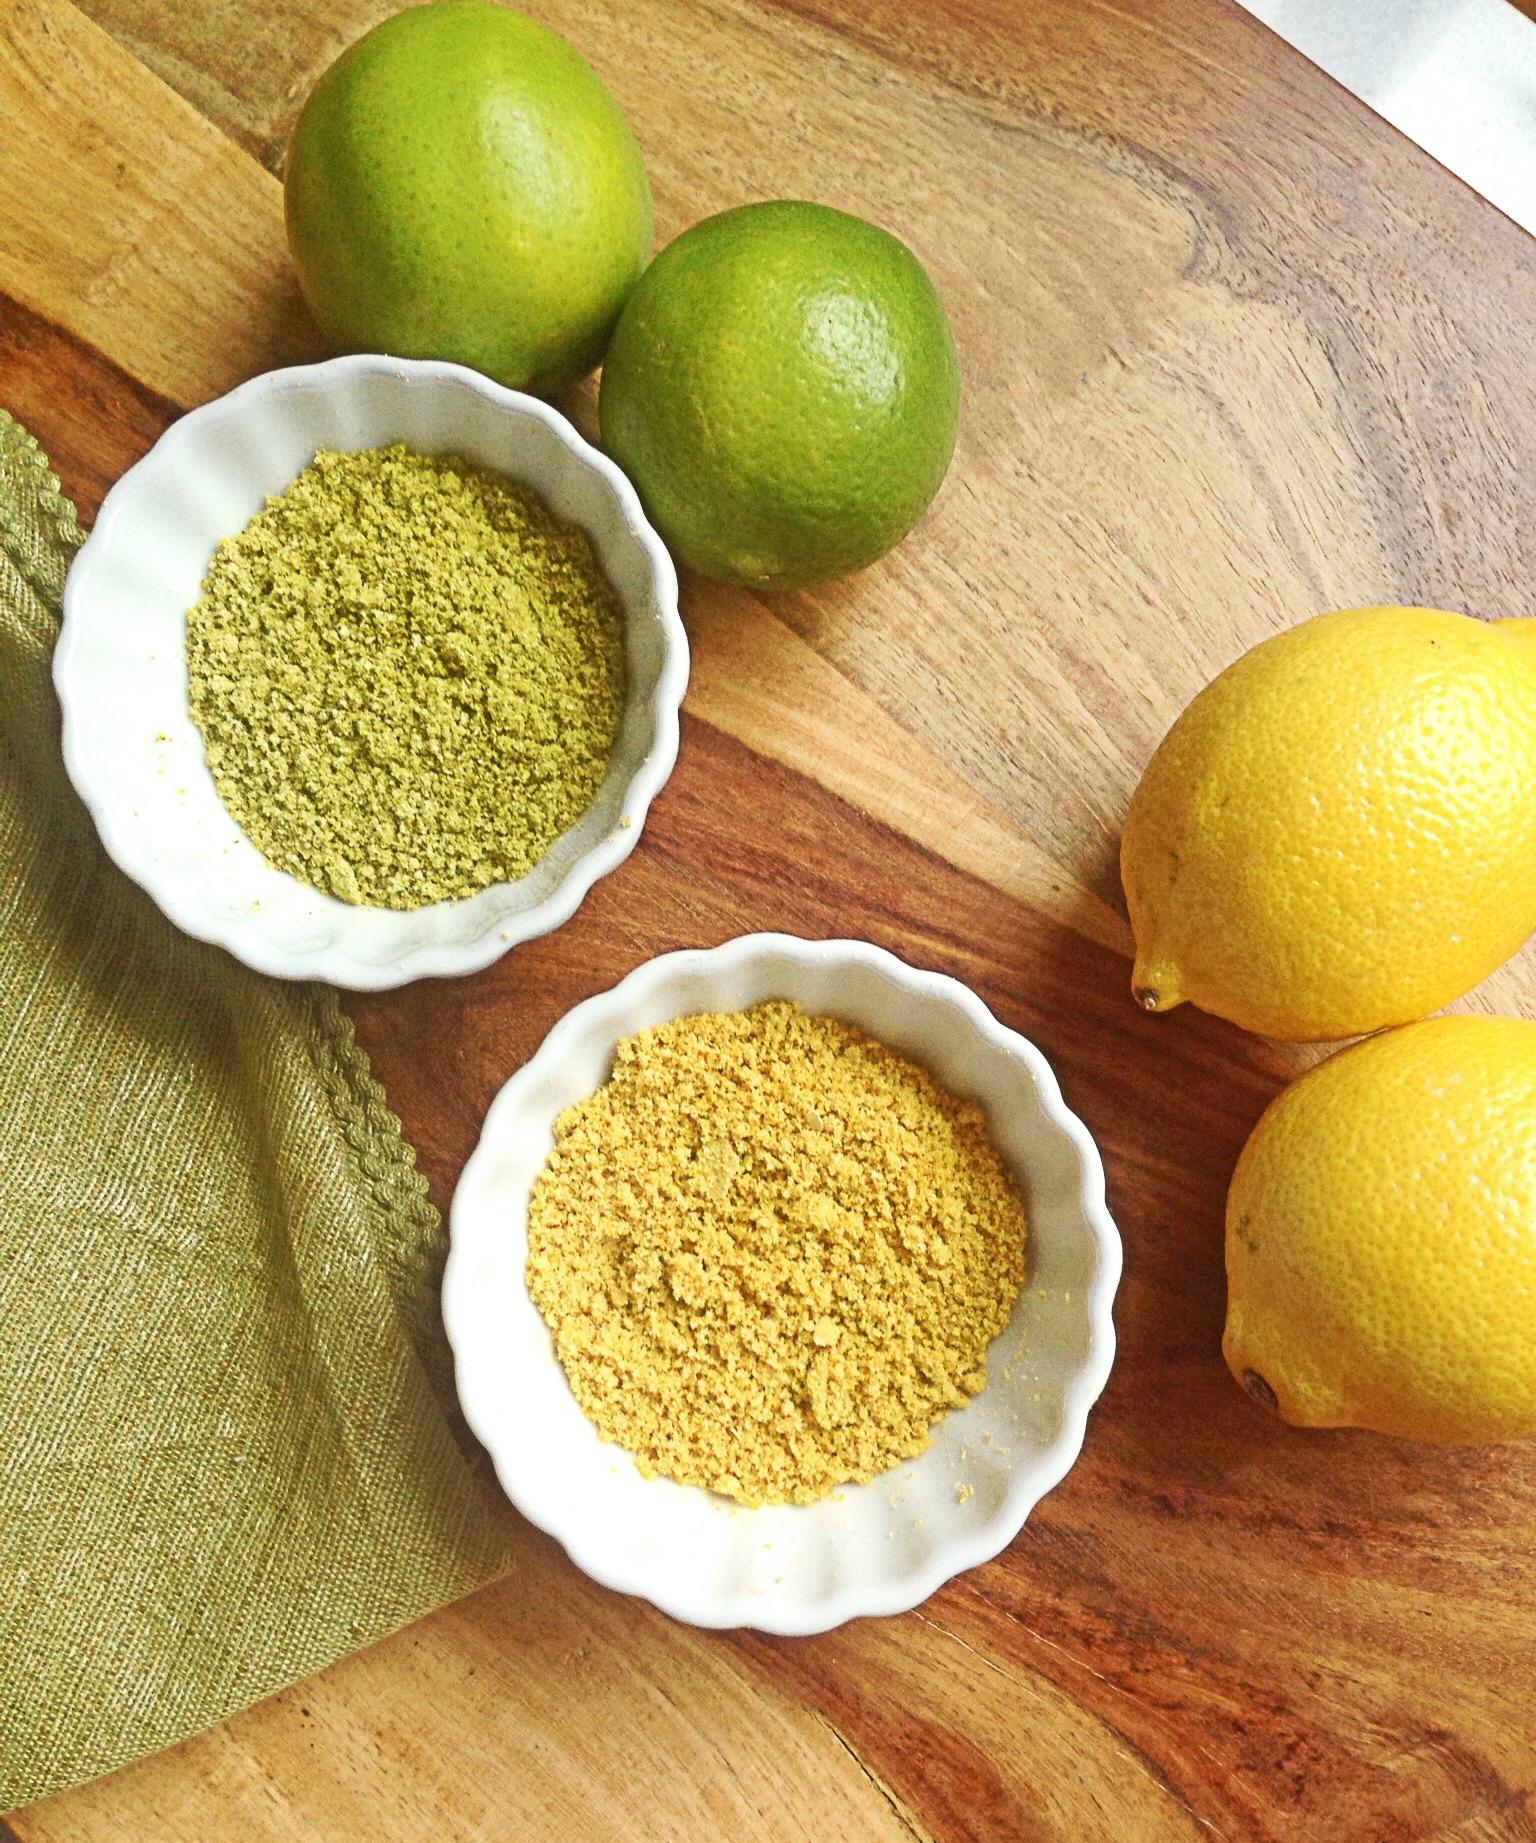
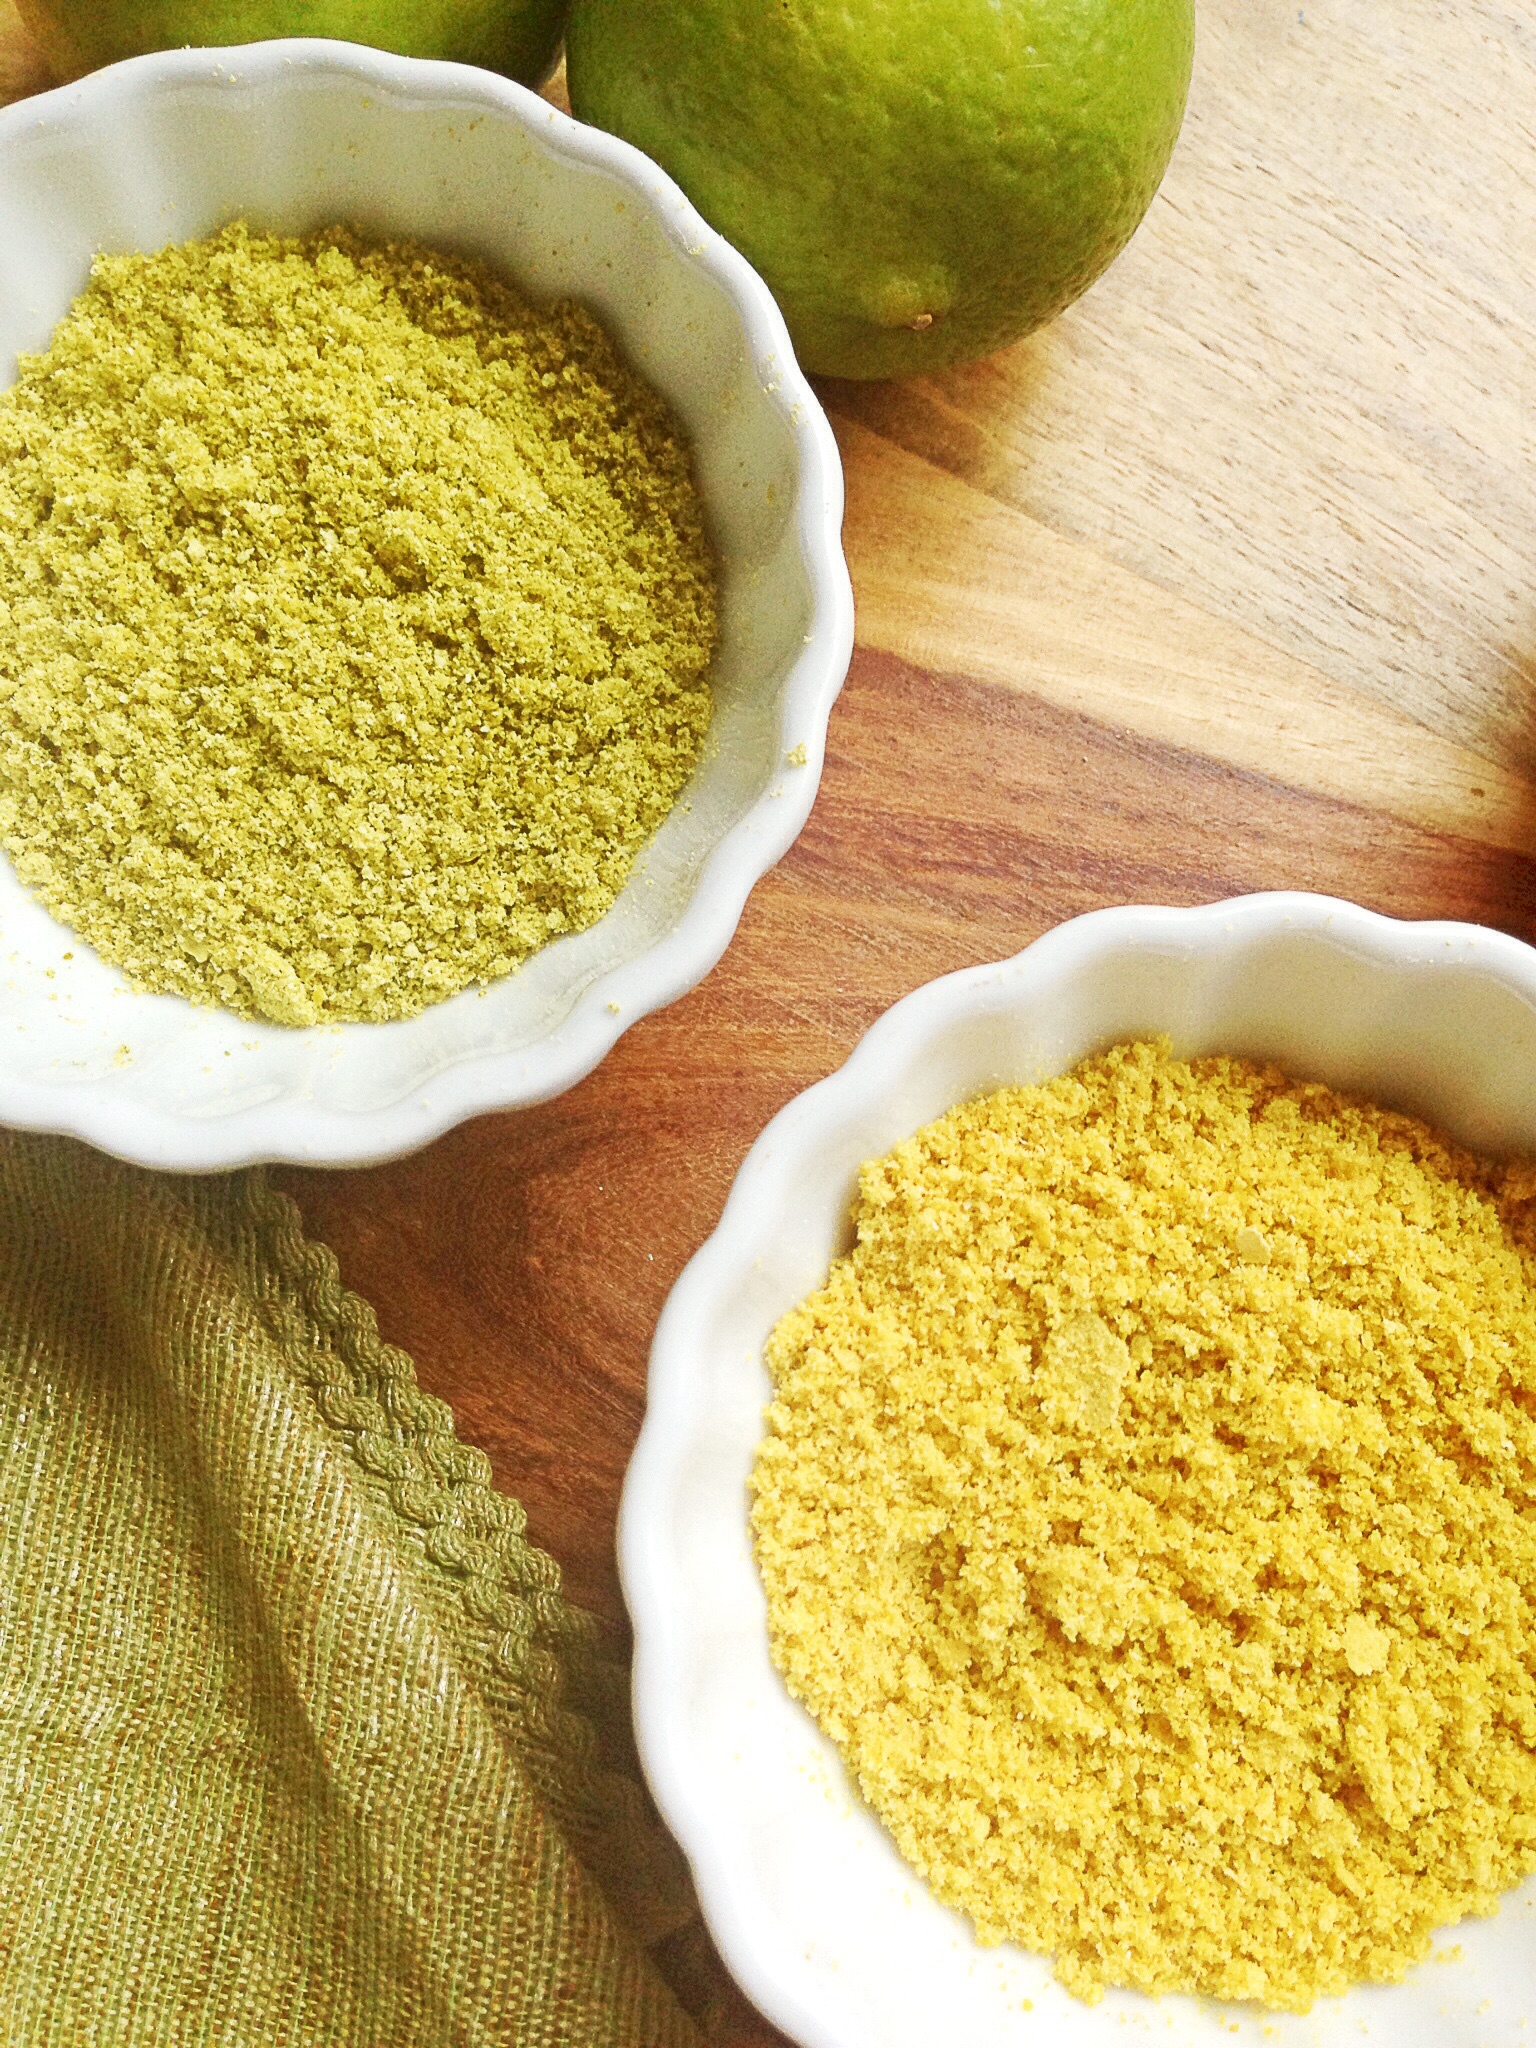
Lemon and Lime Citrus Powder
 
Several  month's ago I read an article in Bon Appetite Magazine about  how the chef at State Bird Provisions was using sour salts to brighten up dishes, and make use of an ingredients that would otherwise not get used.  His approach was simple, dehydrate something as simple as a preserved lemon, grind it into a powder, and boom you've created a flavorful salt without even trying.  After reading that article, I knew that I wanted to try making a preserved lemon salt.  I put it on my list of things to blog about, but never got around to it--it has been almost a year since I read that article!  I had almost forgotten about wanting to do a preserved lemon salt until last week, my husband and I went out to eat.  I ordered a Caesar salad, and when they brought it out, it looked completely under dressed, almost like they had forgotten to put the salad dressing on it.  I took a bite thinking it was going to be a bland salad, but instead  got this bright  burst of flavor.  The chef had dusted the salad with lemon zest.  The salad was fantastic! Even better than my Caesar Salad.  I  knew then that I had to try this at home.   It wasn't until I read a review for the soon to be released cookbook Bar Tartine: Techniques and Recipes that I got the idea about exactly how I could do it, but even better.  Lemon zest is great but it's not exactly shelf stable.  If you're going to use it, you definitely have to use it right away.  But if you take the peels of a lemon, lime, or even an orange, and dry them in the dehydrator, and then blend them into a powder, what you get is something extremely flavorful, and shelf stable.  You also get a way to use leftover peels! I don't know about you, but I hate to waste, so anything that allows me to preserve, rather than waste, I love.   So you're probably wondering besides a salad what you use these powders on.  The answer is almost anything!  You can sprinkle the lemon or lime powder on chicken, fish, pork or steak to give it a fresh and vibrant twist.  You can add these citrus powders to baked goods, rim your tequila glasses with them, add them with some other dry spices to make a citrus rub, (stay tuned for that post), make citrus salts, the list goes on and on.  If you make enough of these powders you can even give them as gifts for Christmas.  I for one am doing a lemon pepper for my friends.   Bar Tartine: Techniques and Recipes hasn't been release yet, but I've already pre-ordered a copy through Amazon.  It's full of recipes for dehydrating and powdering everything from herbs, to yogurt.   Yes you can even dehydrate yogurt! I suppose it's not such a leap to know that you can dry yogurt, especially given the fact that powdered milk, and cheese are products that you can buy in most grocery stores. However, the thought of being able to use my dehydrator to make my own powdered yogurt and herbs excites me!

Pin It!
Pin It!


Prep time: 10 minutes
Drying time: 1.5 hours-2 hours
 
Ingredients:
The peels from 2 lbs of organic citrus --I used lemon, lime
Directions: Pre-heat oven to 150F if using an oven.  If using a dehydrator set it to 135F.  Using a vegetable peeler peel the skin off of the citrus.
image
Add the citrus to a pot, add enough  cold water to cover all of the citrus and bring to a boil---let boil for 1 minute.  Drain peels into a sieve and rinse under cold water.  Return back to the pot and repeat: boil ,drain, and rinse twice more.
image
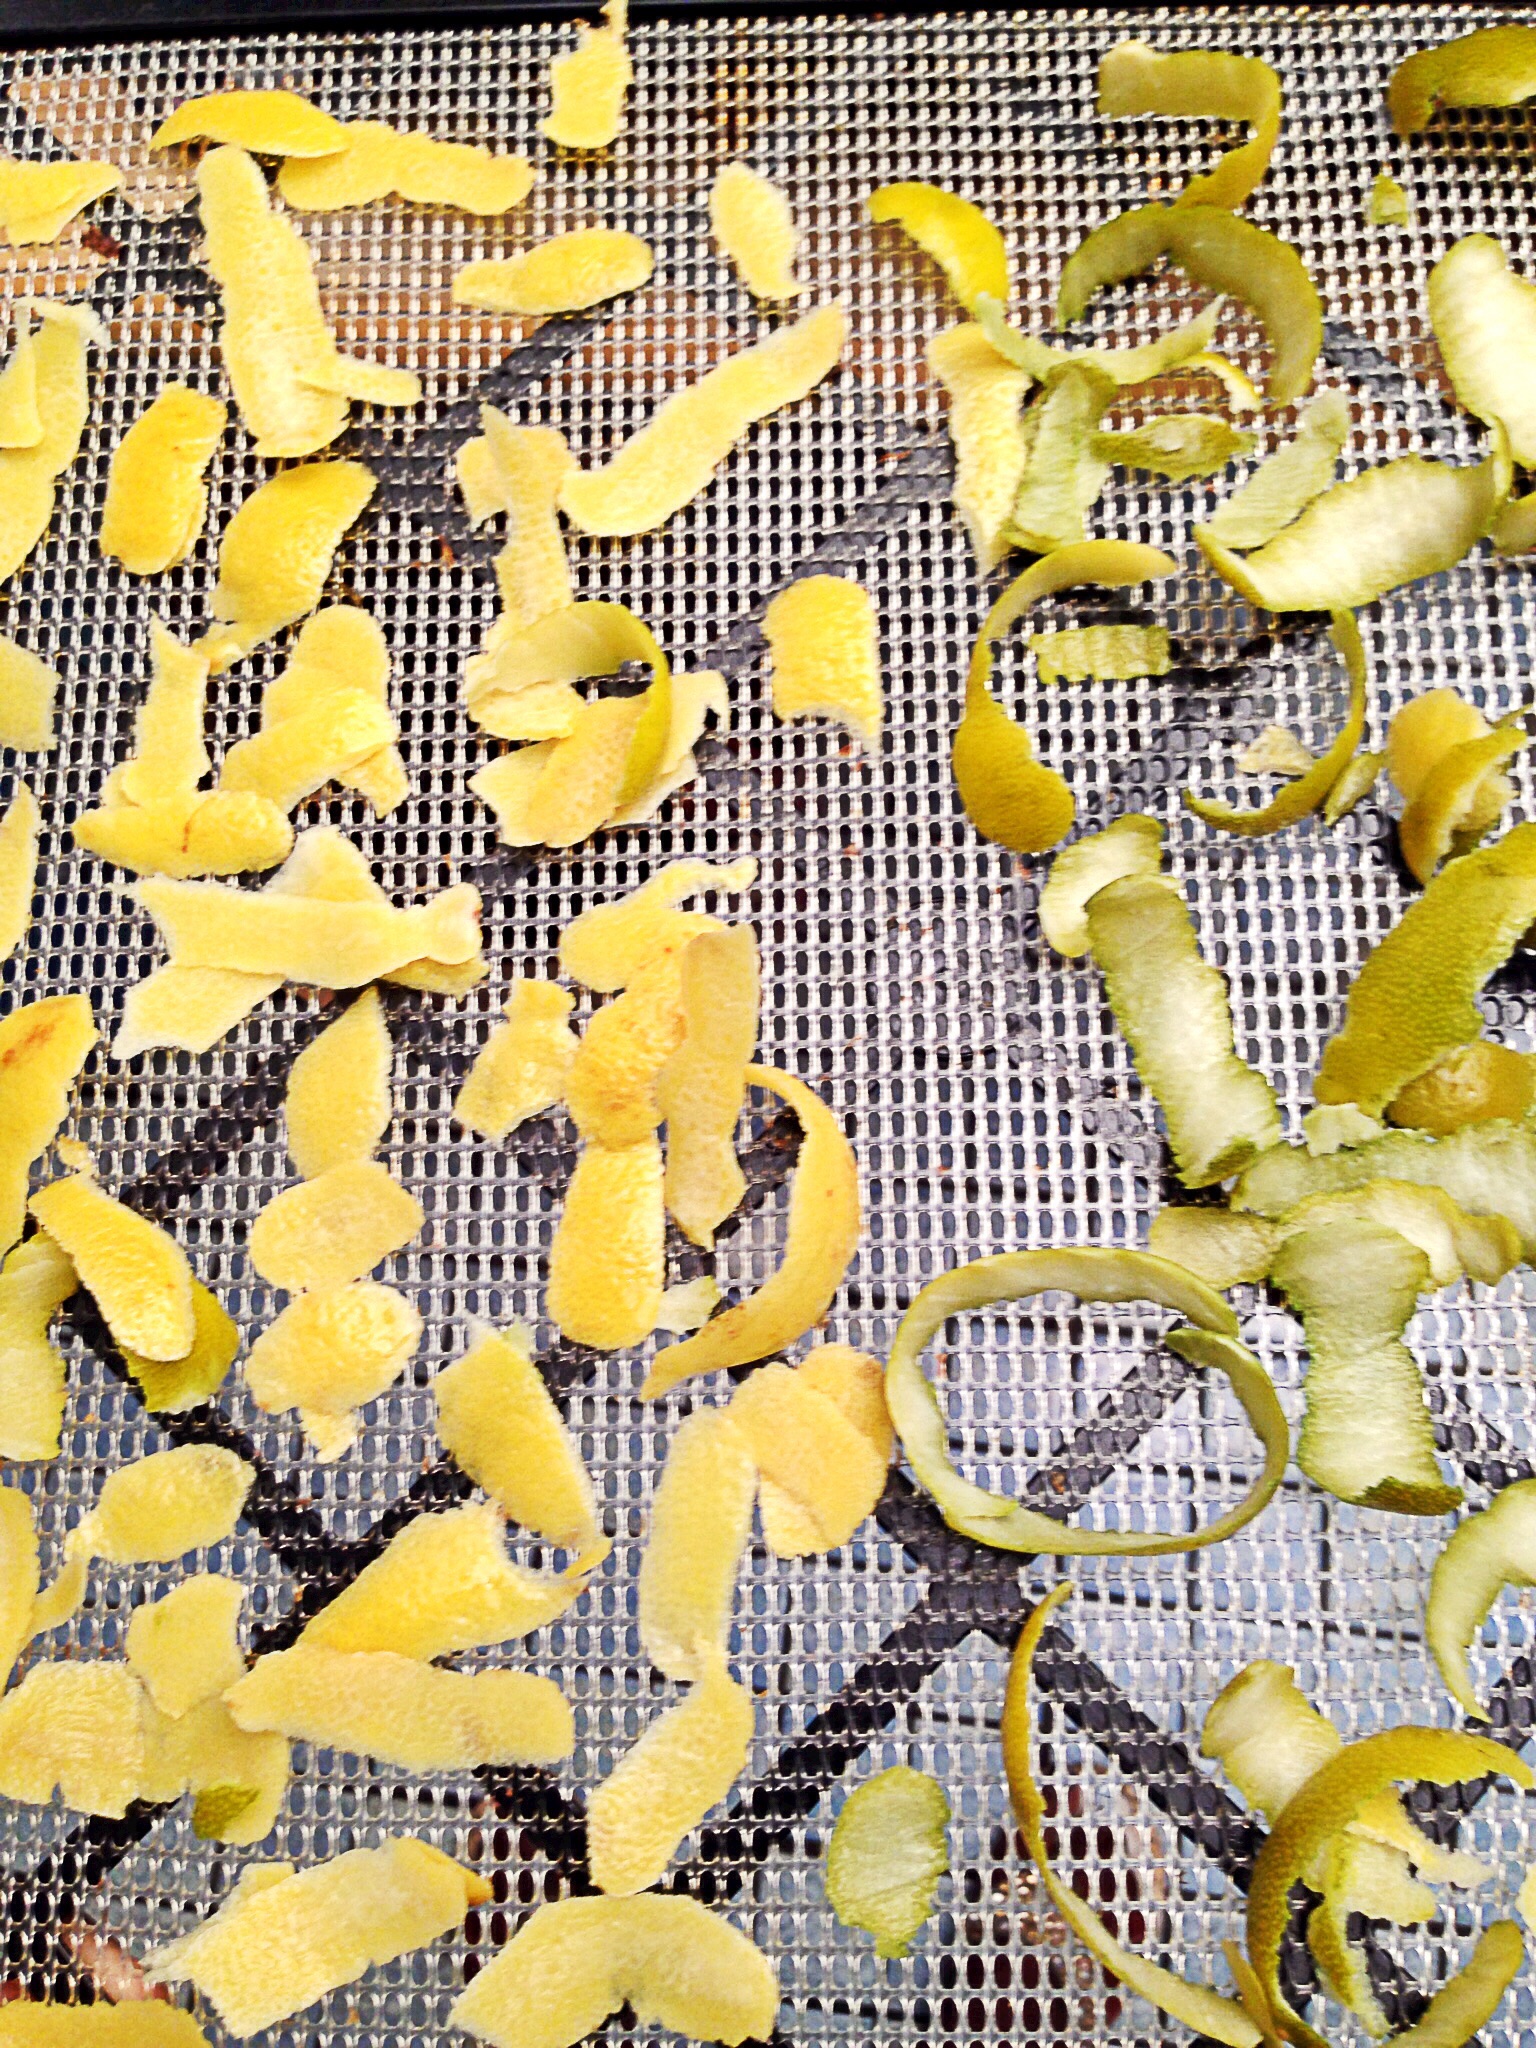
Spread the peels out evenly onto your dehydrator sheets if using a stove,  spread the peels over a wire rack set inside of a bake sheet.
image
bake or dehydrate  until peels are hard and brittle, it took about 1.5 hours in my dehydrator. Once peels are hard and crisp, transfer to a spice mill
image
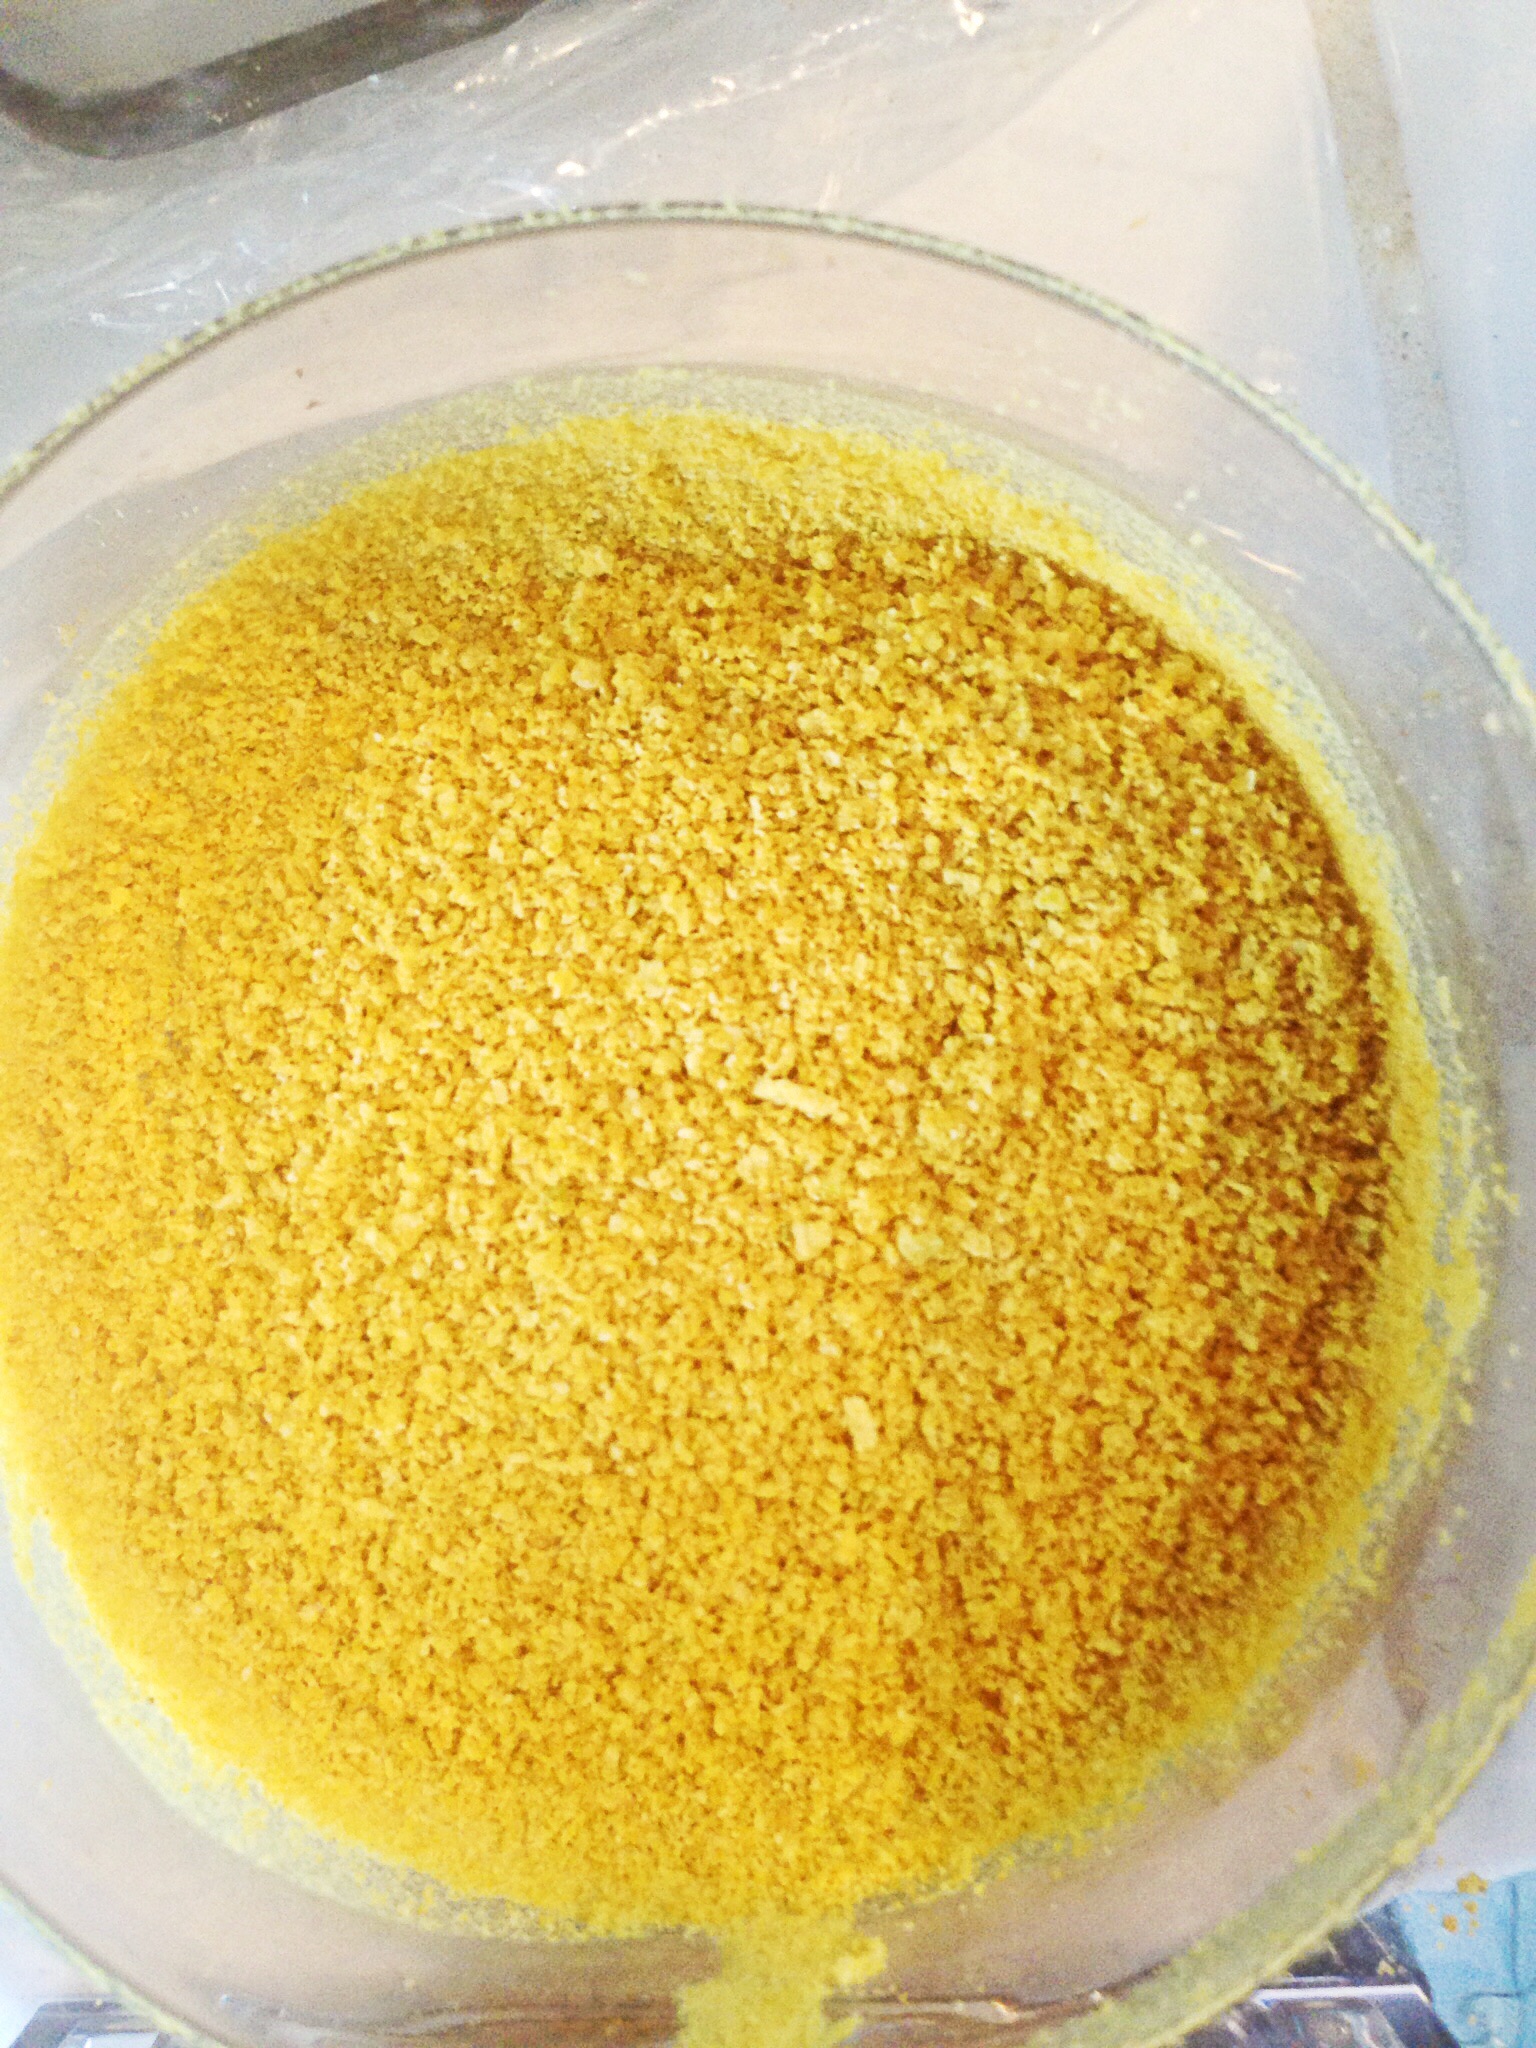
and grind until powdery, transfer the powder to an air tight container.  OMG the smell of these when you are grinding!  AMAZING!!!!
image


image

Wednesday, September 3, 2014

Roasted Garlic Cauliflower Mashed Potatoes

Roasted Garlic Cauliflower Mash

From time to time, I crave a meal with a deep rich wine sauce. When that happens I turn to Julia Child's beef bourguignon recipe, or my version of it.  If you have ever made beef bourguignon, then you know the sauce that accompanies the beef is everything for that particular dish! The beef, as succulent as it is, is nothing without that sauce, and that sauce was made to adorn a potato mash! The year that I had Page I decided rather than running from house to house to celebrate Thanksgiving with friends and family, it would be easier on her, and my husband and I,  if we just stayed home and made dinner ourselves. My best friend agreed and we divided the dinner duties. Instead of a massive turkey, I roasted a chicken, she made a few sides, and I baked a cake. One of the sides she made was a potato and cauliflower mash. It was delicious, and Page loved it! It was hearty and everything you'd expect when eating mash potatoes and at the same time it had the added bonus of cauliflower. When I was making my beef bourguignon, and anticipating the yumminess of the sauce, I knew that this cauliflower mash would go perfectly with the sauce. If you're on a low-carb diet, you can omit the potatoes, and whip the cauliflower in a blender. For this recipe, I opted to not whip the mash, I wanted the hearty texture, so I used a potato masher instead. If you want a more creamy texture, just throw all the ingredients in a blender after cooking them.
Pin It!
Pin It!


Prep time: 5 minutes
Cook time: 10-15 minutes
Total time: 20 minutes

Ingredients:
1 small head of cauliflower (about 5 cups)
2 medium potatoes (2 cups cubed)
4 tablespoons of grass-fed butter
2 tablespoons of half and half (optional)
1 head of roasted garlic
sea salt and black pepper to taste

Directions:  Add the cauliflower and potatoes to a pot and fill with enough water to cover. Bring to a boil over medium high heat, and cook until potatoes and cauliflower are fork tender.  Immediately drain the water from the cauliflower and potatoes.

Add in, butter, half and half, roasted garlic, sea salt and pepper.

Mash with a potato masher until well incorporated, or add all the ingredients to a blender and blend until smooth, then enjoy!


Tuesday, August 12, 2014

Eggplant Fries

Eggplant Fries

One of my husbands absolute favorite vegetables is eggplant. If I made it every night for dinner for three years straight that would not be enough for him. He loves it! The problem with his love for eggplant is not that I don't love it, because I do. It's that it's hard for me to find organic eggplants.  Short of me growing our own private stag of organic eggplants, which I have tried, and failed at, I just have not been able to appease his love for this vegetable. Whenever, our Whole Foods has organic eggplants a buy them, no matter what they cost. Fortunately for me, my husband will eat eggplant anyway I prepare it.  Page on the other hand is just getting acquainted with eggplant, so preparation for her is a much less forgiving thing.  She loved these eggplant fries which made my heart happy. The key to cooking eggplant in any kind of oil, is to bring your oil up to temperature before adding the eggplant. If you add the eggplant to the oil before the oil is hot enough, you will get an oil logged disgusting piece of eggplant. Eggplant is like a sponge in that way, it soaks up the oil, so make sure your oil is nice and hot before you add the eggplant.
Pin It!
Pin It!


Prep time: 5 minutes
Cook time: 10 minutes

Ingredients: 
1 medium sized eggplant, julienned but keep them thick
1/2 teaspoon of turmeric
sea salt to taste
4-5 tablespoons of safflower oil ( can substitute with grape seed oil, or another high heat oil)

Directions: Add the eggplant, turmeric and sea salt to a bowl and toss well, and set aside.

 Heat the oil in a cast iron pan, once the oil is hot, add in the eggplant, make sure not to overcrowd the pan. 

Brown the eggplant on all sides, then transfer to a paper towel lined plate. 

Season with more sea salt if necessary, then serve and enjoy!

Tuesday, July 8, 2014

Marinated Mushroom Steaks


Marinated Mushroom Steaks

I make an entire meatless meal at least once a week.  Going vegetarian, or vegan, even once a week is great for your health, excellent for your pocket book, and a very environmentally friendly thing to do.  One of my favorite vegetarian meals is faux steak, with beans, rice, salsa, and plantains.  It's simple--yes! But so delicious, and it reminds me of the delicious dinners I had while in Puerto Rico.  I switch out the steaks for marinated, grilled mushrooms, and the result is perfection!

Prep time: 30 minutes
Cook time: 7-10 minutes

Ingredients: 
2 large Portabello mushrooms, undersides and stem removed
1/2 teaspoon of worcestershire sauce
1 large garlic clove sliced thinly
1 tablespoons of olive oil
1 tablespoon of white wine vinegar
sea salt and black pepper to taste

Directions: Mix together all the ingredients for the marinade in a small bowl.  Pour over Mushrooms and let marinade for 30 minutes.  Grill on a hot grill for 3-4 minutes on each side, remove from grill and serve!

Monday, July 7, 2014

Sauteed Beet Greens with Garlic and Feta Cheese


I planted a garden about four months ago, the first thing to sprout from my garden were these lovely beet greens stalks. They were so beautiful and perfectly green that I found myself fighting the urge to pick them too soon.   For the longest time I had no idea that I could actually eat the tops of the beets, which means many, many, beet greens have been thrown in the trash by me without a thought. When it finally hit me that these beautiful greens were actually edible and that I could cook and eat them, I wondered why it had taken me so long to do so!  My husband is not a fan of beets at all. However, he is an ultra fan of the stalks on this vegetable.  I can't blame him, the greens produced from the beets are delicious and tender, and when cooked, they are reminiscent of tender spinach.

Prep time: 5 minutes
Cook time: 10 minutes
Total time: 15 minutes

Ingredients:
5 cups of beet greens chopped
2 large garlic clove (sliced thinly)
1 teaspoon of balsamic vinegar
1/4 cup of crumbled feta cheese
2 tablespoons of olive oil
sea salt to taste

Directions:
Add the oil and garlic to a saute pan over medium heat.  Cook until you smell the garlic, about 20 seconds.

 Add in the beet green and saute until they begin to wilt.  Add in the balsamic, and cook for another 3-4 minutes. 

 Transfer the greens to a bowl, top with feta cheese, and enjoy!


Wednesday, June 18, 2014

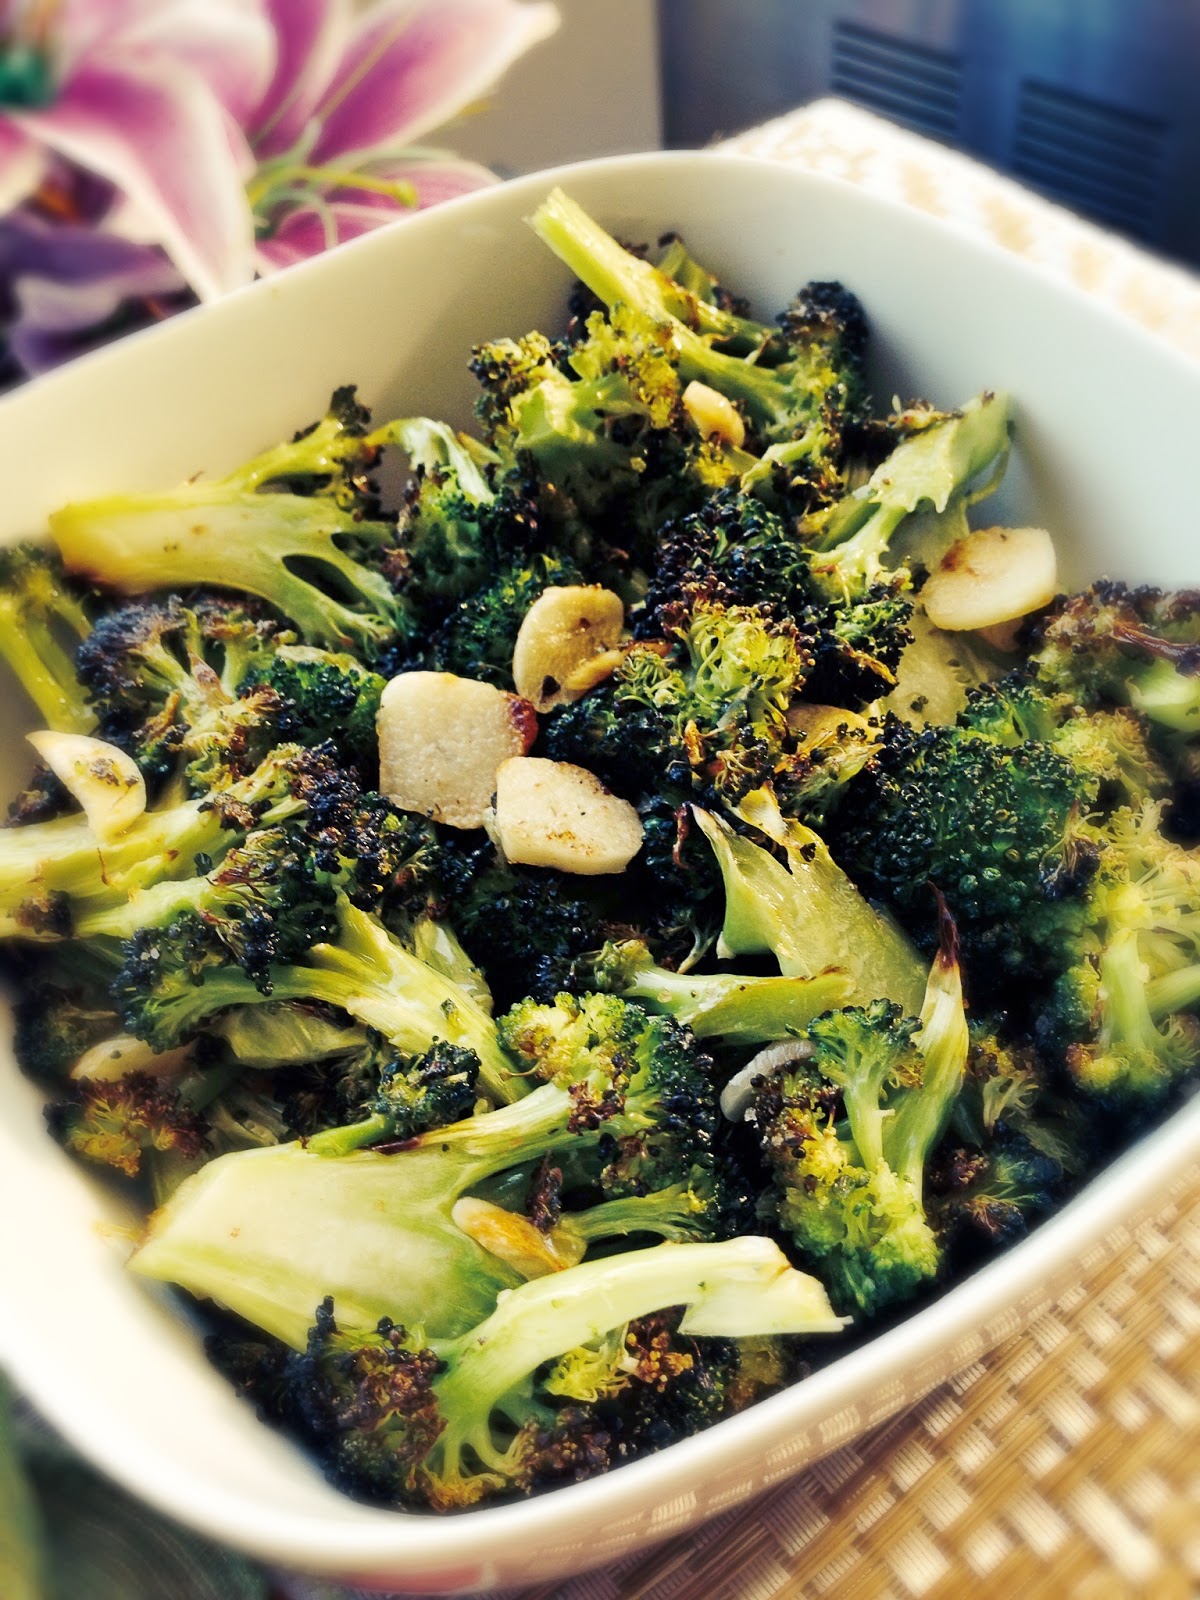
Roasted Broccoli and Garlic


Roasted Broccoli and Garlic

Trying to get my daughter to eat and love broccoli has not been easy.  This whole food texture thing she has is more trouble than I initially thought.  I mistakenly thought that since she loves roasted cauliflower then roasted broccoli would be a no-brainer---apparently not so with her.  Despite her refusal to eat broccoli, this roasted broccoli and garlic dish has become a new favorite for my husband and I.  We both love it! Not only do we love it, but I served it to some friends, and they loved it too!  I'm just going to have to keep trying with my daughter, she has not been won over by a love of broccoli--yet!

Prep time: 5 minutes
Cook time: 15 minutes
Total time: 20 minutes

Ingredients:
2.5 cups of broccoli sliced
3 large cloves of garlic sliced thinly
Coconut oil spray or 3 tablespoons of olive oil
Sea salt and black pepper to taste

Directions: Pre-heat oven to 400F degrees. Line a sheet pan with foil and spray it with coconut oil. Add broccoli, and sprinkle with sliced garlic.  Season with sea salt and black pepper then spray the broccoli generously with coconut oil spray.  If using olive oil, add broccoli to a bowl with olive oil and toss until broccoli is coated, then add it to the sheet pan, sprinkle sliced garlic, season with sea salt and black pepper. 


 Place in the oven and cook for 10-15 minutes or until broccoli starts to brown a bit.  Remove from oven, serve and enjoy.


Tuesday, April 22, 2014

Sautéed Mushrooms

Perfectly Sauteed Mushrooms

One of my favorite side dishes in the world is sautéed mushrooms. I love mushrooms in general, but there is just something that happens to a mushroom when it's sautéed perfectly that sets off a flavor explosion in your mouth. Sautéing mushrooms is easy, but there is an art to it, not all sautés are created equally. The key to a good mushroom sauté is to let the mushrooms brown. Browning is where flavor lives.

Ingredients:
10 ounces of sliced mushrooms (I used crimini and oyster)
2 large cloves of garlic
1 tablespoons of olive oil
1 tablespoon of butter
1/2 tea spoon of soy sauce
2 tablespoons of fresh parsley finely minced
Sea salt to taste

Directions: add the olive oil and garlic to a sauté and and let cook for 10-20 seconds or until you can smell the garlic:


Add in the sliced mushrooms and season with sea salt:


The mushrooms will begin to release water, toss and allow them to cook for 5 minutes. The water should begin to evaporate. Add in the tab of butter and toss the mushrooms:


Cook for another 3-4 minutes without tossing, to allow the mushrooms to brown, add in soy sauce and toss, until the soy evaporates, about 1 minute:


Transfer the mushrooms to a dish, sprinkle the parsley on top and enjoy!

Thursday, January 23, 2014

Homemade Ranch Dry Seasoning


One of my favorite condiments is salad dressing. I love making my own salad dressing from scratch. Most salad dressings are filled with way too many preservatives for my taste, not to mention hidden and not so hidden calories. I love simple vinaigrettes, but every now and again, I crave a creamy salad dressing. I resort to making this recipe for ranch, or my Caesar  salad dressing. Both are fantastic in their own separate ways. I've come up with a recipe for a dry ranch seasoning.  This ranch seasoning is extremely versatile, and can be used in a host of recipes, I'll post 2 more ways to use it in the coming week. But first let me give you the recipe for the ranch seasoning.


Pin It!
Pin It!


Ingredients:
2.5 tablespoons of dried organic parsley
1.5 teaspoons of dried organic dill weed
2 teaspoons of garlic powder
2.5 teaspoons of onion powder
2 teaspoons of dried onion flakes
1 teaspoon of sea salt
1 teaspoon of pink peppercorns ground ( you can sub black pepper)


Add the ingredients for the dry ranch mix to a mason jar, or a re-sealable bag, and mix well. 1 tablespoon of this mixture is all you need to make my low calorie Ranch yogurt dip/salad dressing.

Sunday, January 19, 2014

Lime and Red Pepper Flake Chicken Wings


I am not a huge sports fan, and thankfully neither is my husband! I can't sit through games. In our house politics is what has us yelling at the television and calling the players idiots. That doesn't mean that we don't enjoy game day foods like chicken wings. I for one am a huge fan of spicy buffalo wings, but they aren't huge on my husbands list of favorite things to eat. So if I want them, I have have to invent ways to indulge my craving and make them palatable for him. This recipe does just that. The tang of the lime, matched with the spice of the red pepper flake, make for a tasty and satisfying wing!

Prep Time: 5 minute
Cook Time: 25 minutes
Total time: 30 minutes

Ingredients:
1 lb of chicken wings
1/4 of lime juice
3 cloves of garlic crushed or grated
Zest of 2 limes
1/2 teaspoon of red pepper flakes
Sea salt to taste
2 tablespoons of olive oil

Directions: Pre-heat the oven to 425F. Pat dry your wings with a paper towel, In a bowl season the chicken with sea salt, then add the lime zest, olive oil, garlic, red pepper flakes and mix well. Place the chicken on a foil lined baking sheet and place in the oven, cook for 20-25 minutes, until the chicken is crisped and cooked through. Remove from the oven, sprinkle evenly with lime juice and enjoy!


Thursday, January 9, 2014

Sautéed Kale with Mushrooms

Sautéed Kale and Mushrooms


One of the great things about Kale is that it's so versatile! You can dress kale up with almost any flavor and still end up with a soul satisfying side dish. I love pairing greens of any kind with mushrooms! Mushrooms give the greens a great counter texture, and let's face it, mushrooms make everything fantastic!

Ingredients
3 cups of Lacinto kale chopped finely
2 cloves of garlic
2 cups of sliced mushrooms
1 Tablespoon of soy sauce
2 tablespoons of olive oil
1 tablespoon of butter
Sea salt to taste

Heat olive oil and butter in a skillet. Add garlic and mushrooms and sauté until mushrooms take on some color(10 minutes) add in kale and sauté until greens wilt, add in soy sauce and cook for another 5-7 minutes or until greens are tender. Season with sea salt if necessary, serve and enjoy!